Purchase Business Plan
1. Login to the application
Login to the application

2. Access Business Menu
Click on Business menu

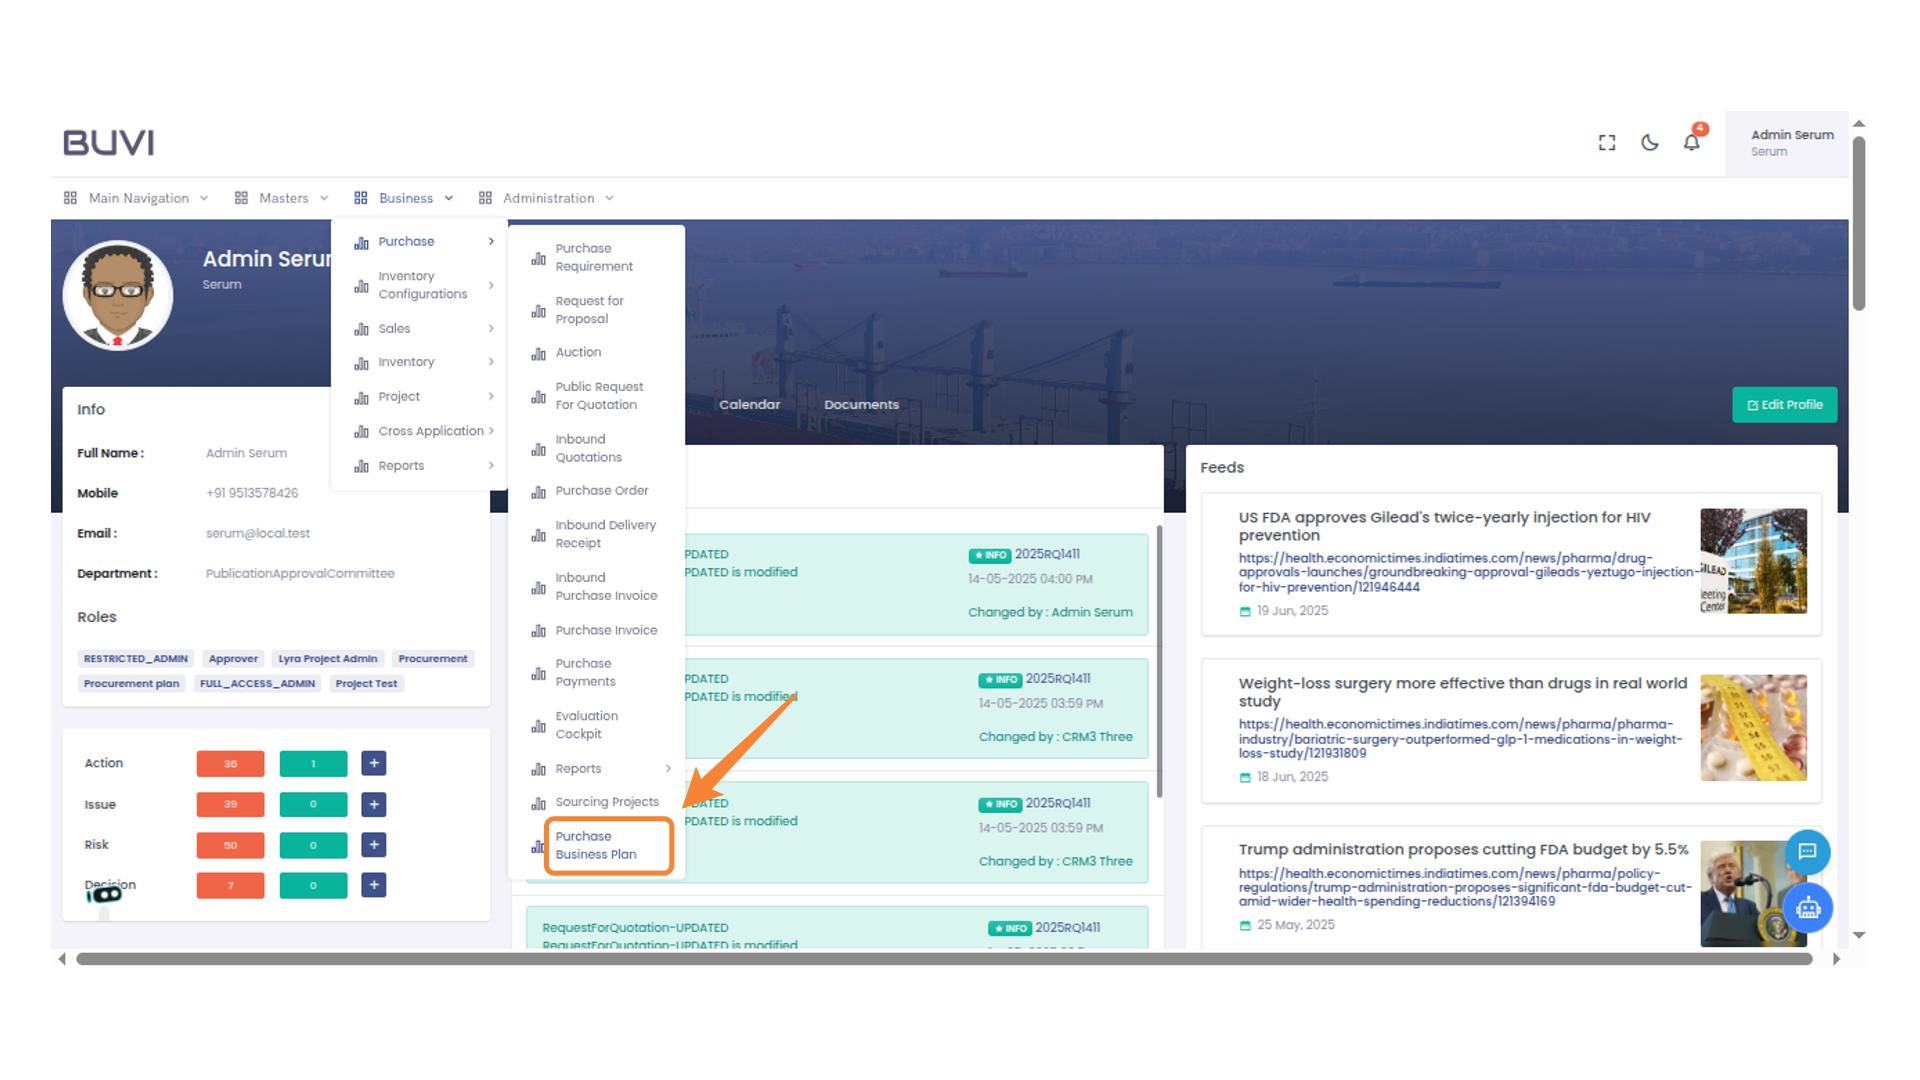
3. Access Purchase Business Plan
Select 'Purchase Business Plan' under the Business menu
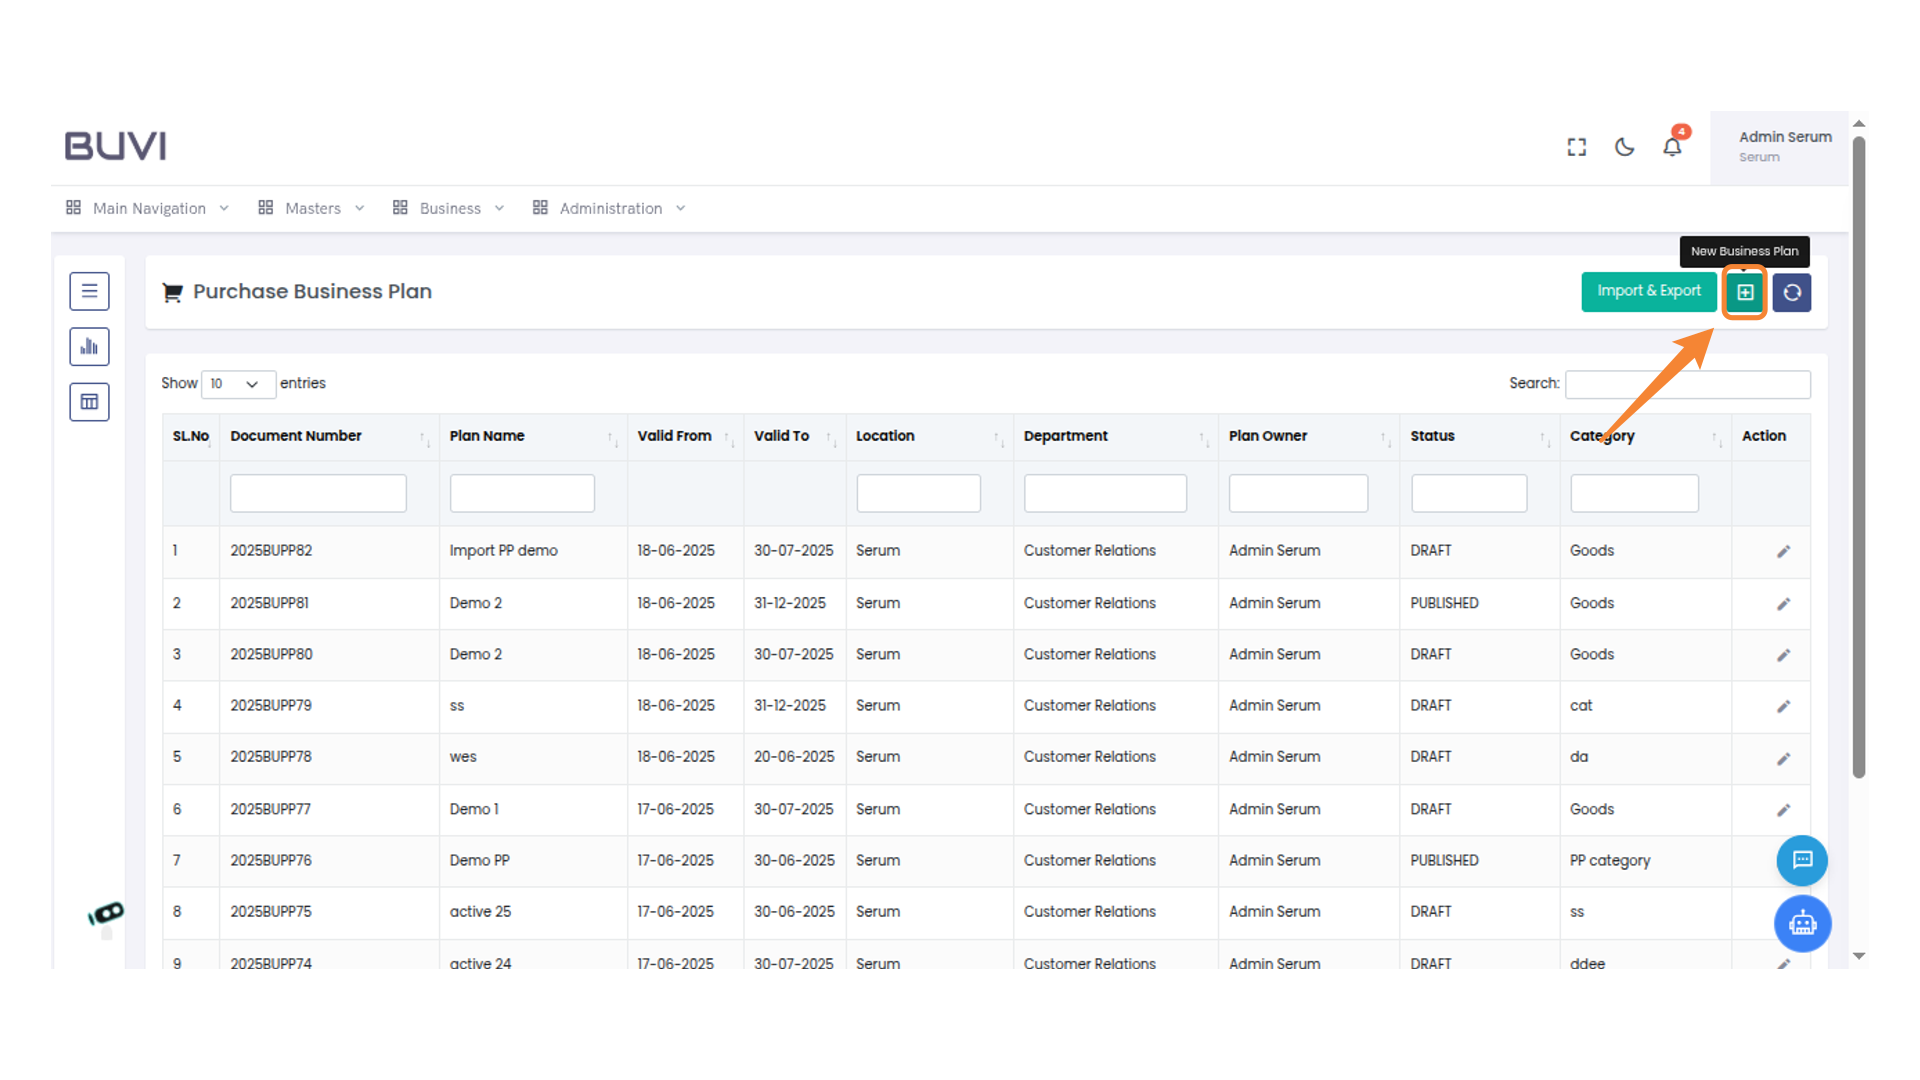
4. Access New Business Plan
Click the icon to start creating a new business plan.
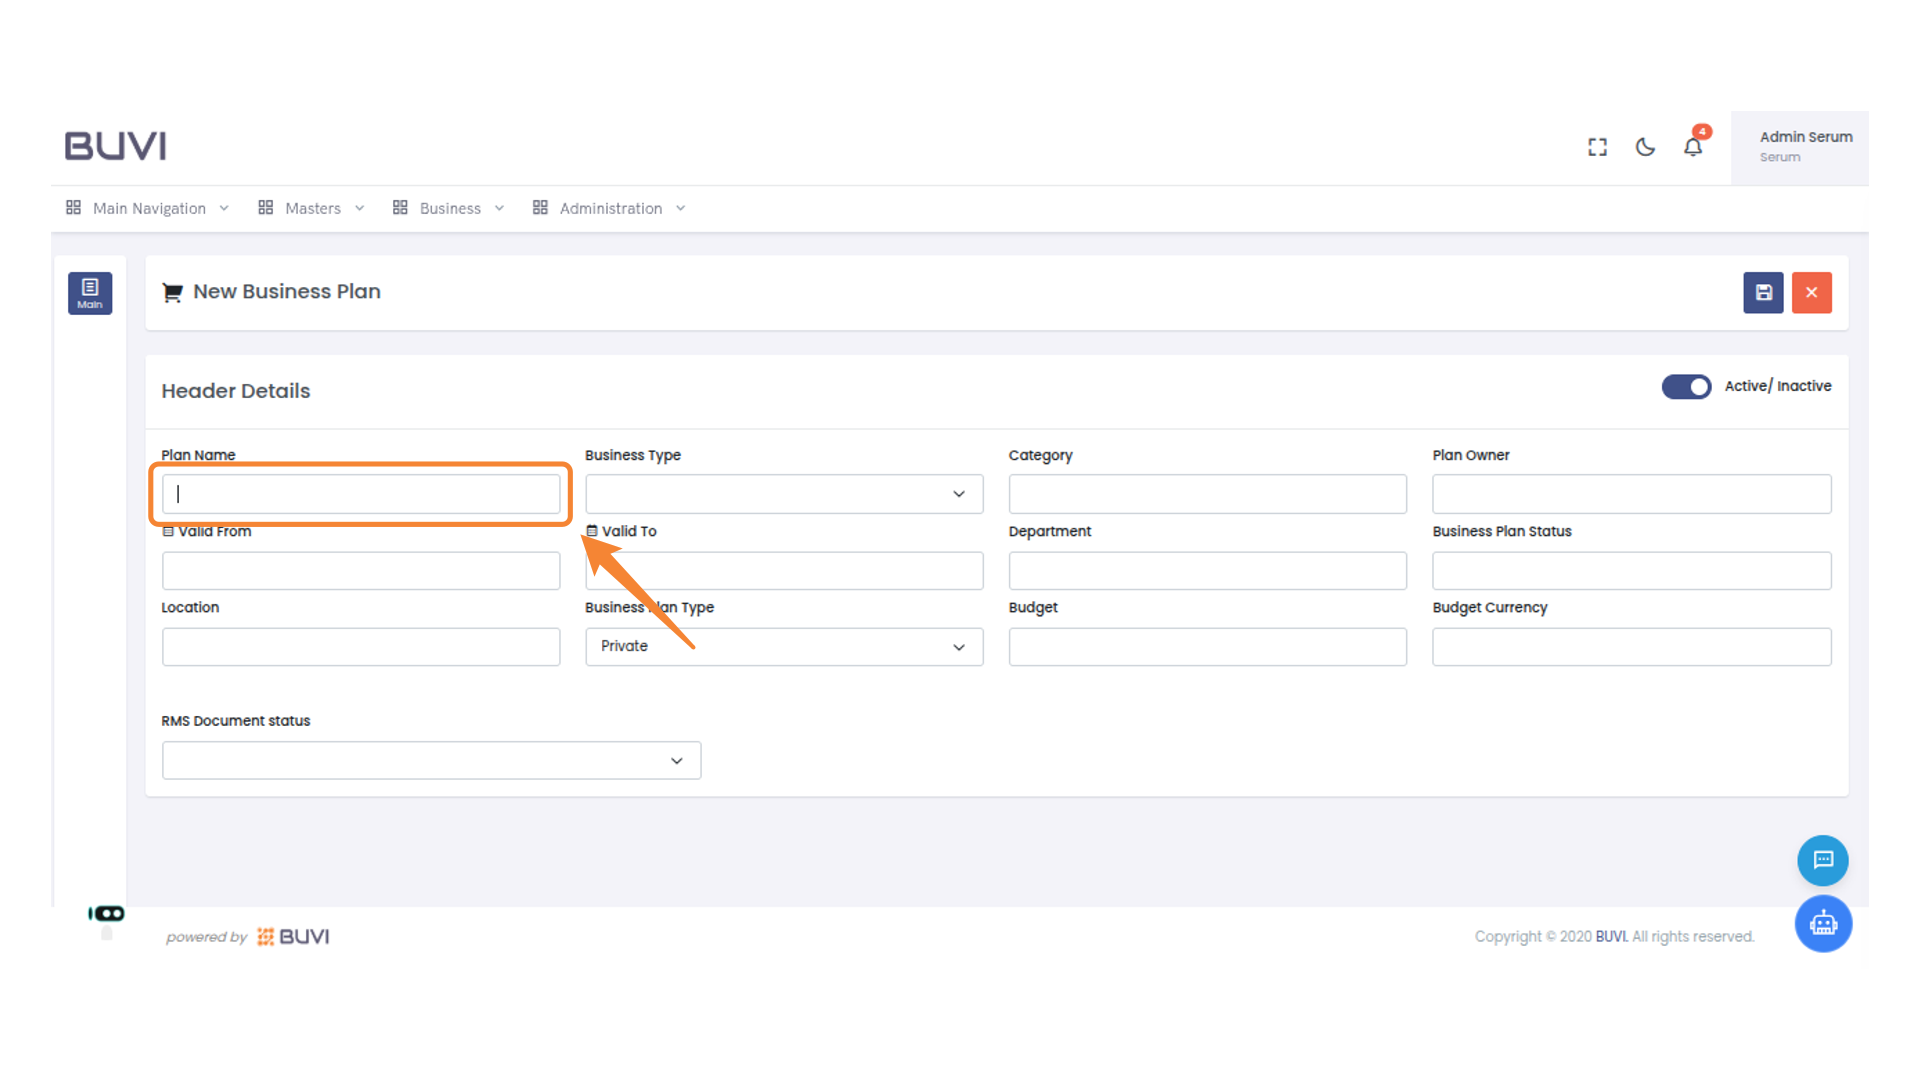
5. Enter Plan Name
Input the name of the plan in the designated field.
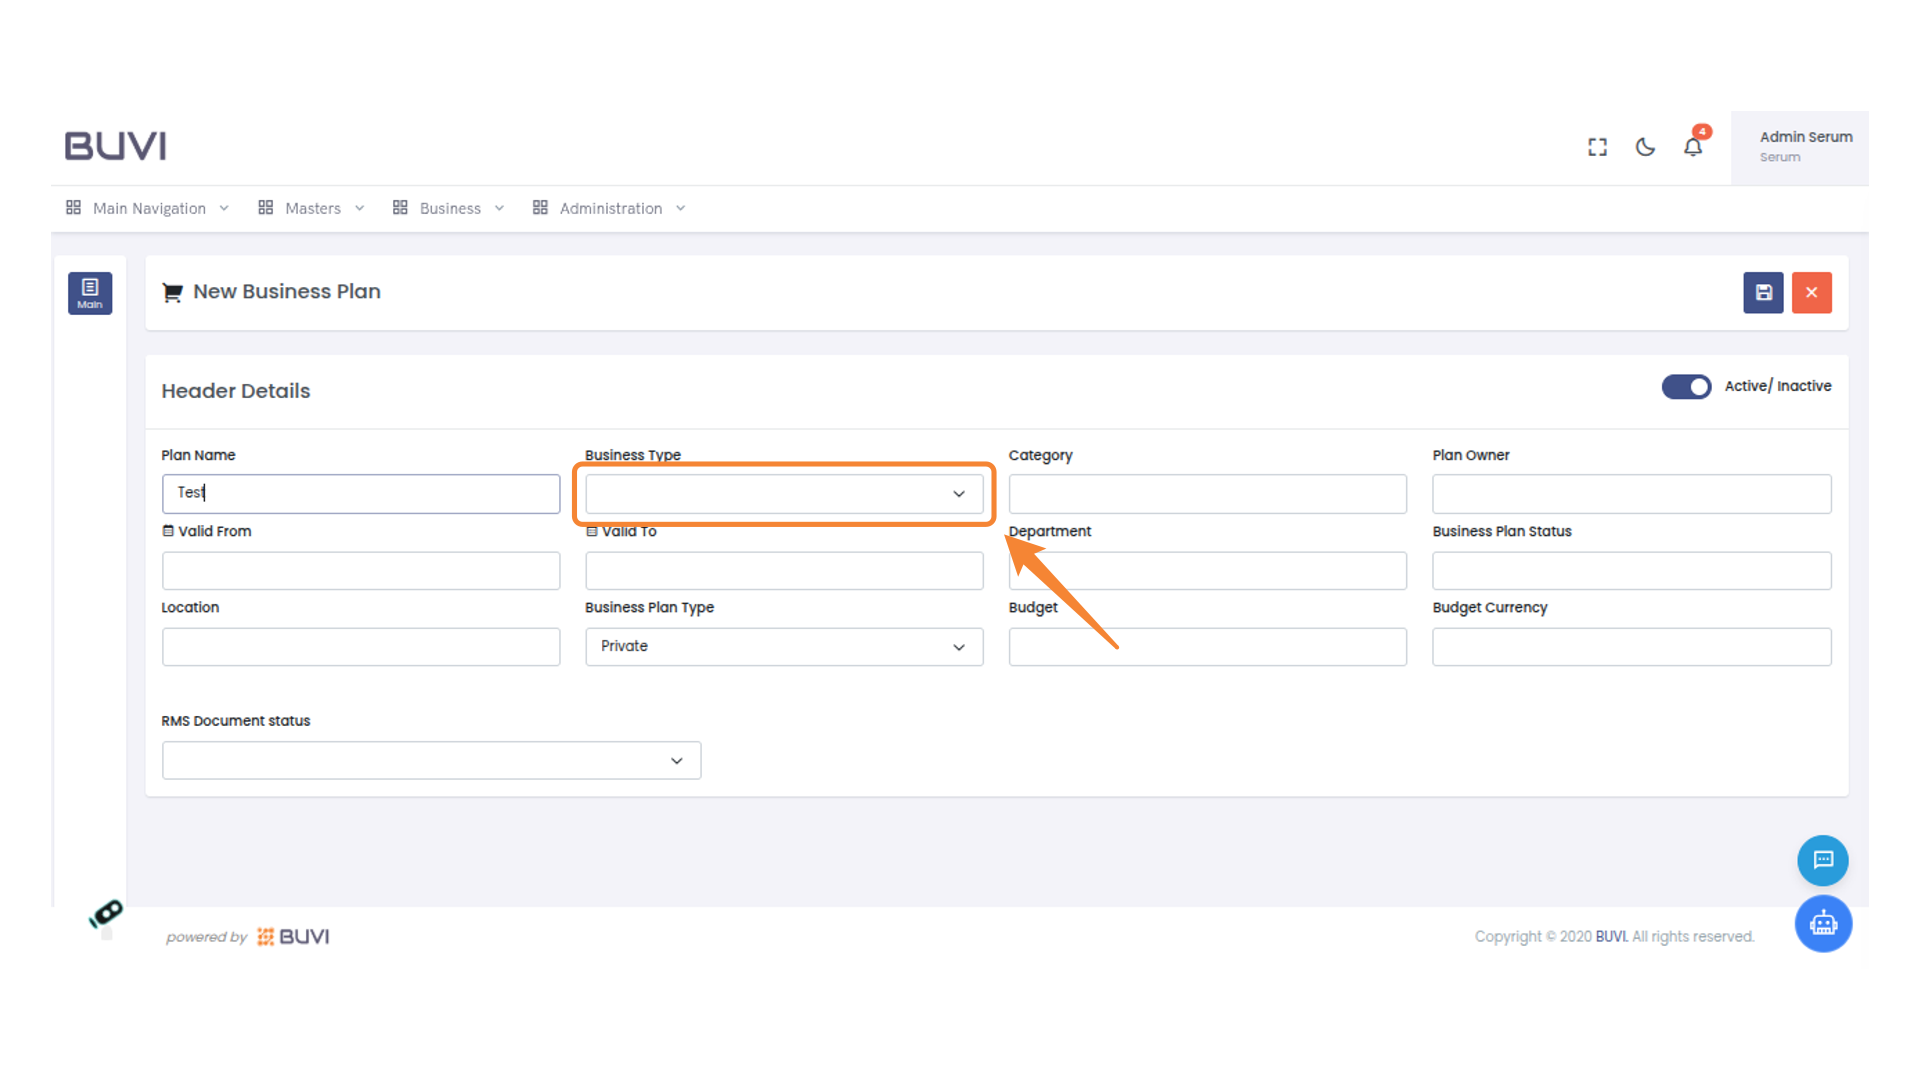
6. Select Business Type
Choose an option from the Business Type dropdown to categorize your plan accordingly.
7. Enter Category Information
Enter Category

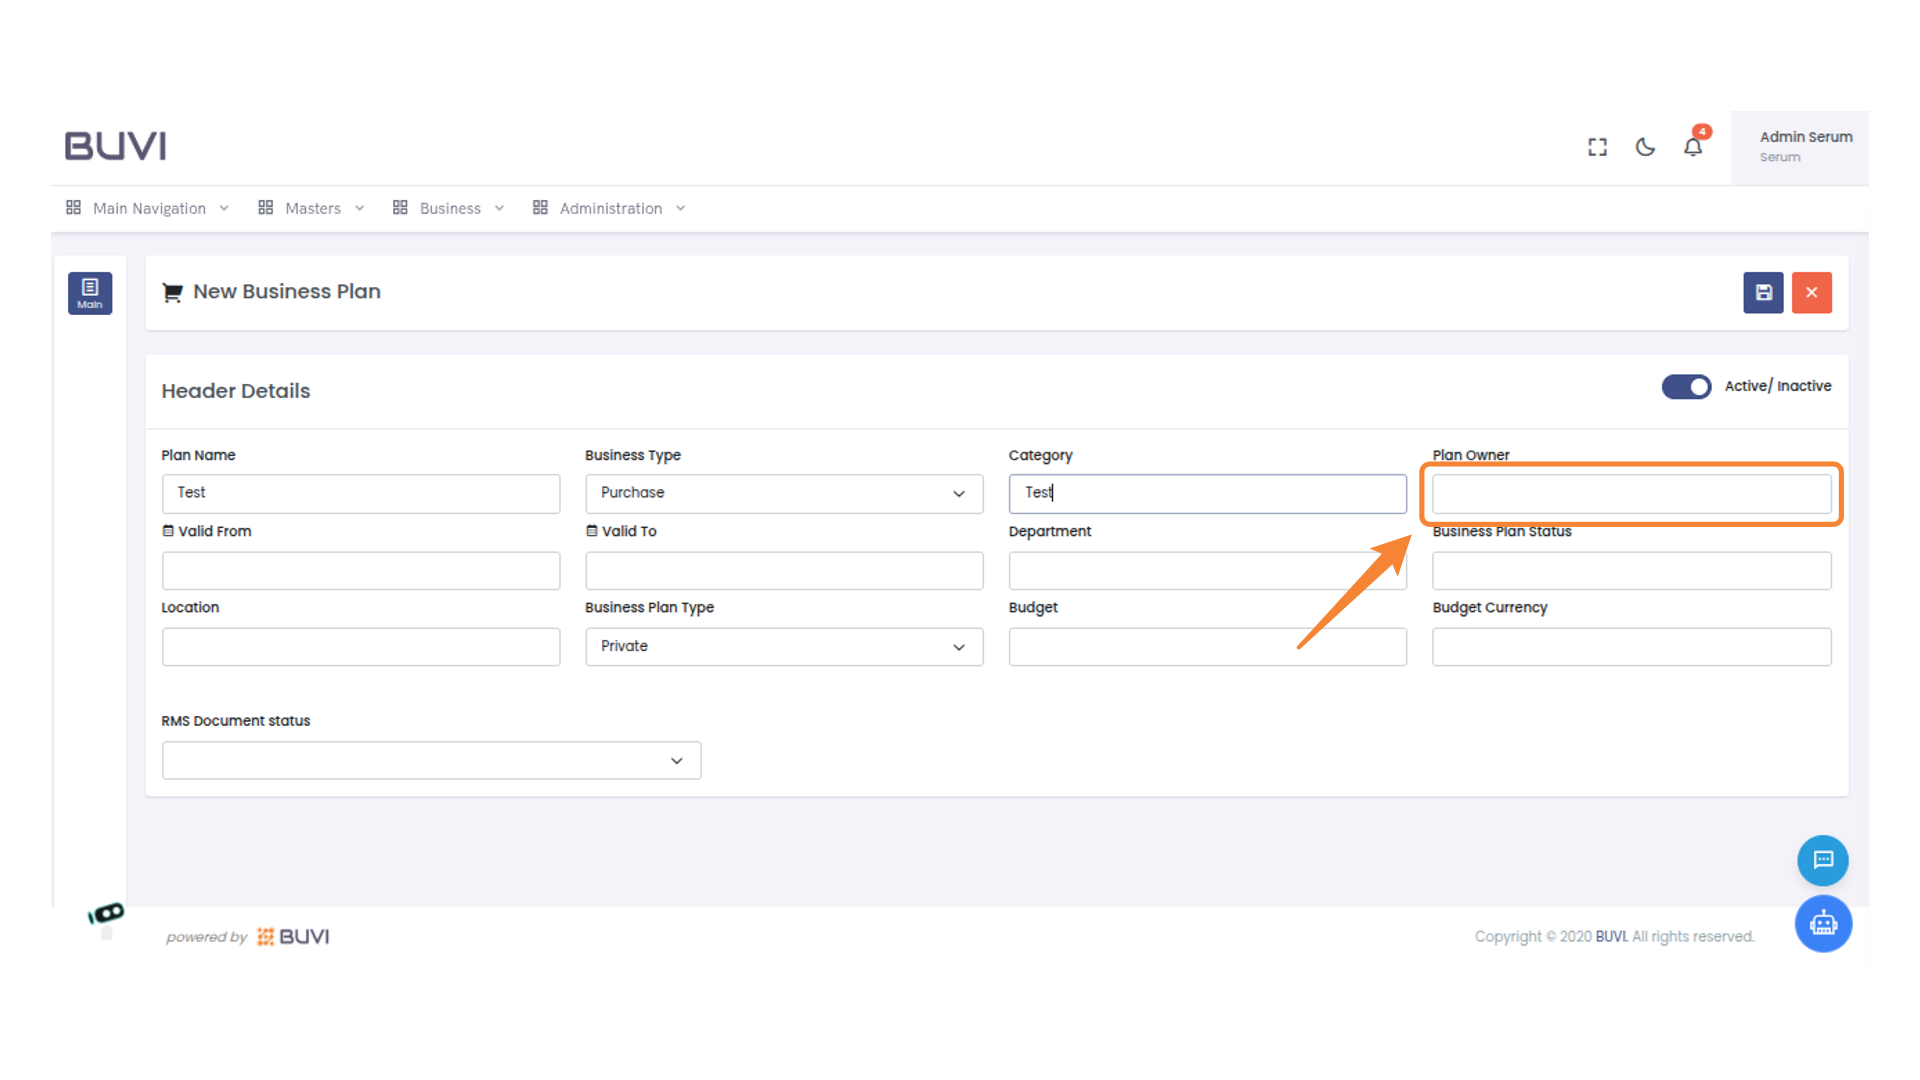
8. Specify Plan Owner
Enter the Plan Owner's name in the designated field to complete the business plan details.
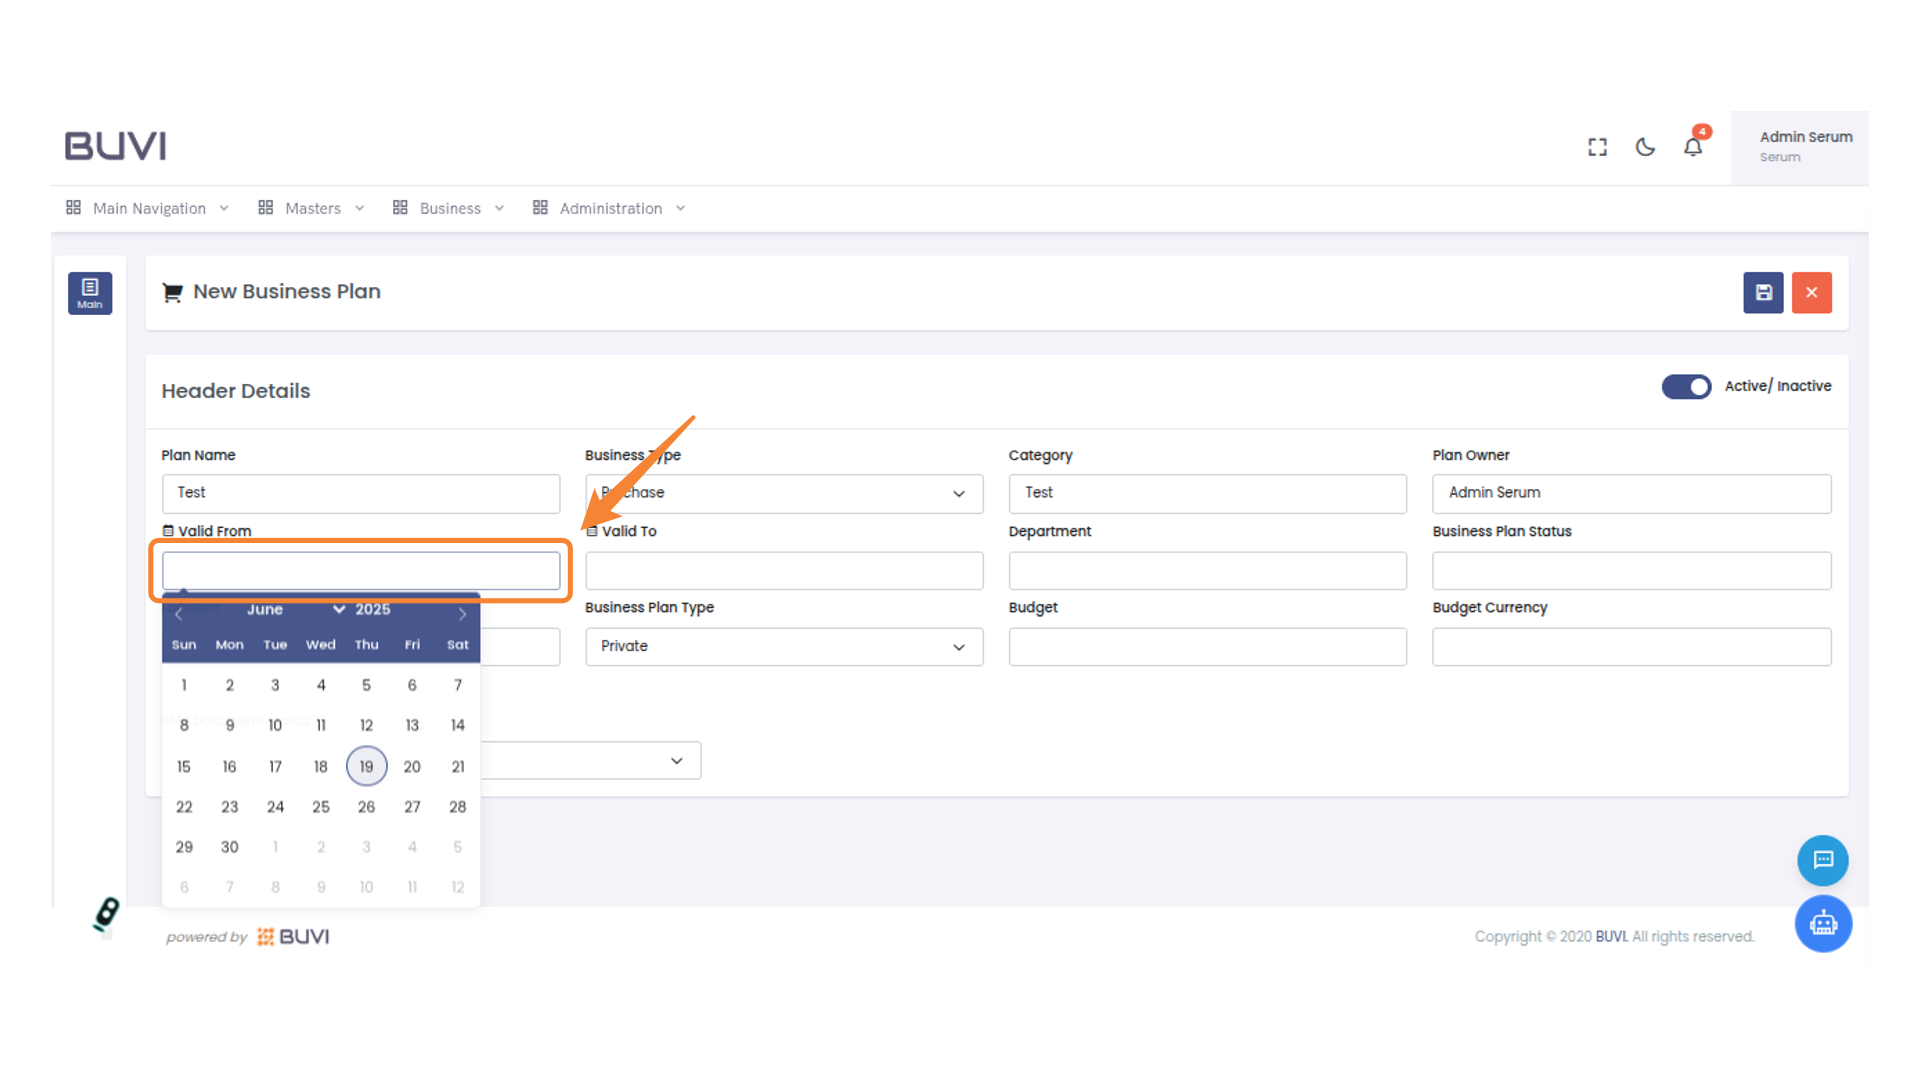
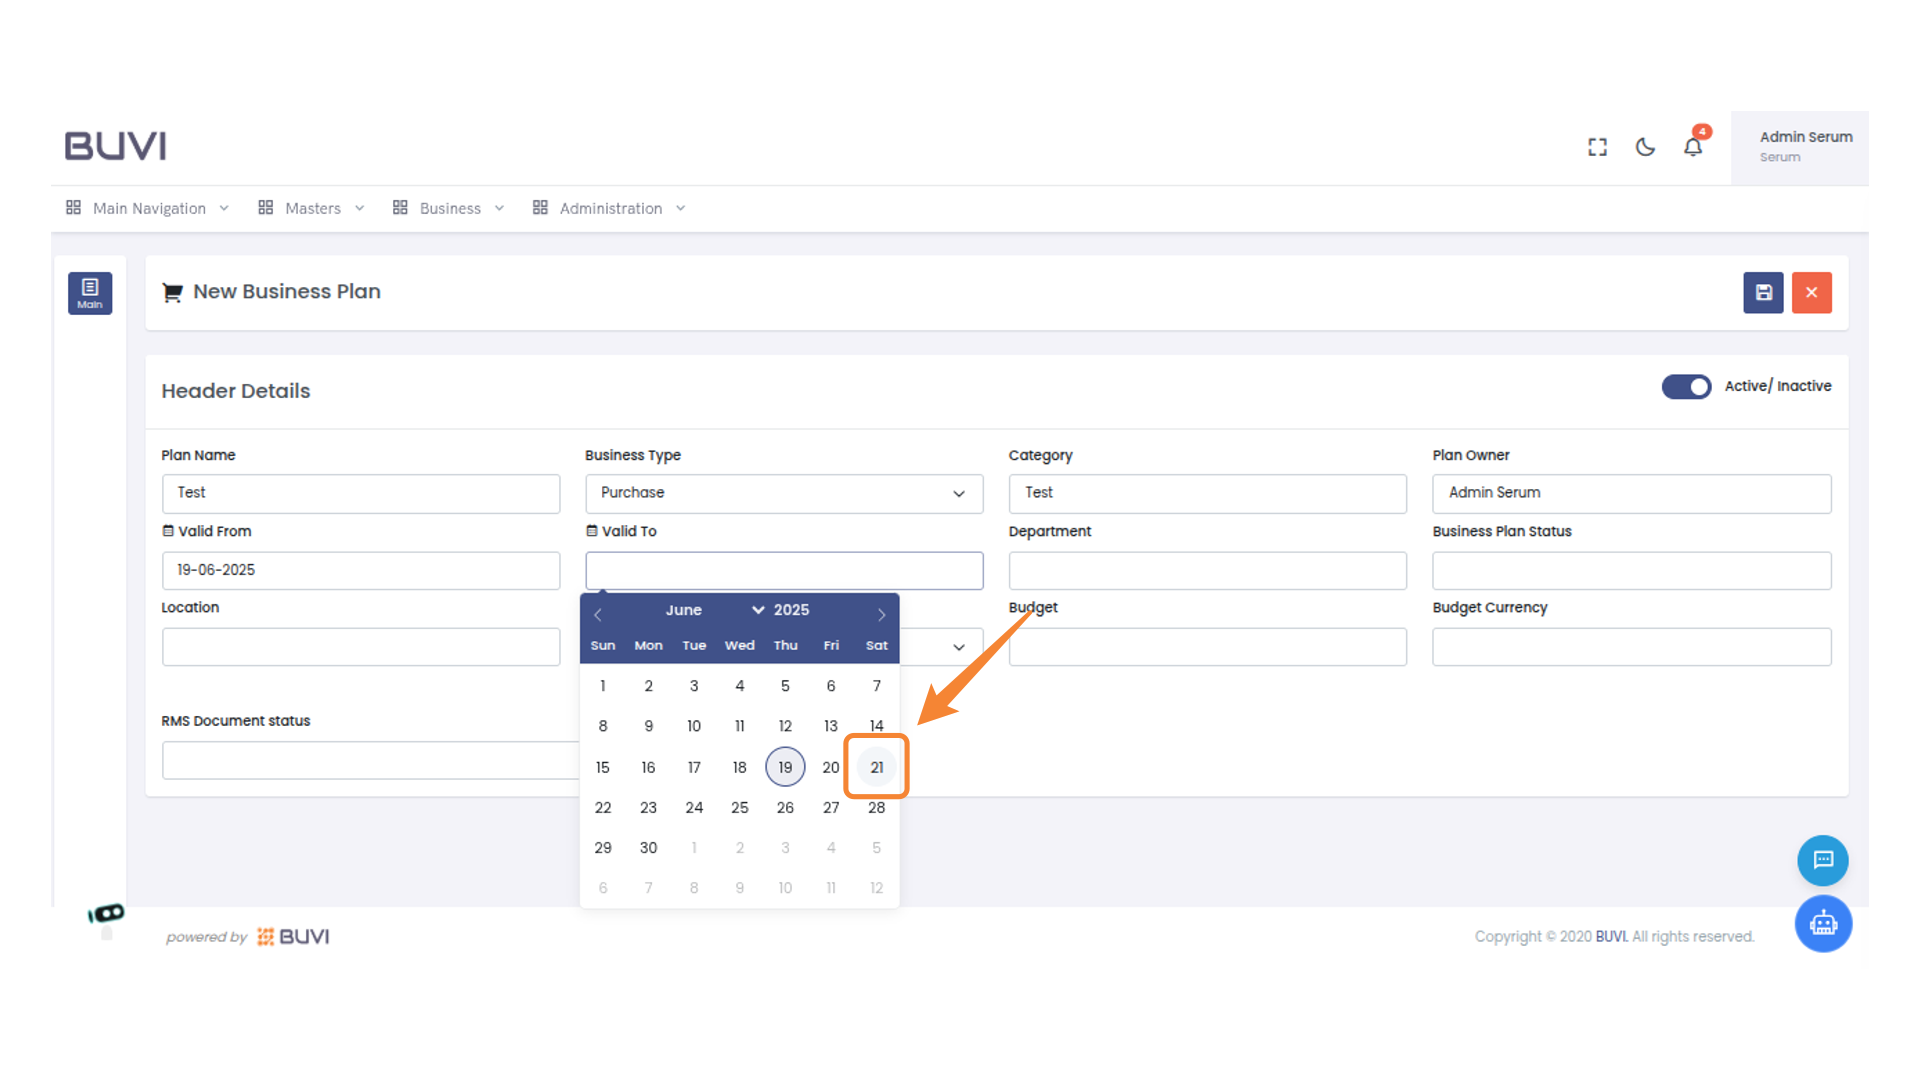
9. Select Validity Date
Select the valid-to date from the calendar to set the business plan's expiration.
10. Select Valid-To Date
Choose a date from the calendar for the 'Valid To' field to determine the end of the business plan validity period.
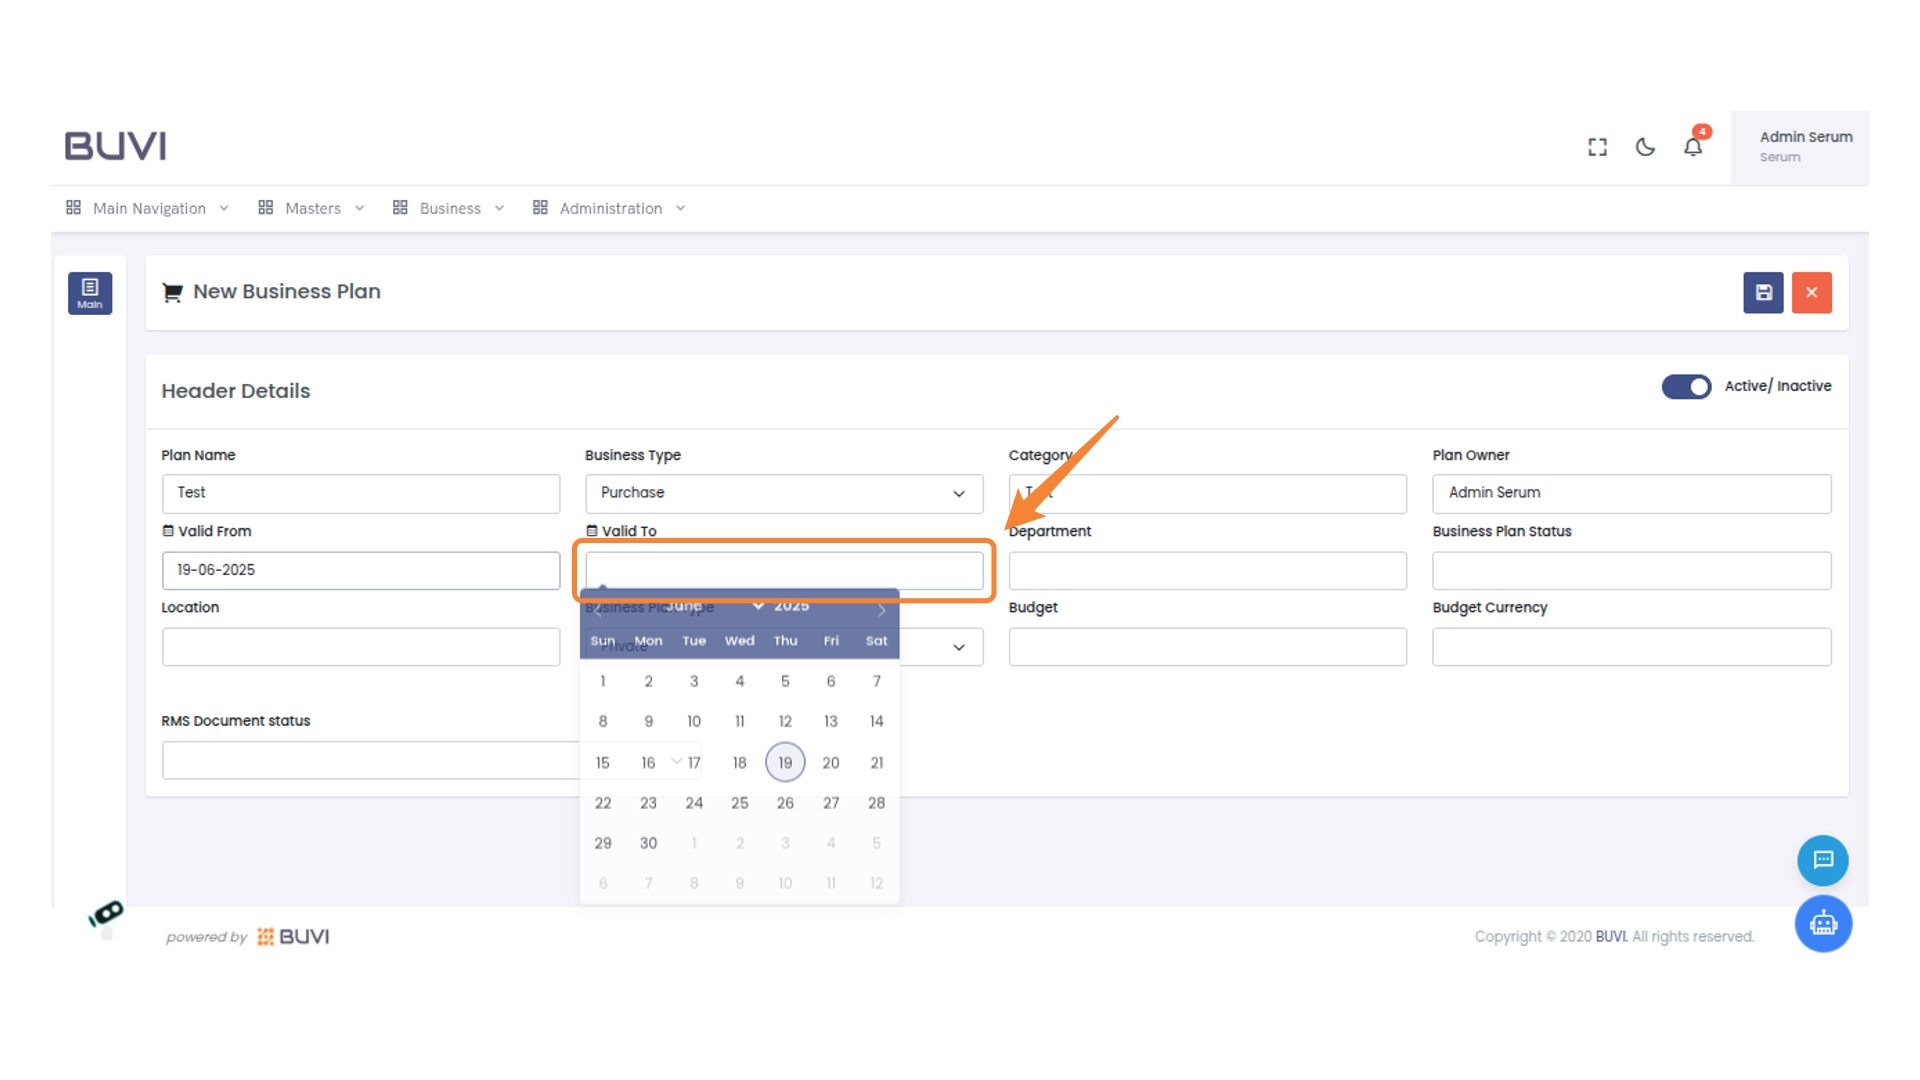
11. Select Date for Business Plan
Click on the highlighted date in the calendar to set the 'Valid To' date for the new business plan.
12. Enter the Department
Input the department name in the provided text box to categorize the business plan accurately.

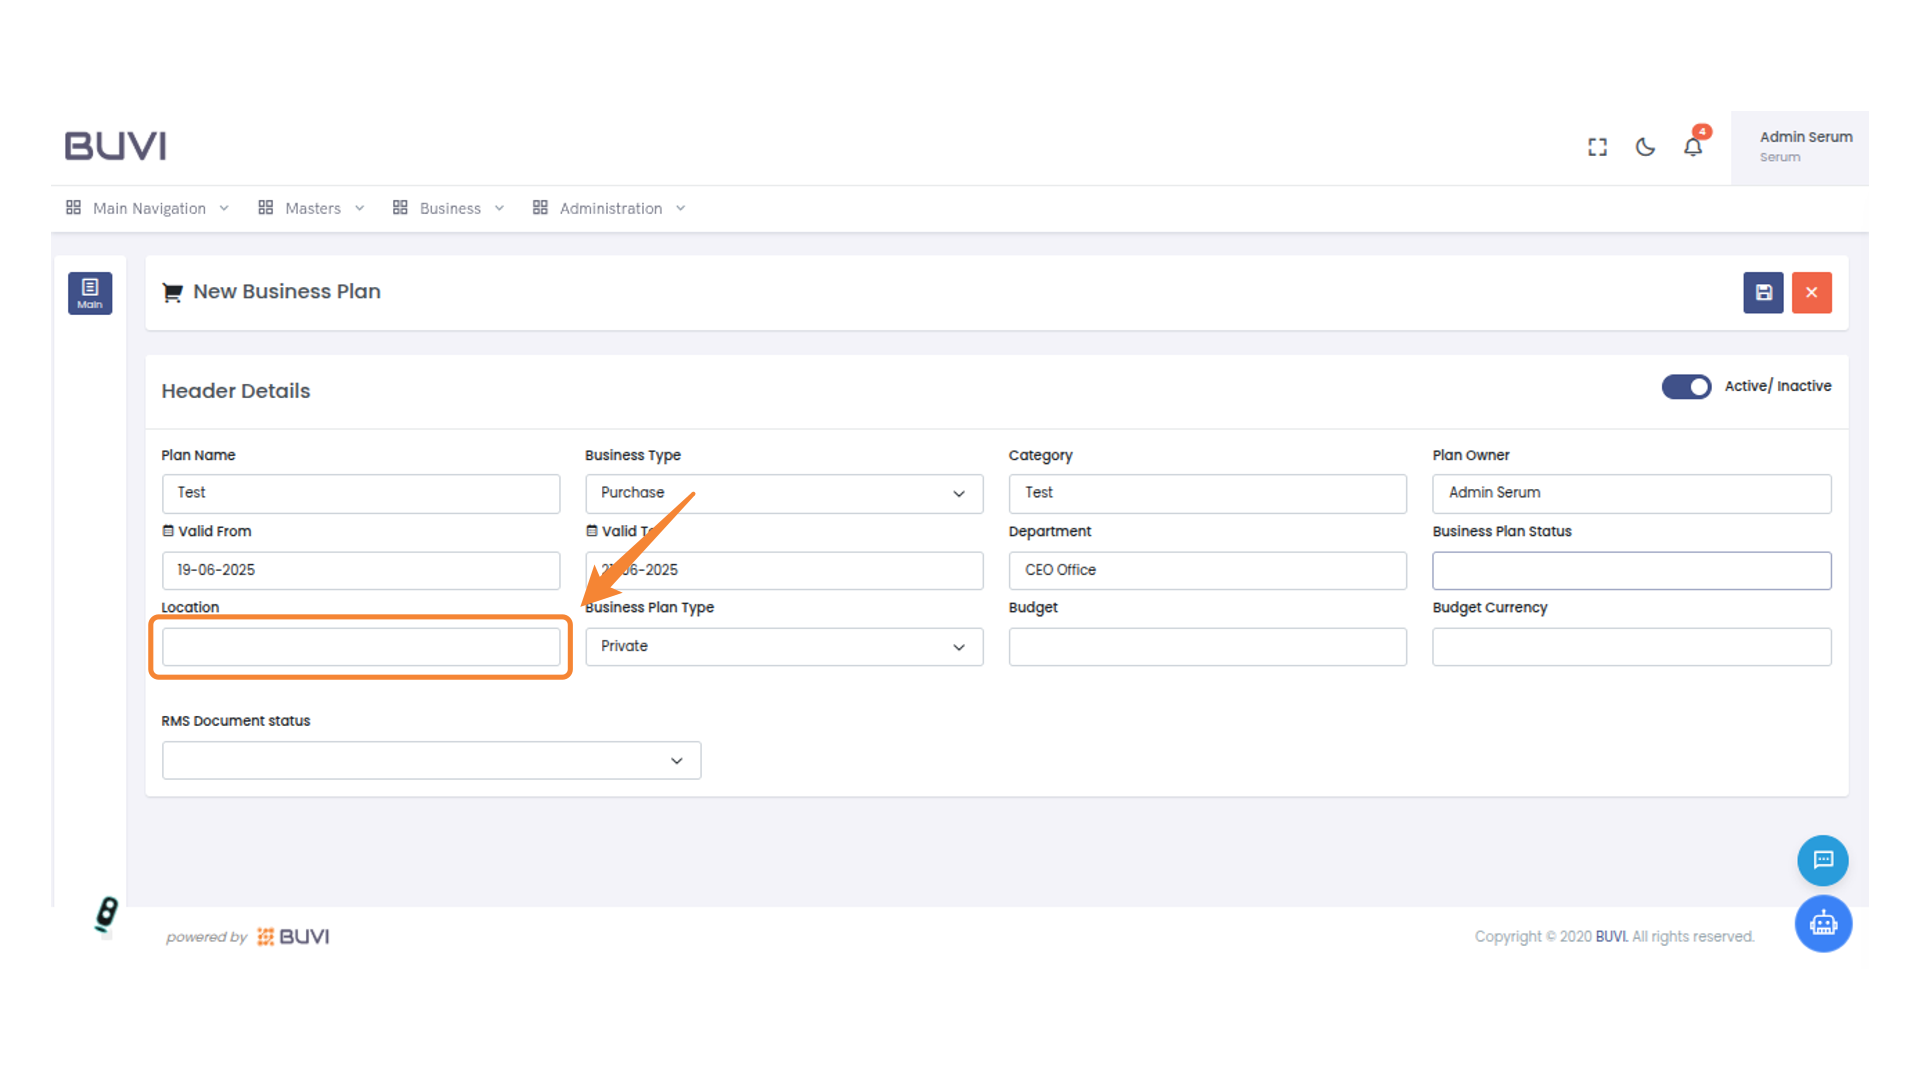
13. Enter Location Details
Fill in the location field with the appropriate details for the business plan.
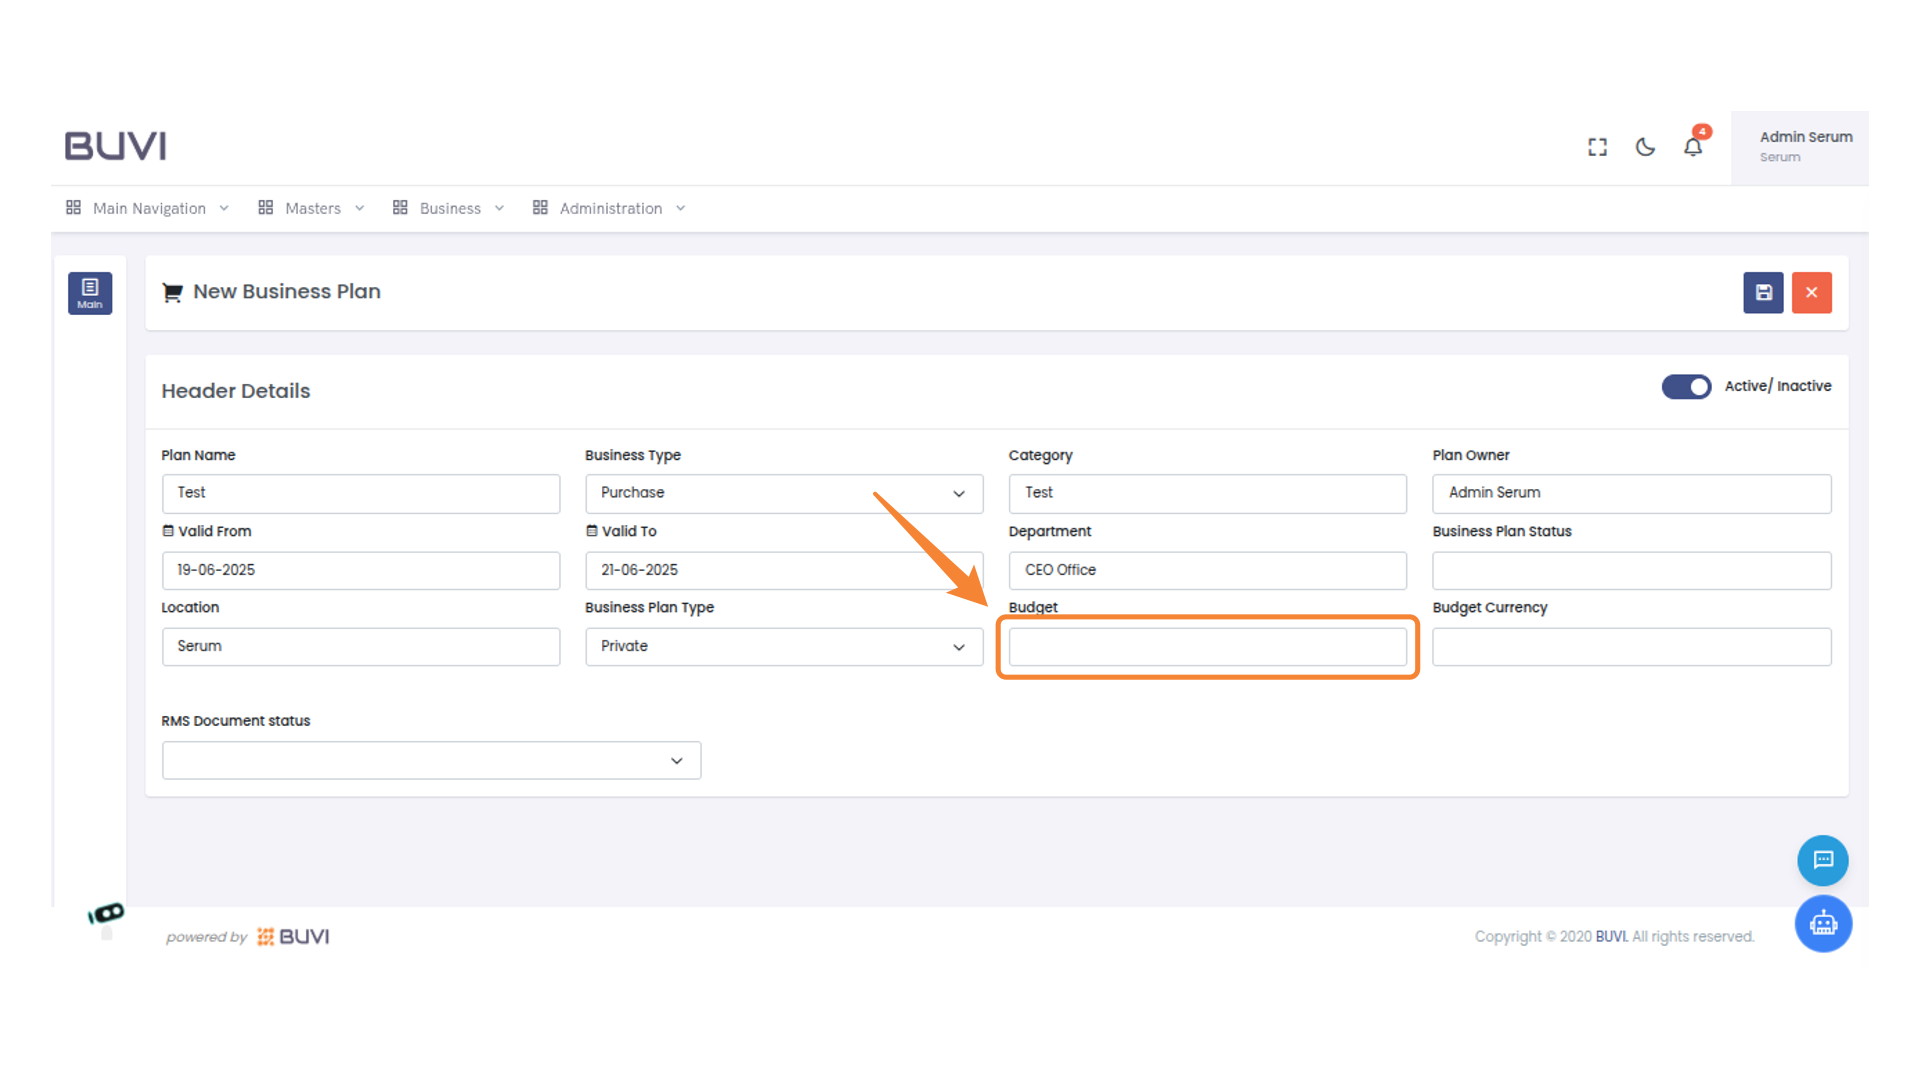
14. Input Budget Information
Enter the budget amount in the designated field to set financial limits for the business plan.
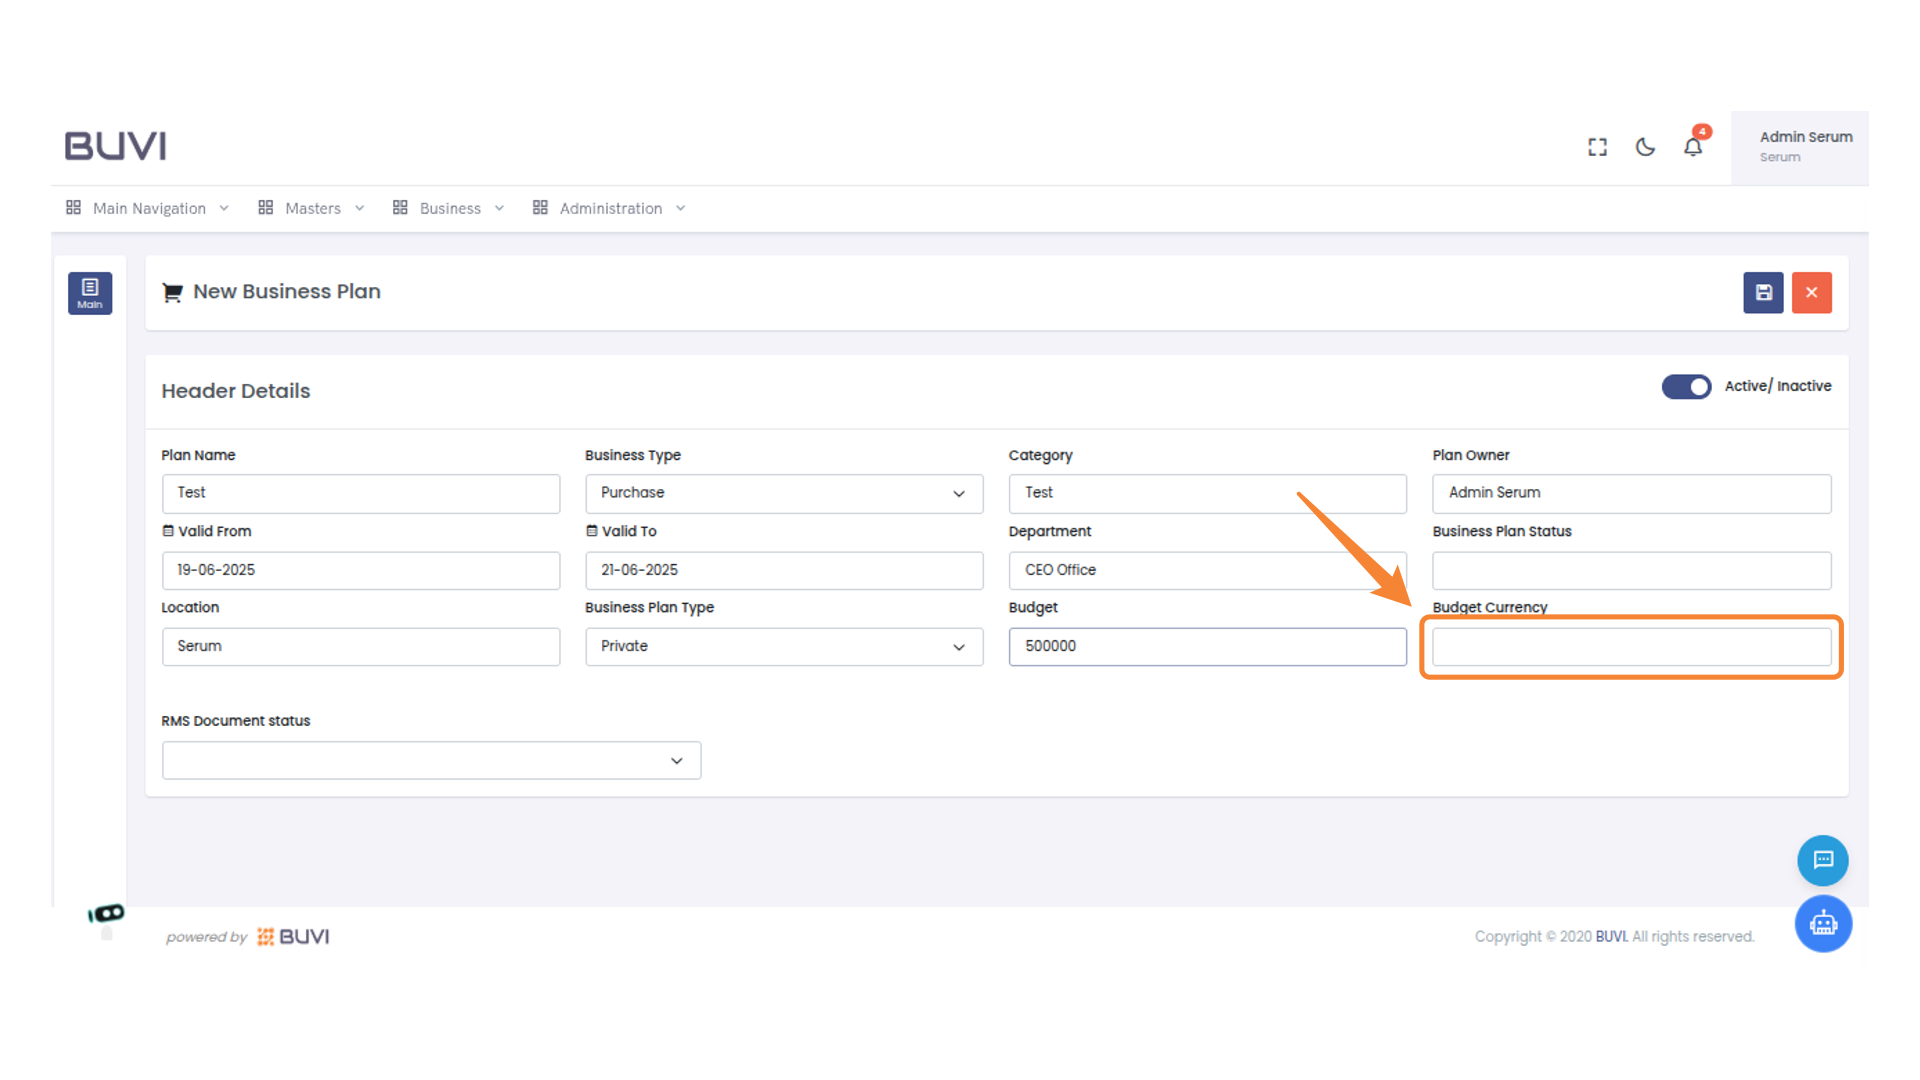
15. Enter Budget Currency
Input the currency for the budget allocation.
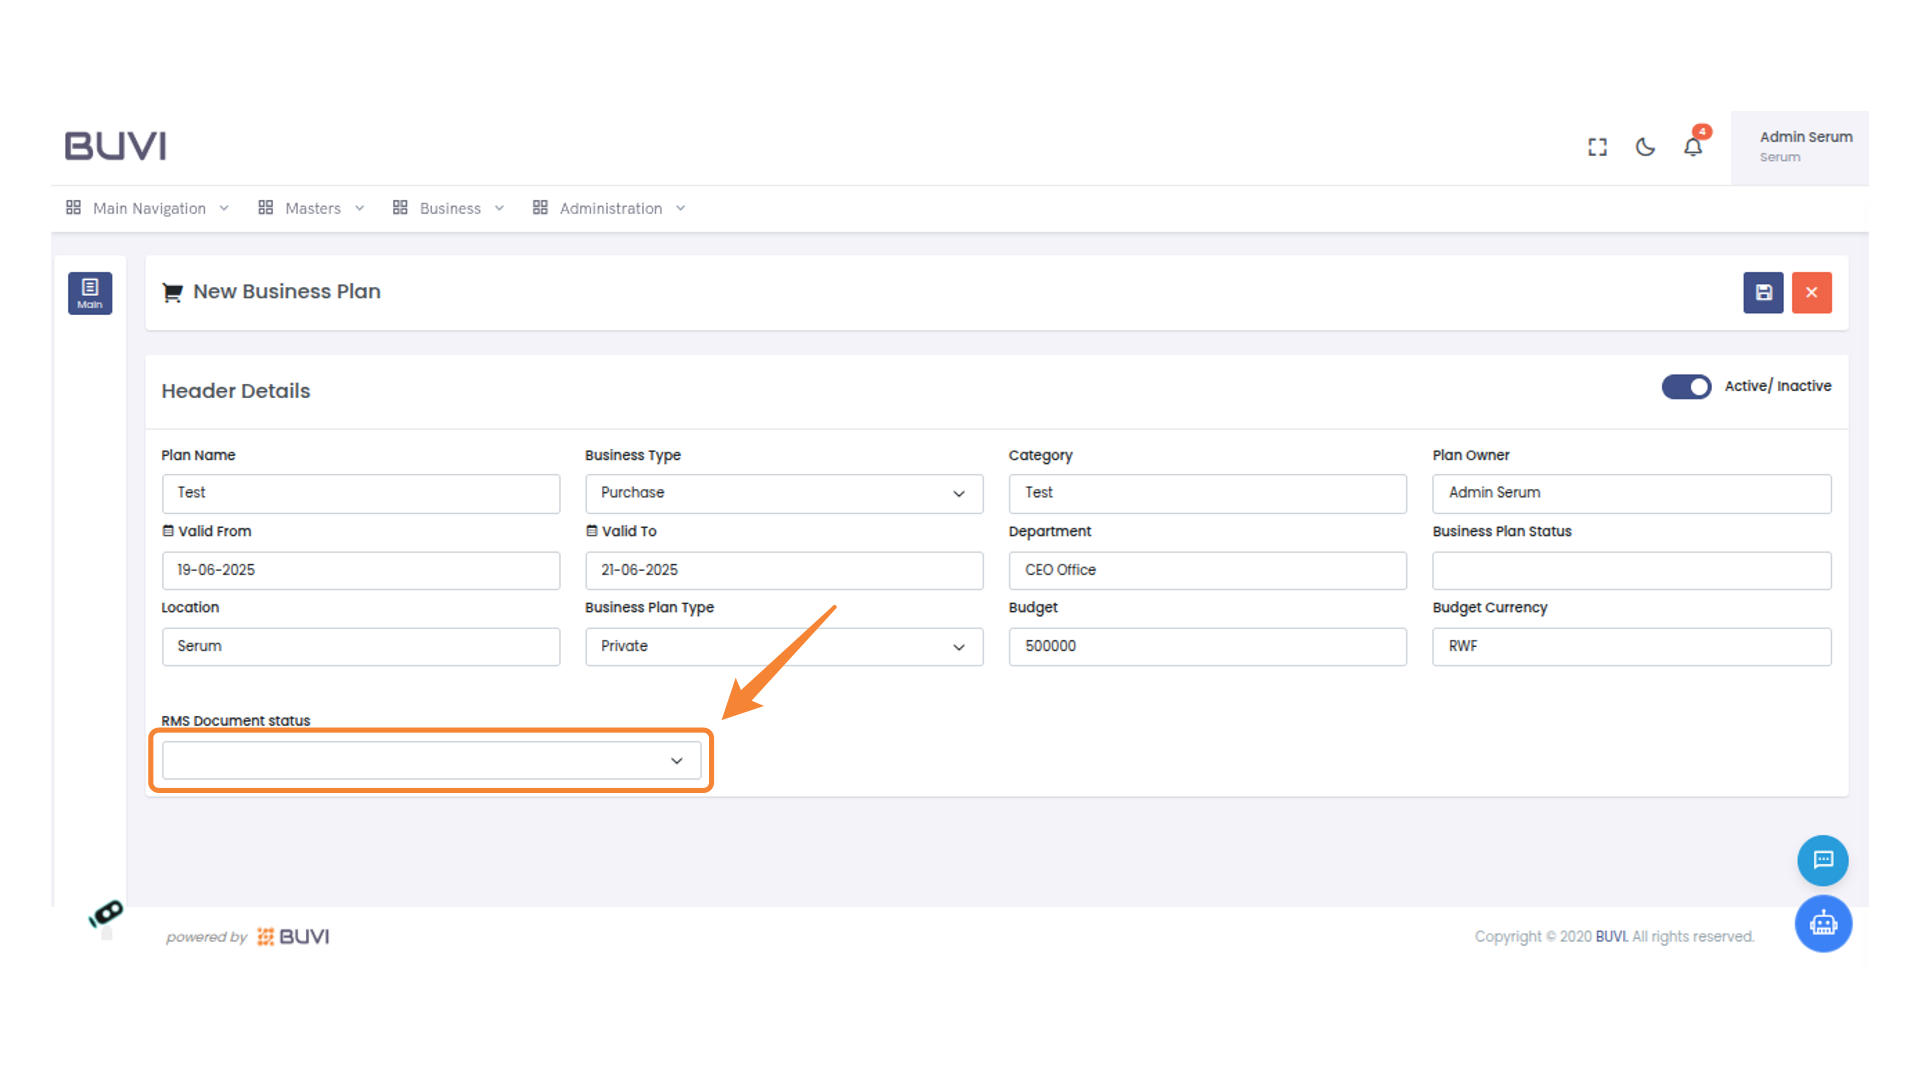
16. Select RMS Document Status
Click to choose an RMS Document Status from the dropdown menu.
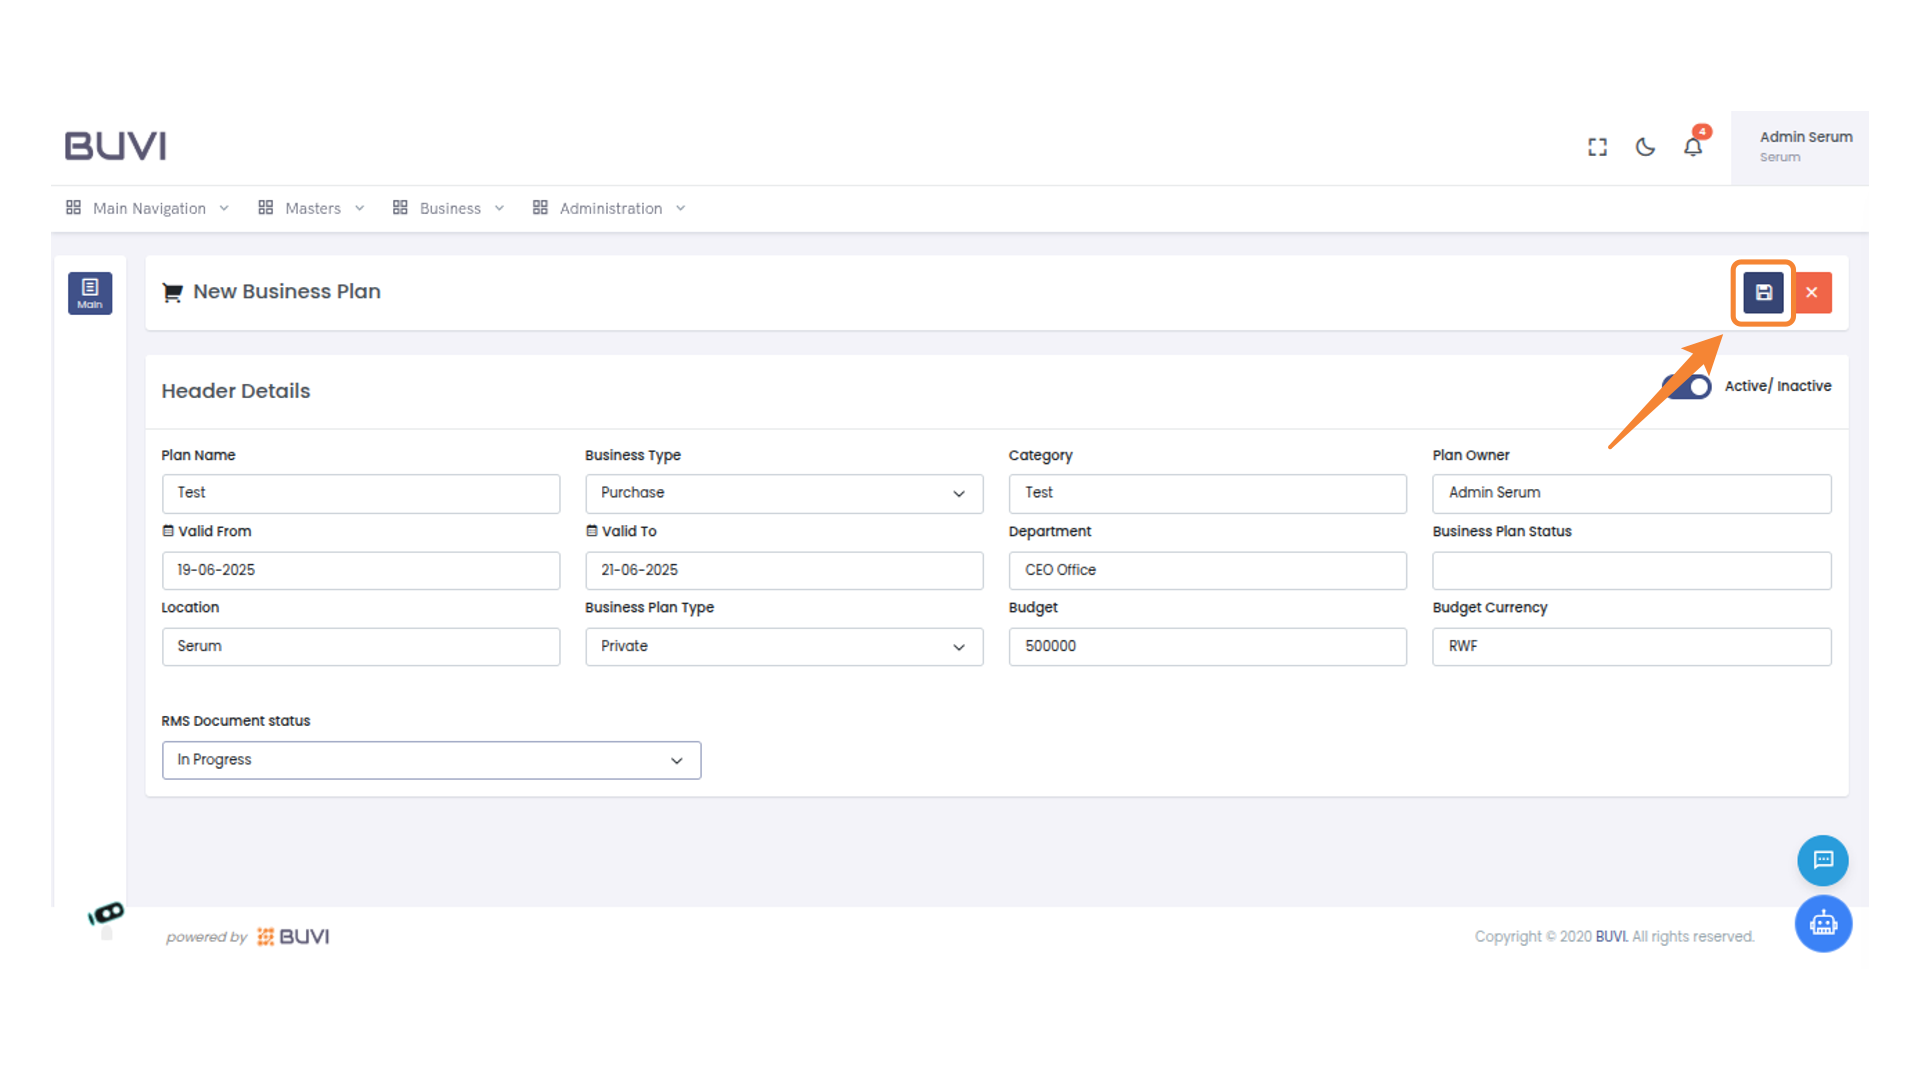
17. Save Your New Business Plan
Click the save icon to store your new business plan.
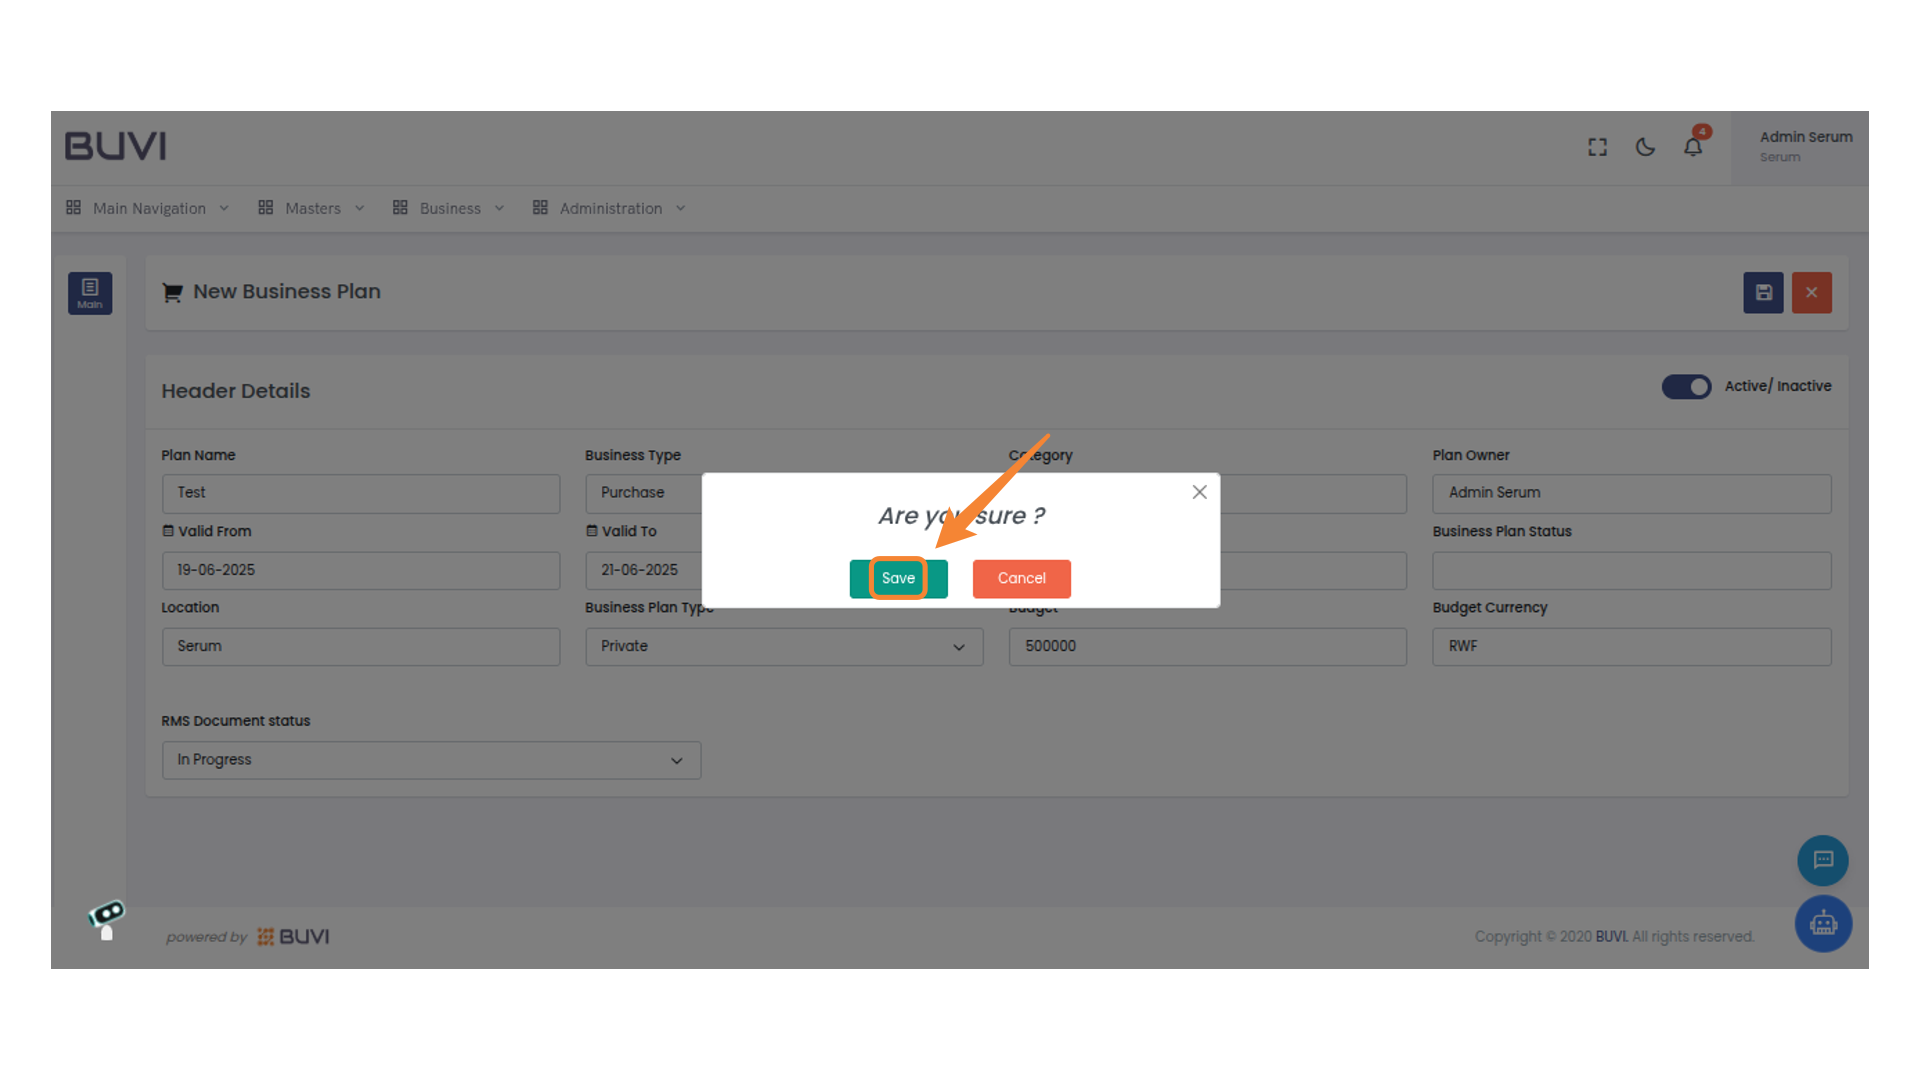
18. Confirm and Save
Click 'Save' to confirm your action.
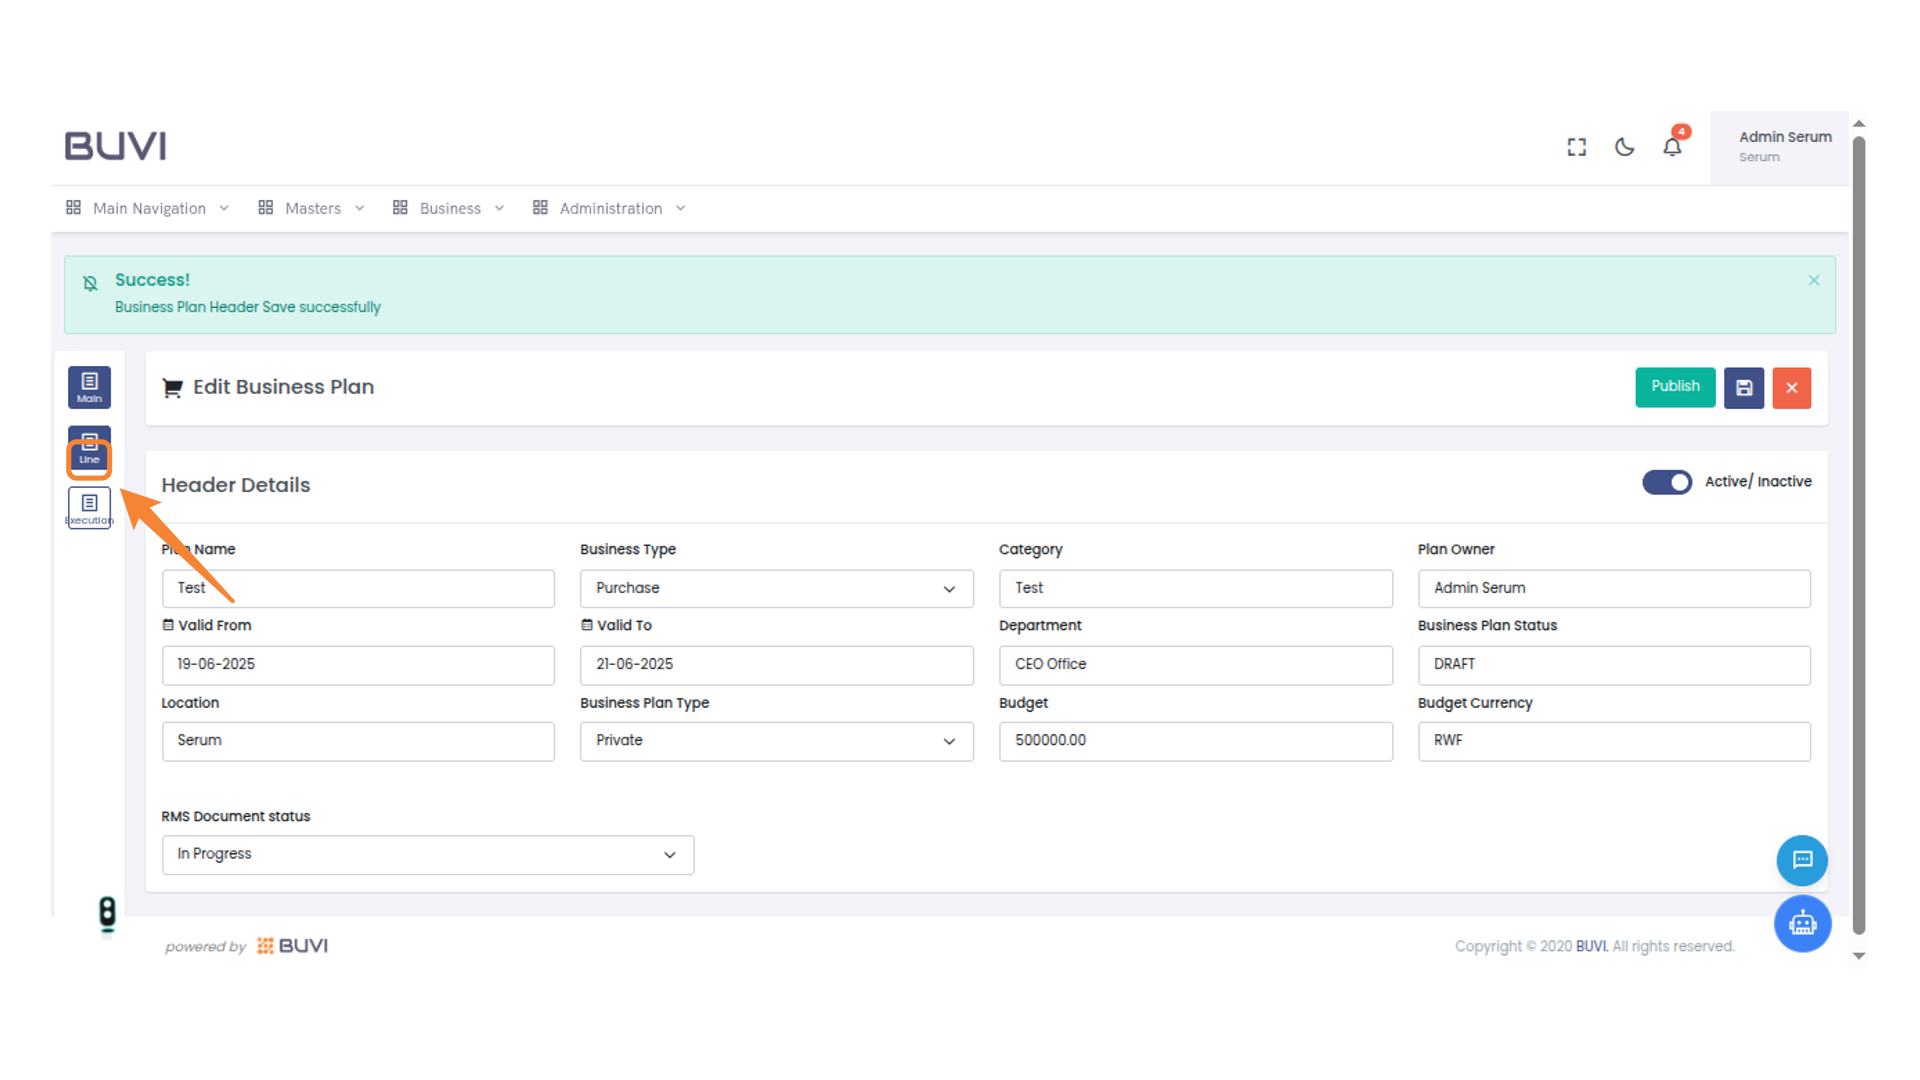
19. Activate the Line View
Click the Line icon to switch to the Line view section for further details.
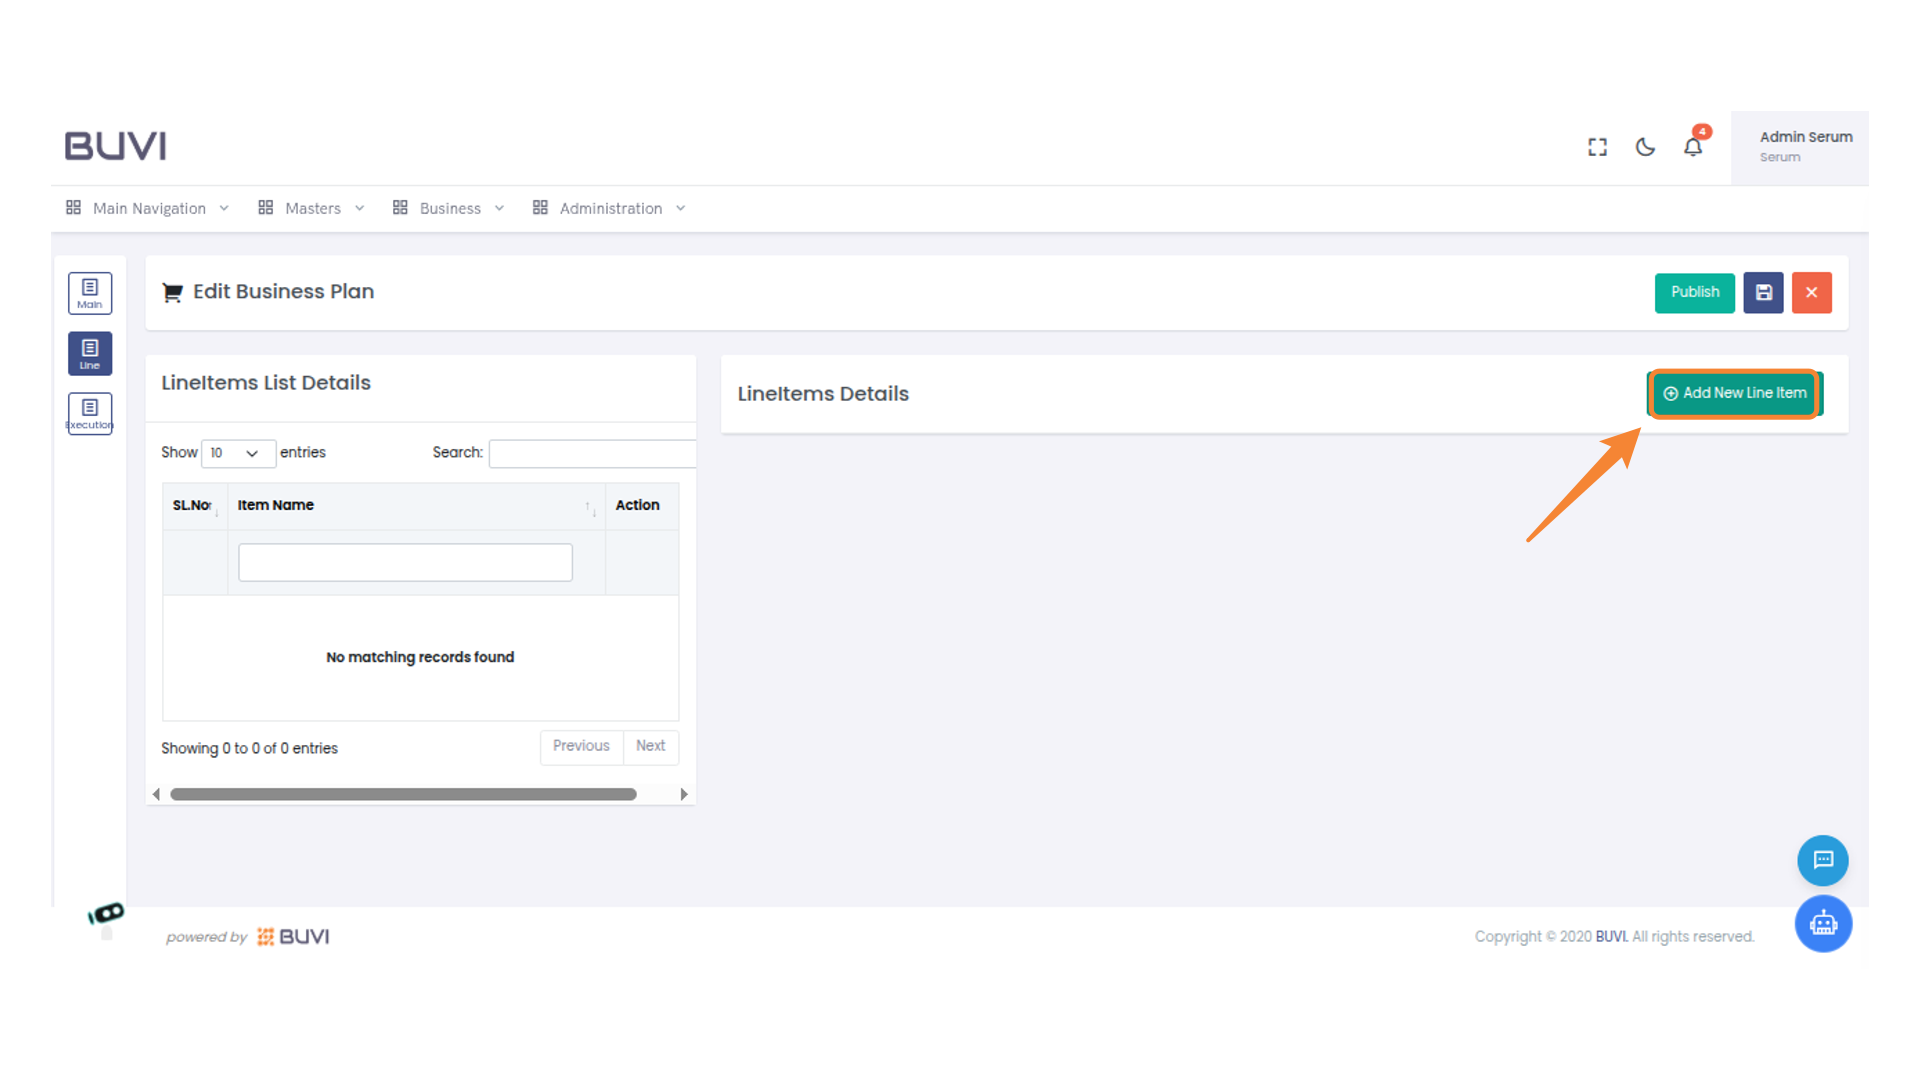
20. Add a New Line Item
Click 'Add New Line Item' to insert a new entry into the list.
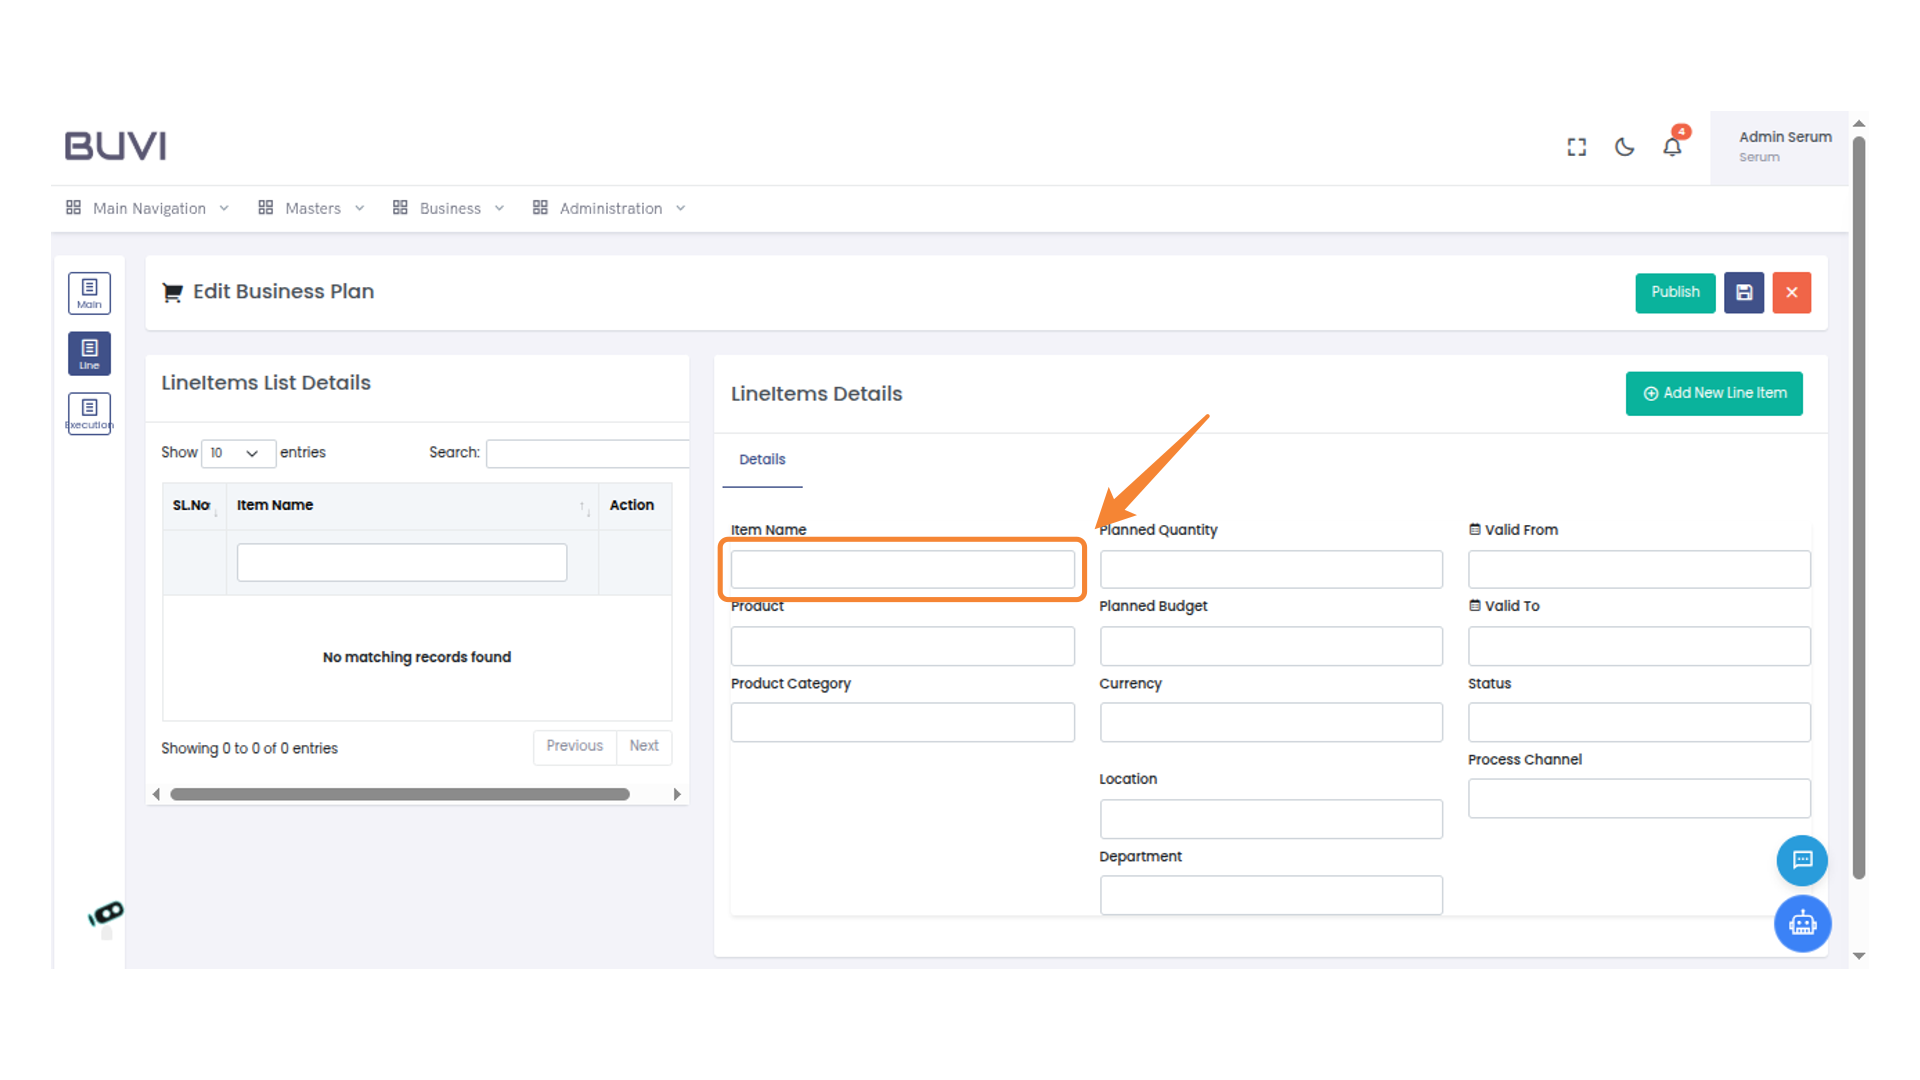
21. Enter Item Name
Enter the name of the item in the designated field.
22. Enter Product Name
Enter the product name in the provided text box.

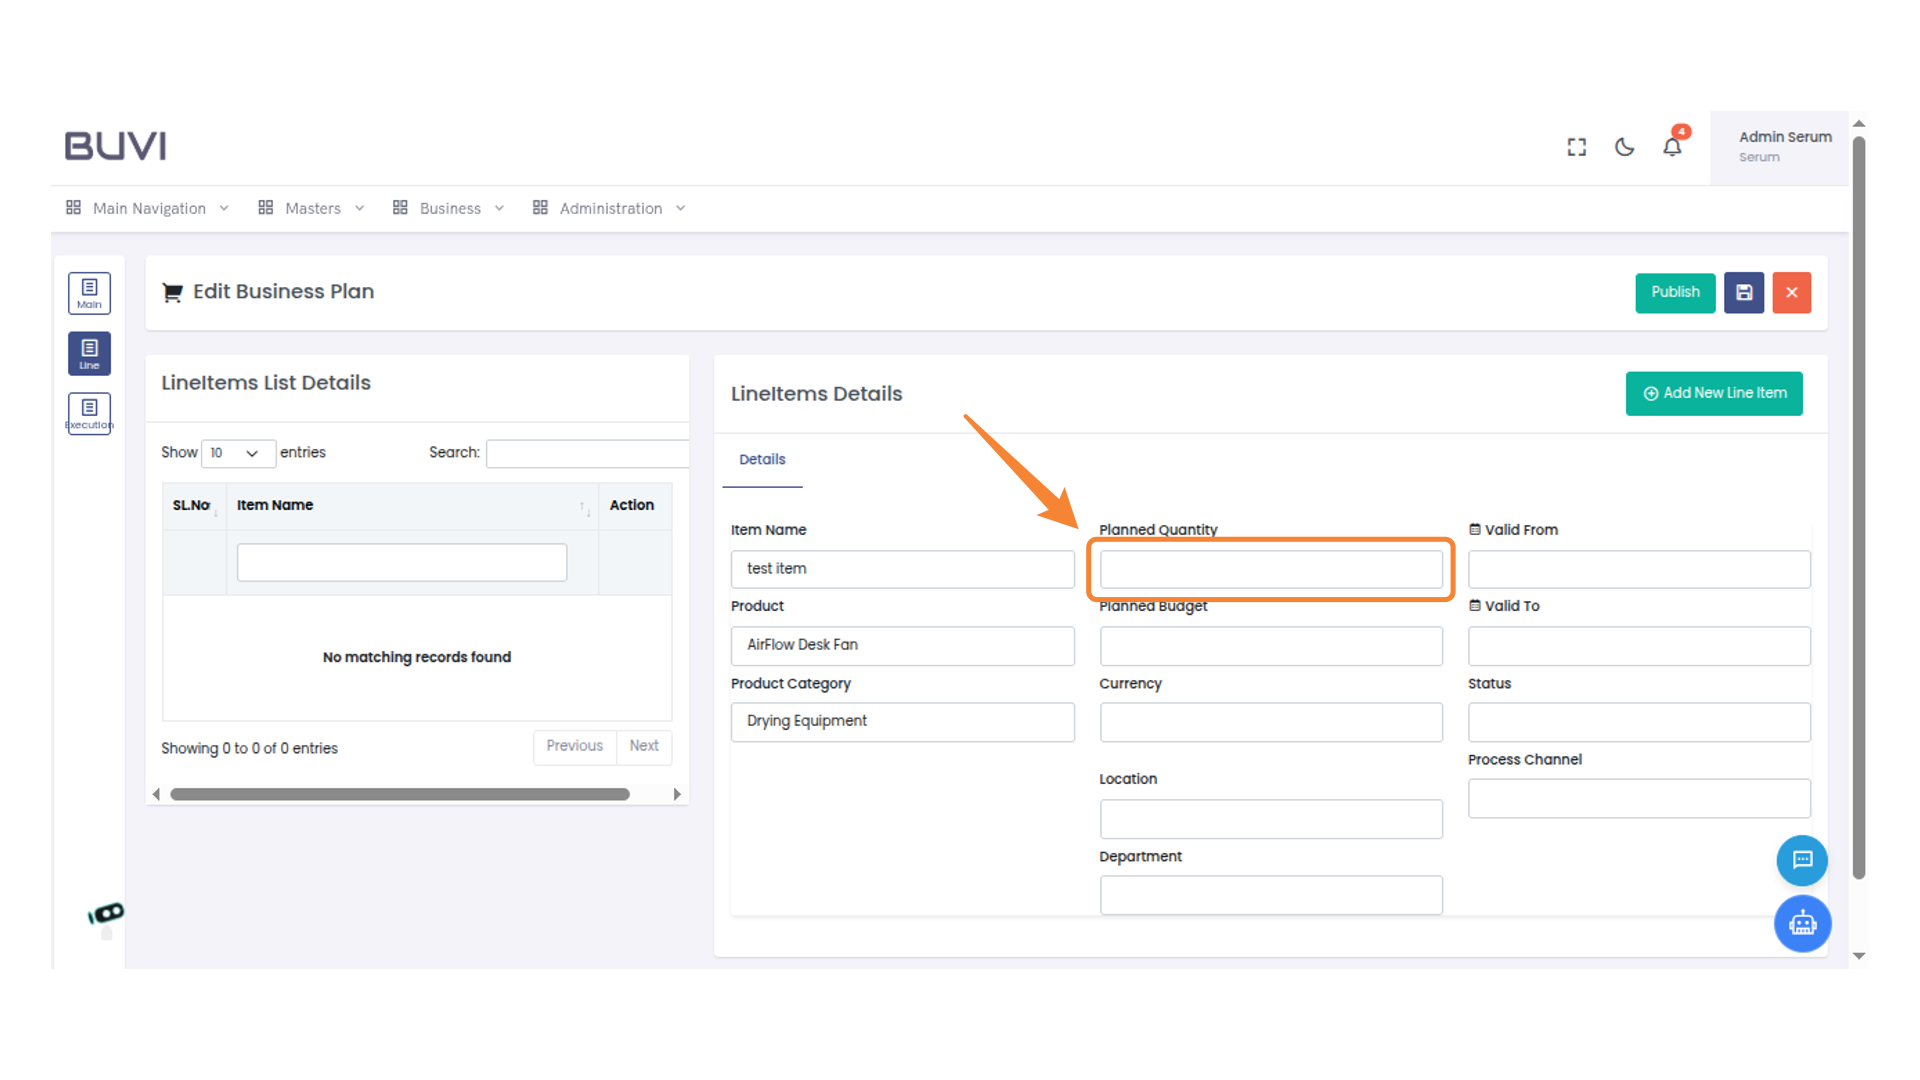
23. Enter Planned Quantity
Input the planned quantity for the line item.
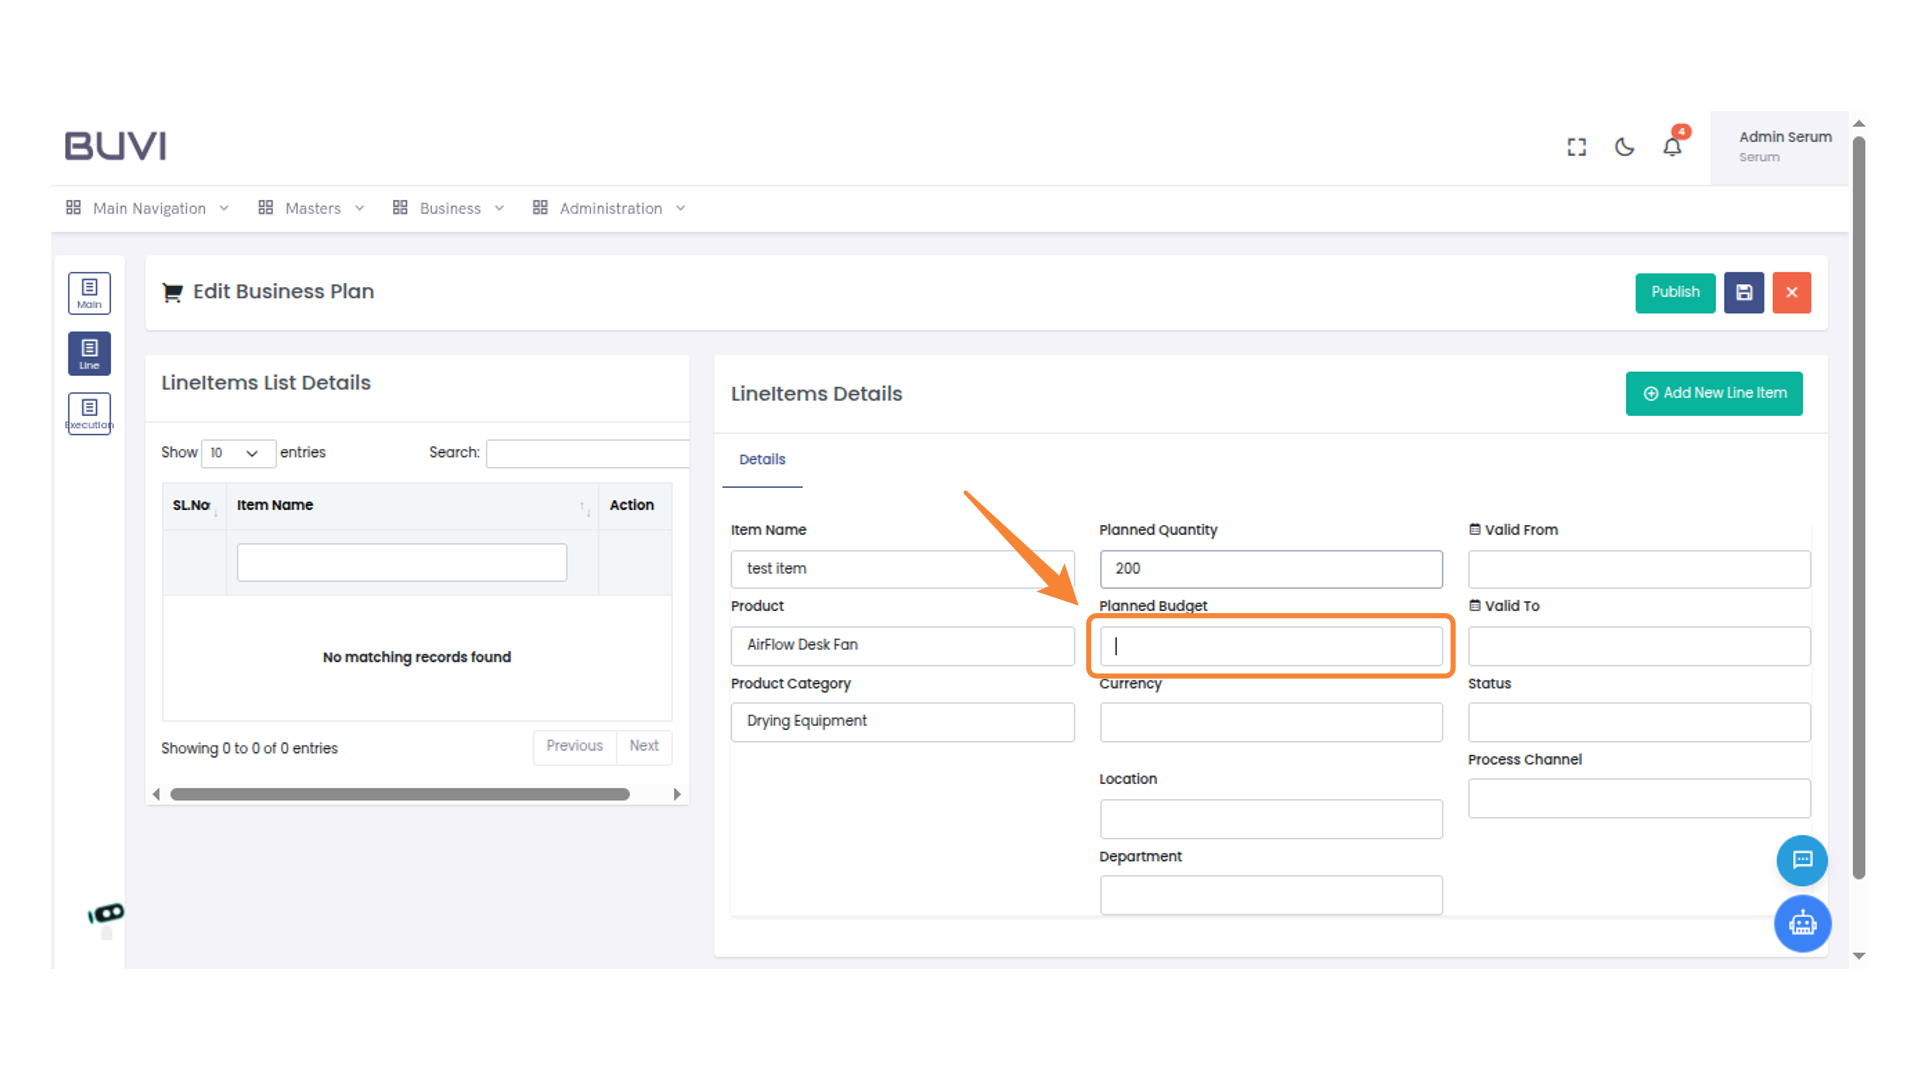
24. Enter Planned Budget
Enter the planned budget amount for the product into the designated field.
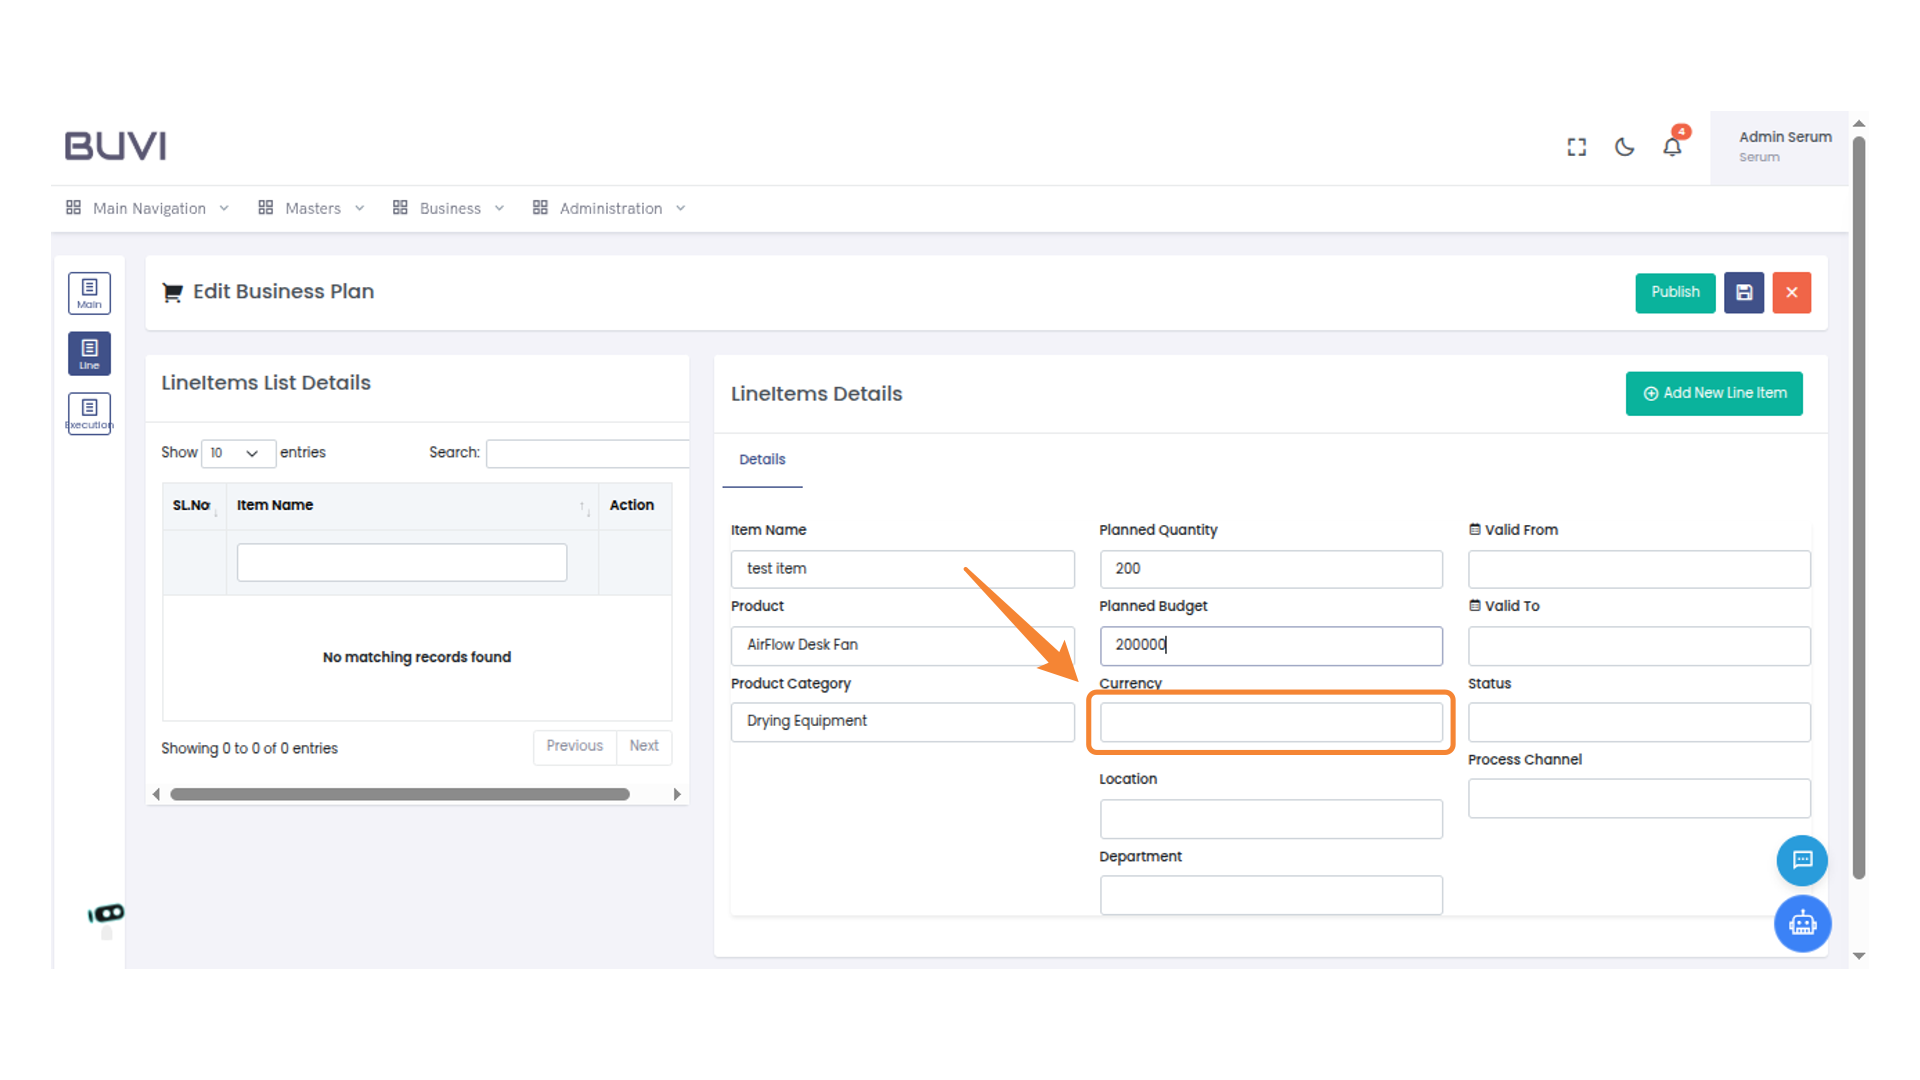
25. Enter Currency Type
Input the type of currency used for the planned budget.
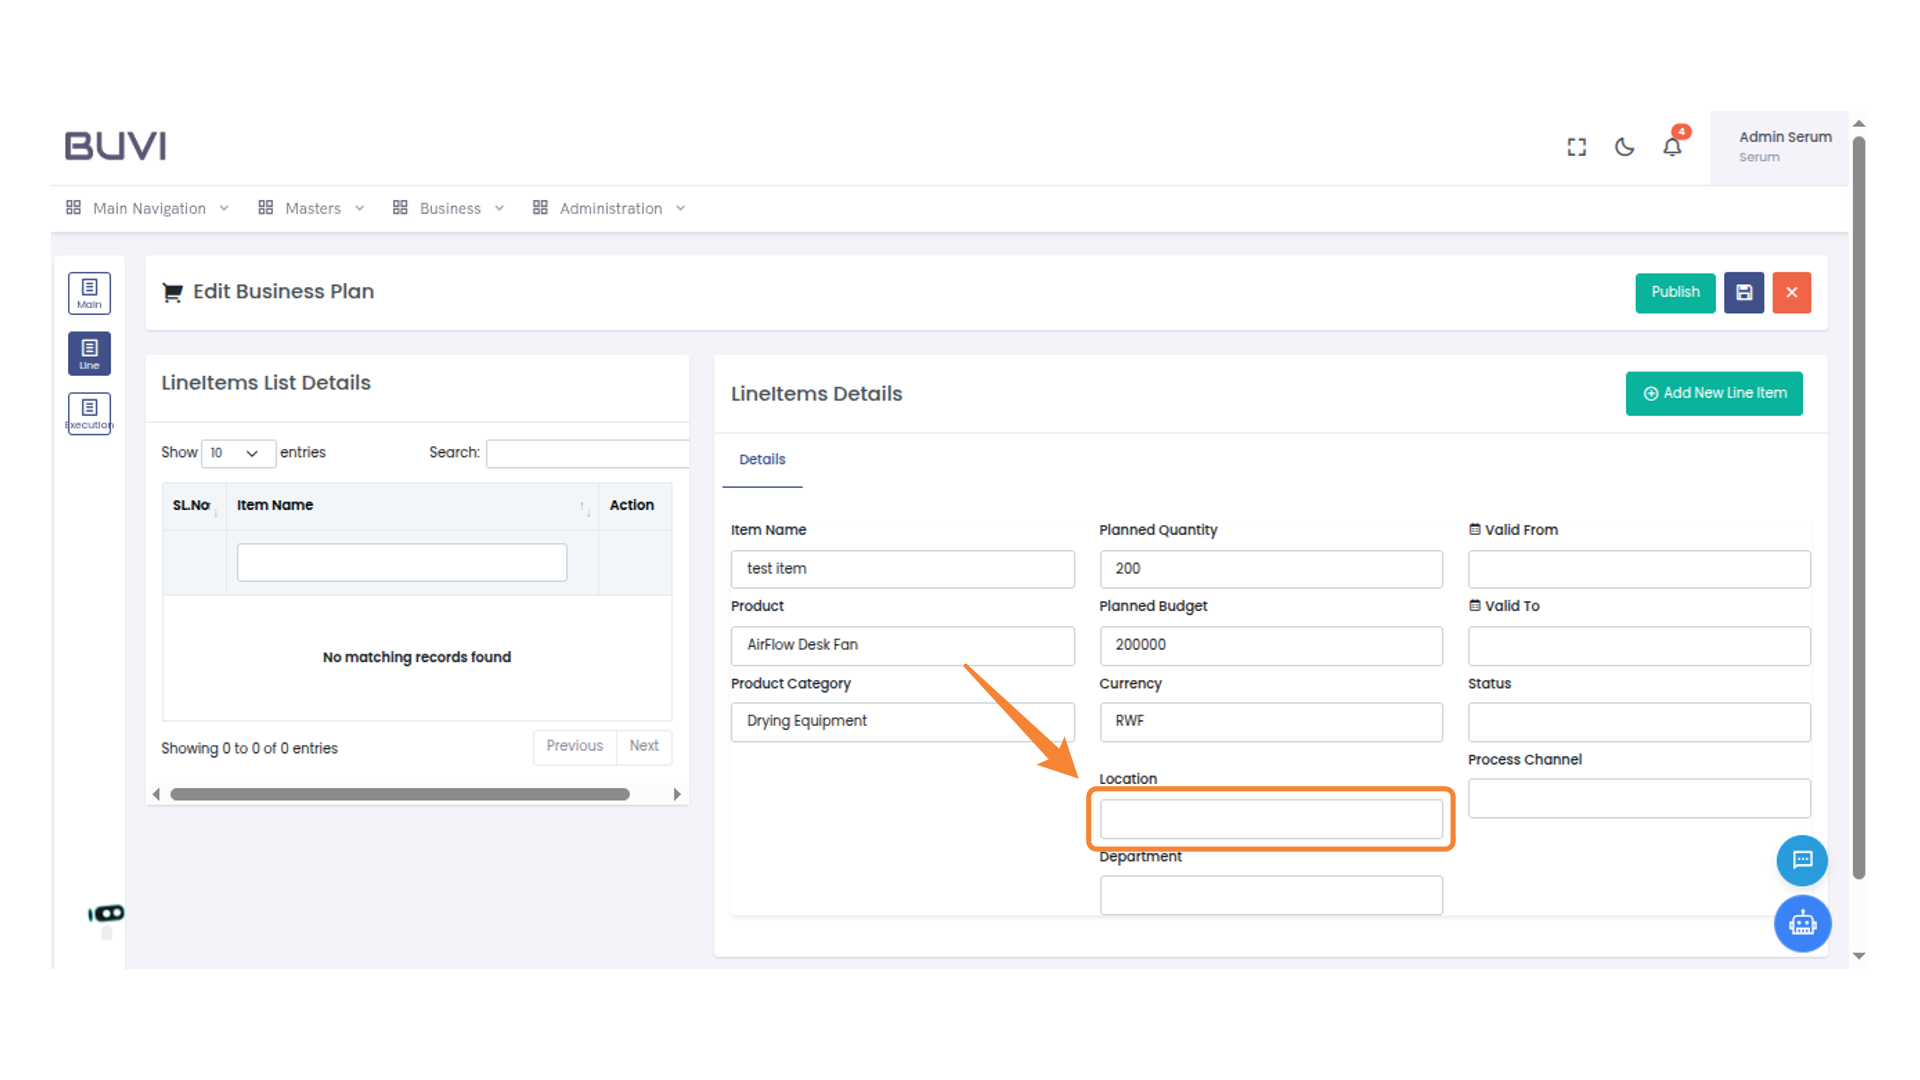
26. Input Location for Line Item
Enter the specific location for the item under Location.
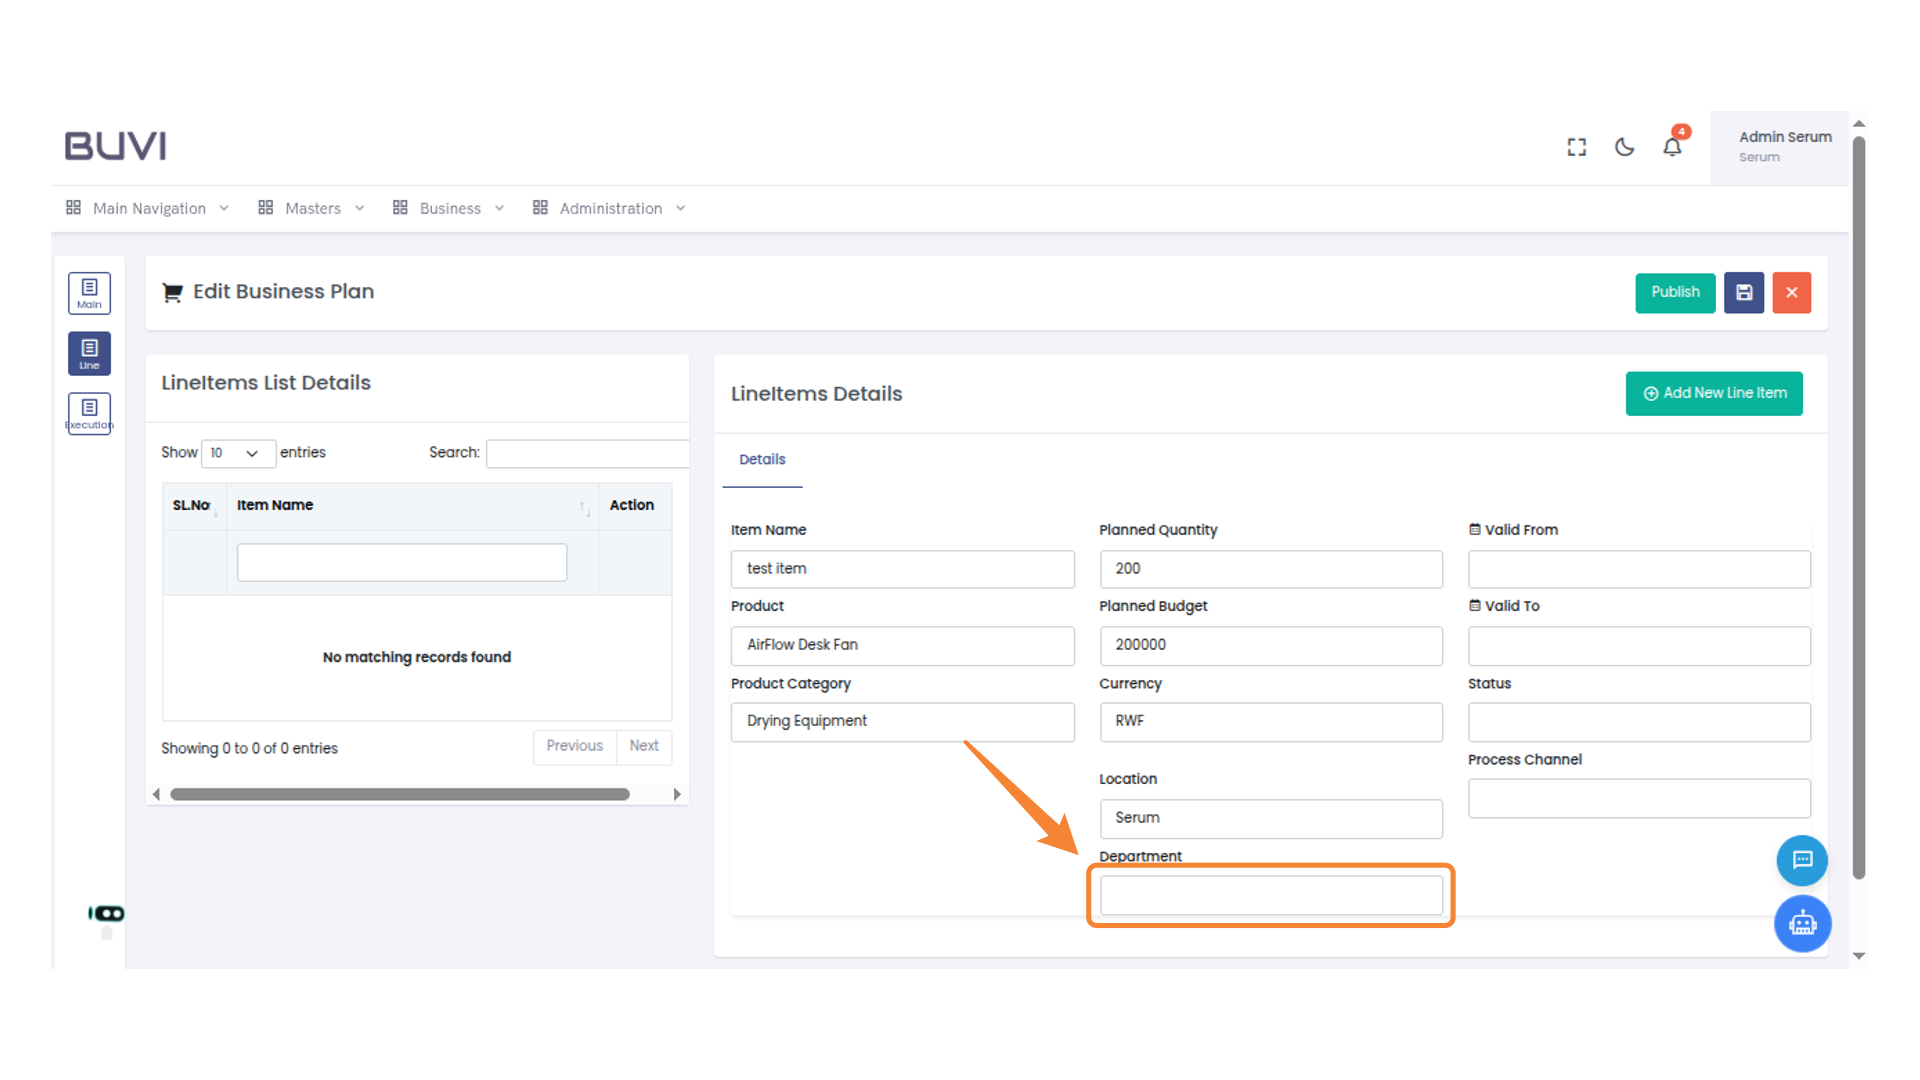
27. Enter Department Information
Fill in the department field with the relevant information.
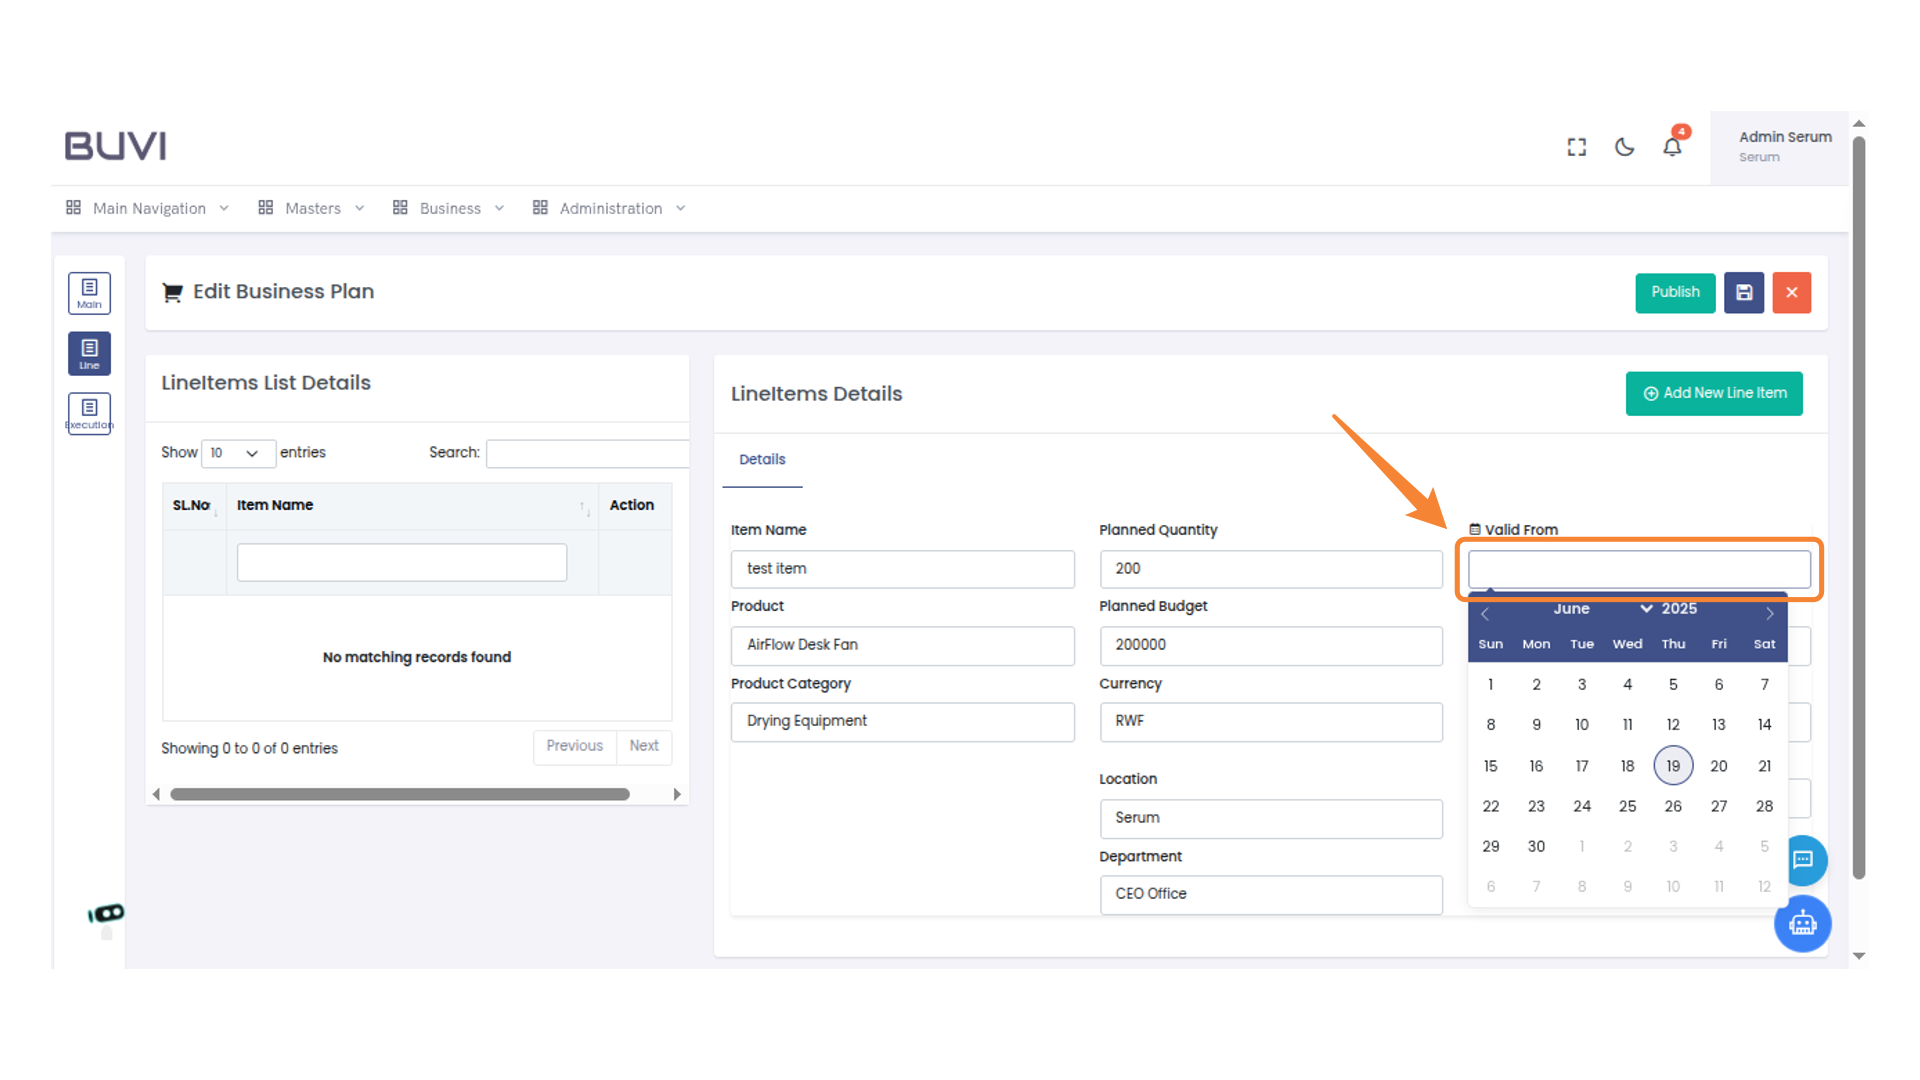
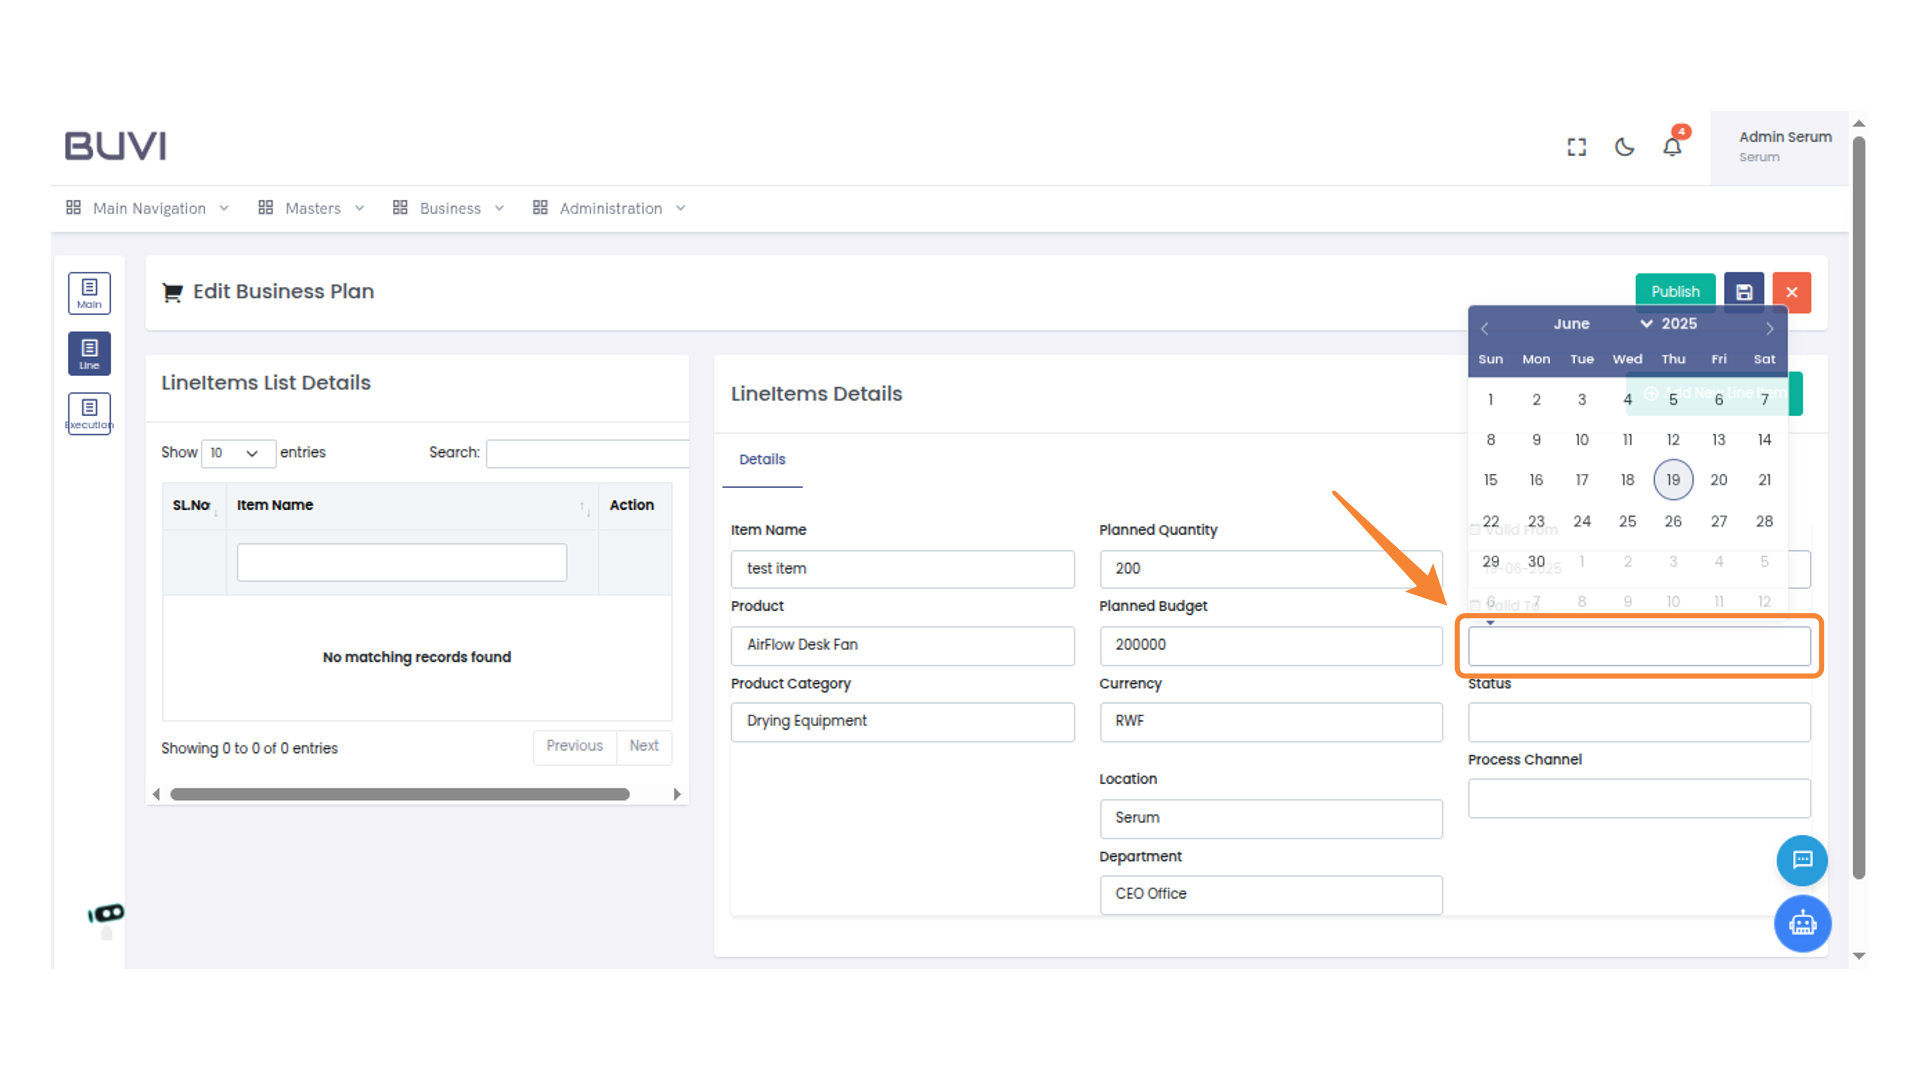
28. Select a Date for Validity
Click the calendar icon to choose a starting date for validity from the displayed calendar.
29. Select Due Date
Select a due date from the calendar for the line item.
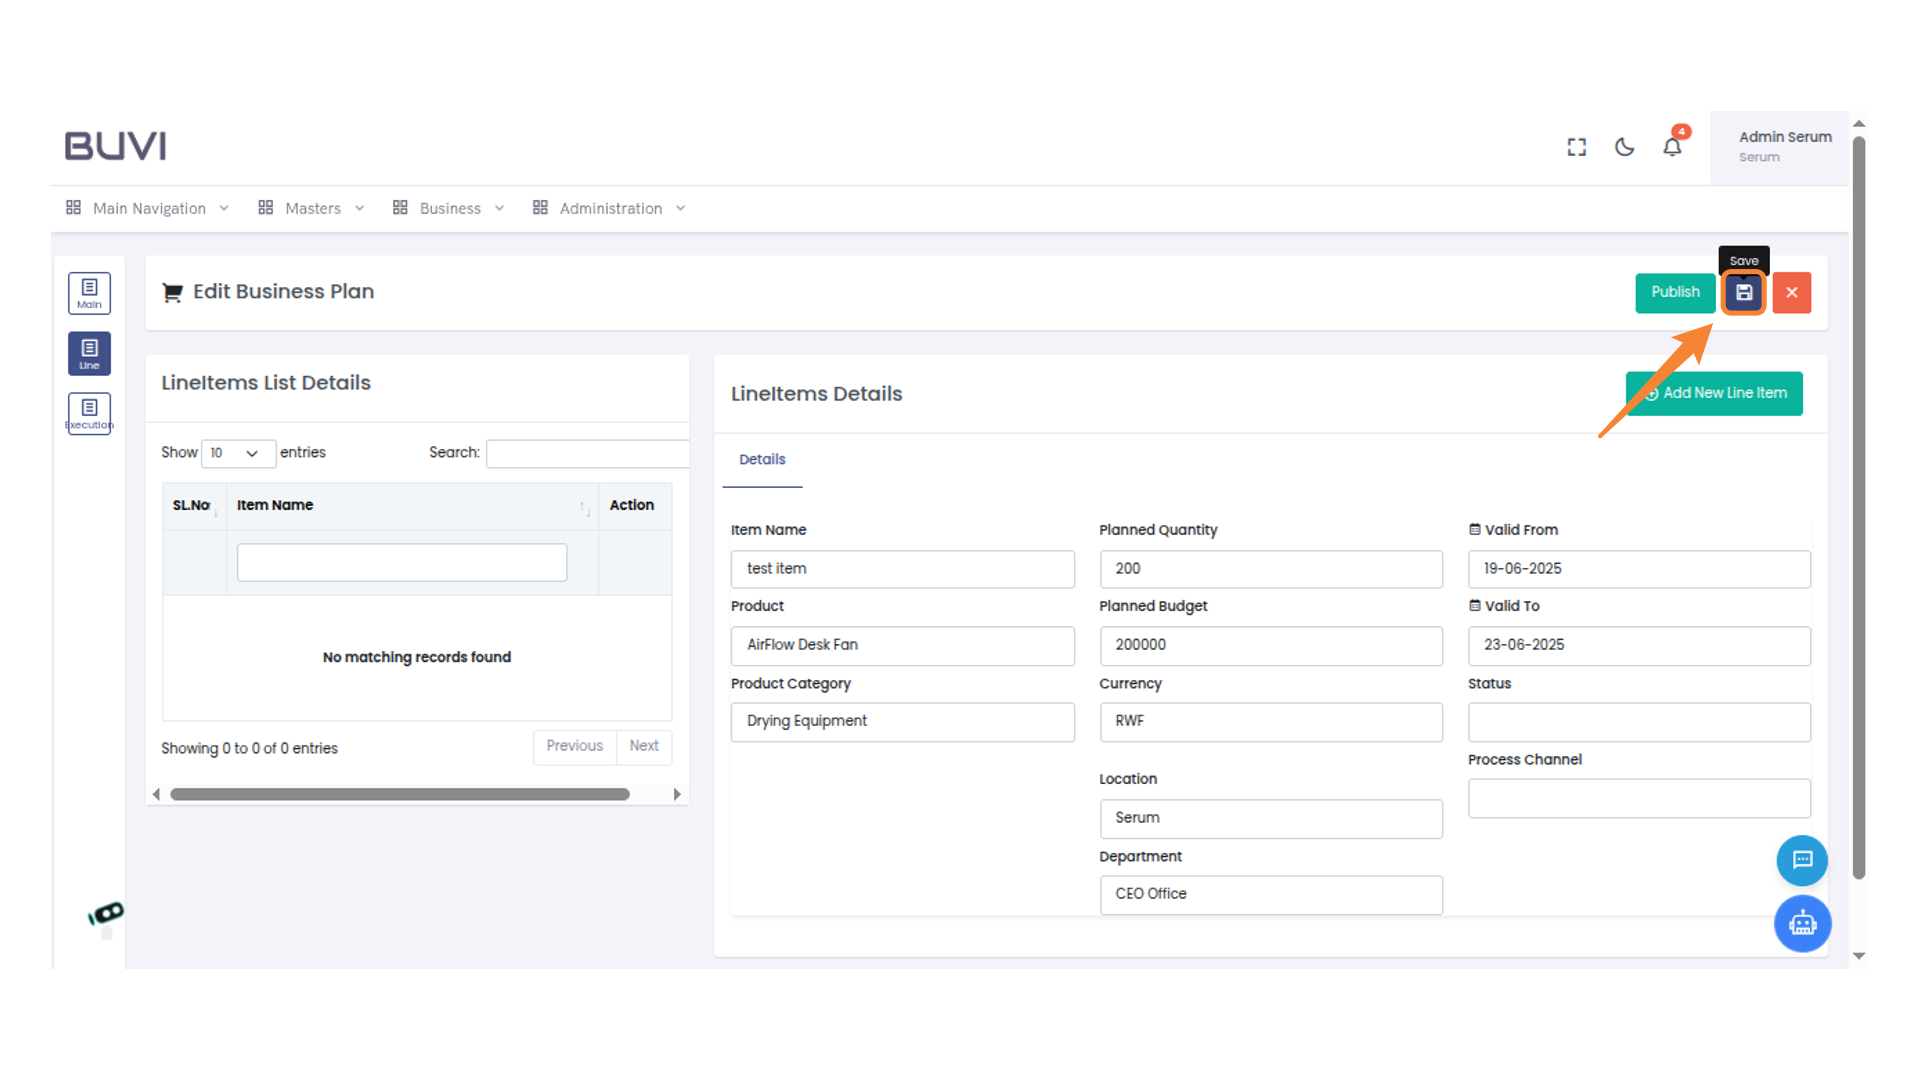
30. Save Changes
Click the save icon
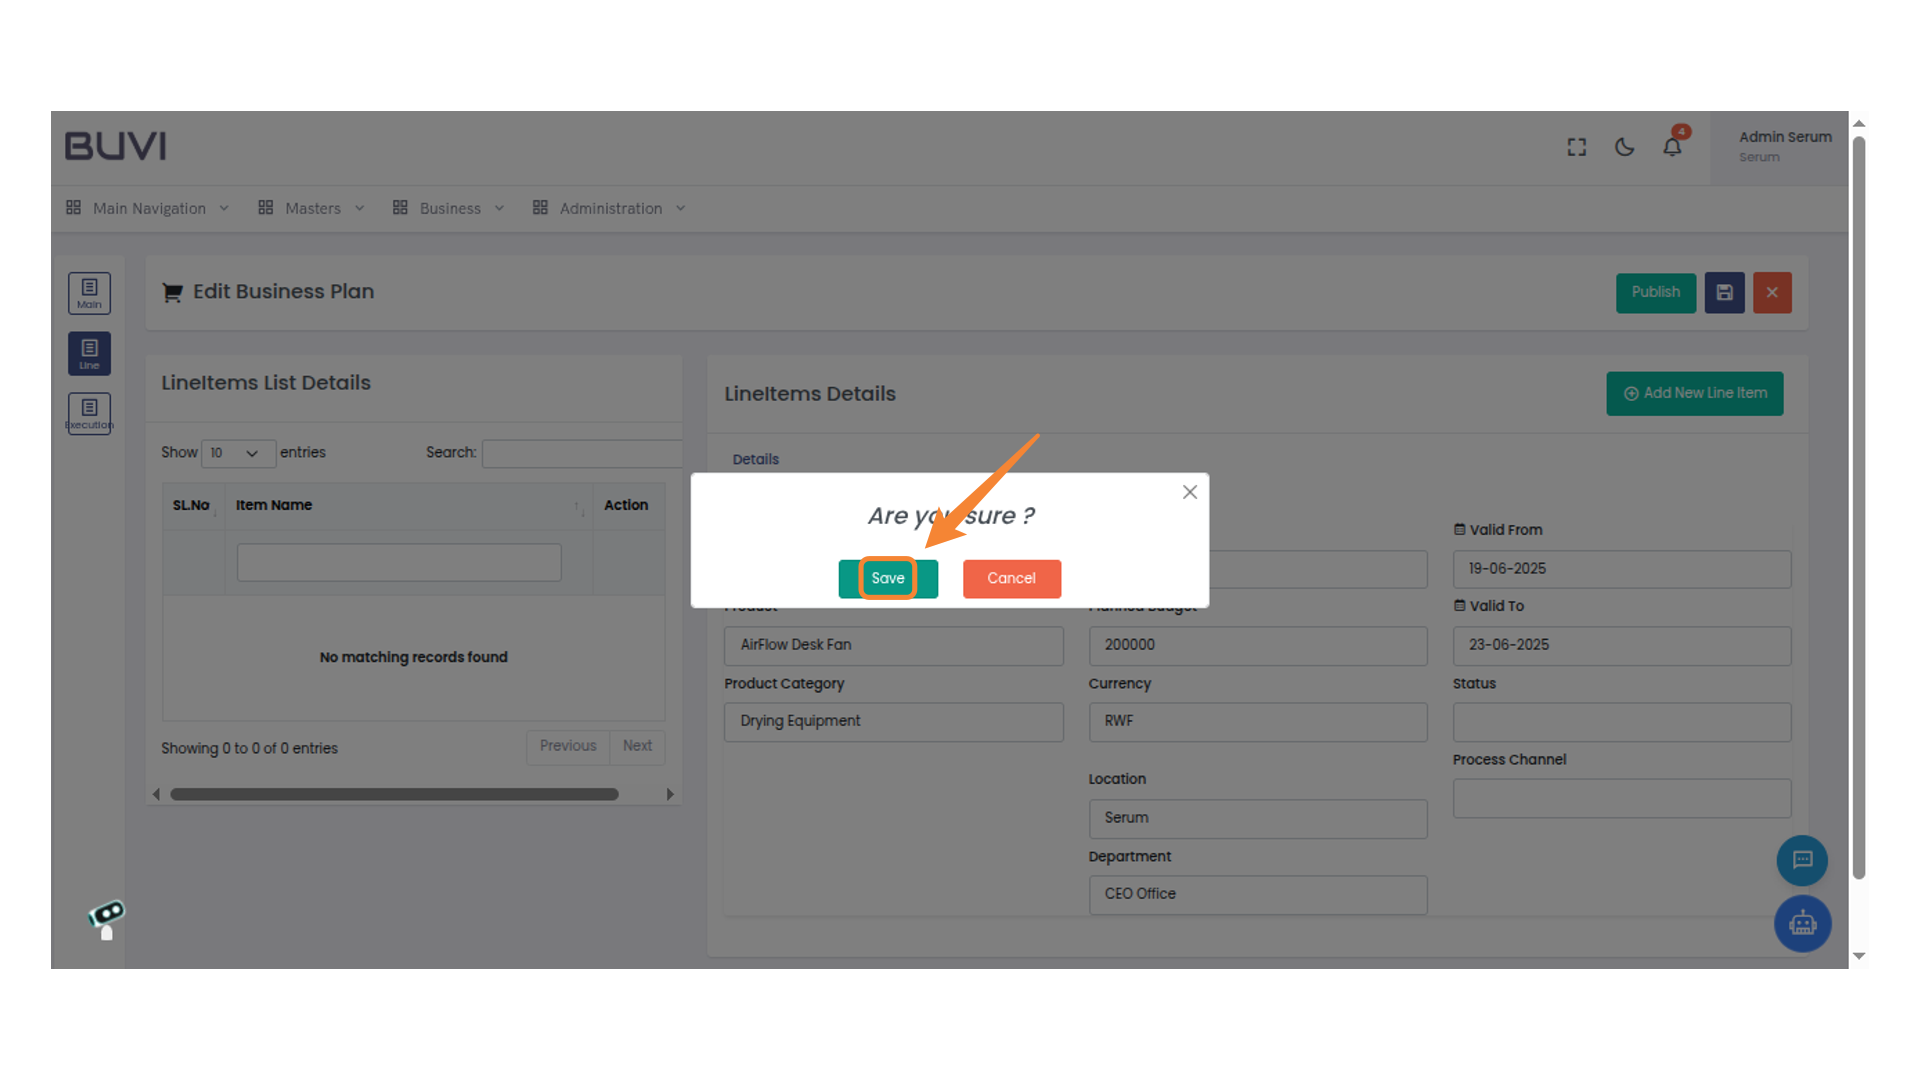
31. Confirm Save Action
Click 'Save' to confirm your action in the prompt that asks 'Are you sure?'.
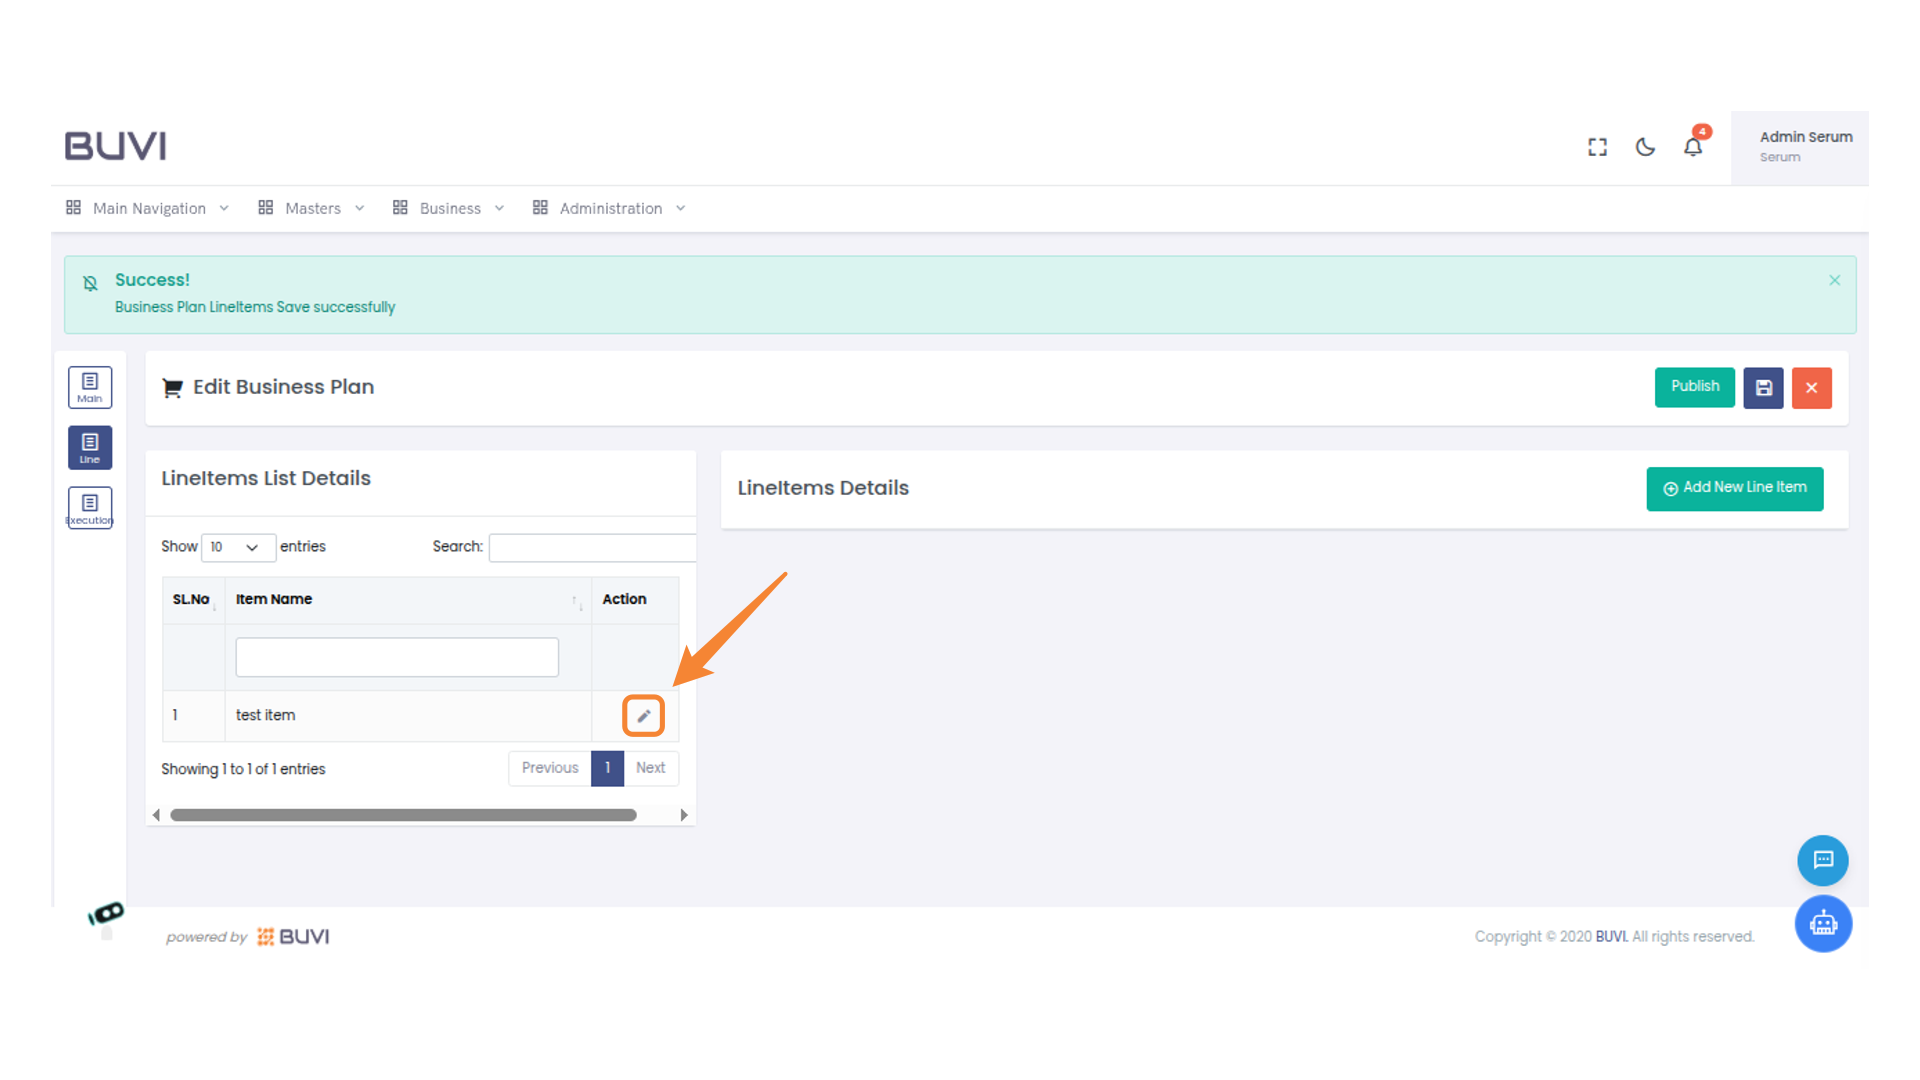
32. Edit Line Item
Click the pencil icon to edit the line item details.
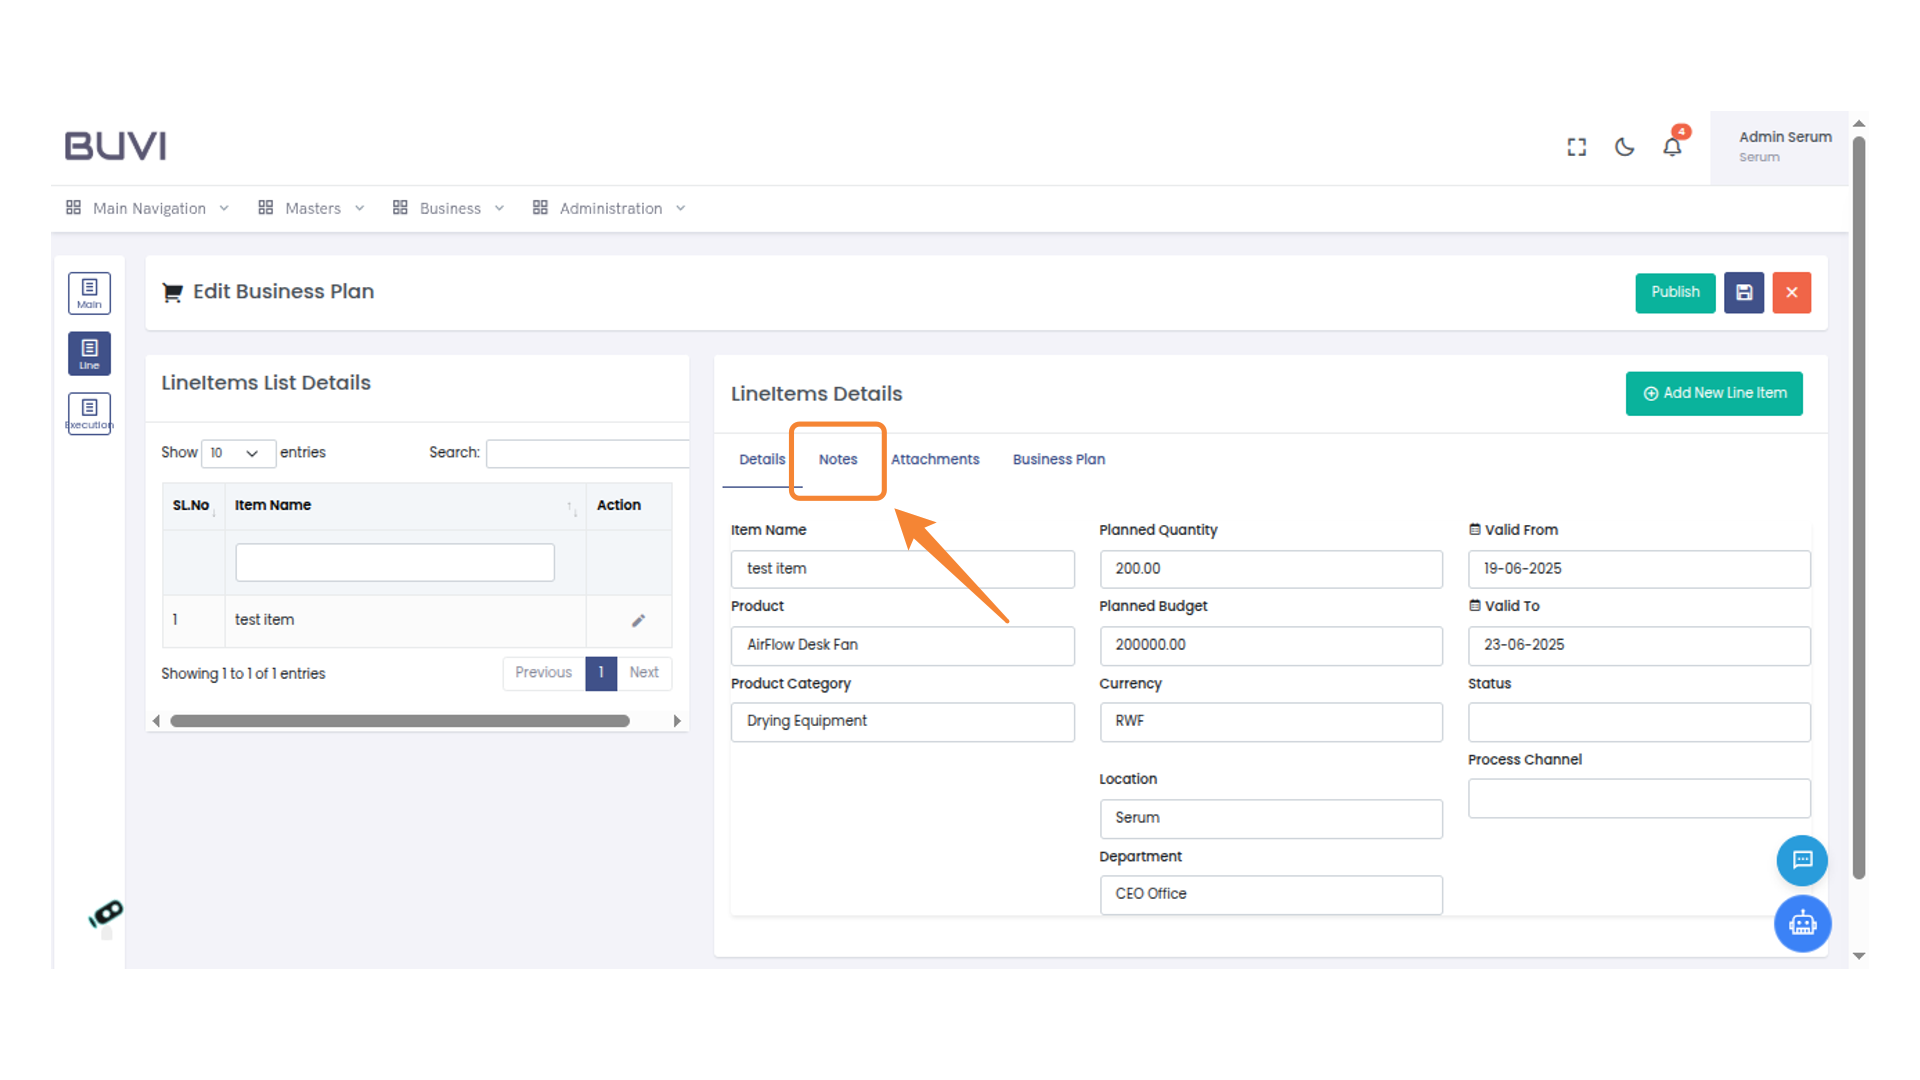
33. Access Notes Tab
Click on 'Notes' to view or add additional information concerning the line item.
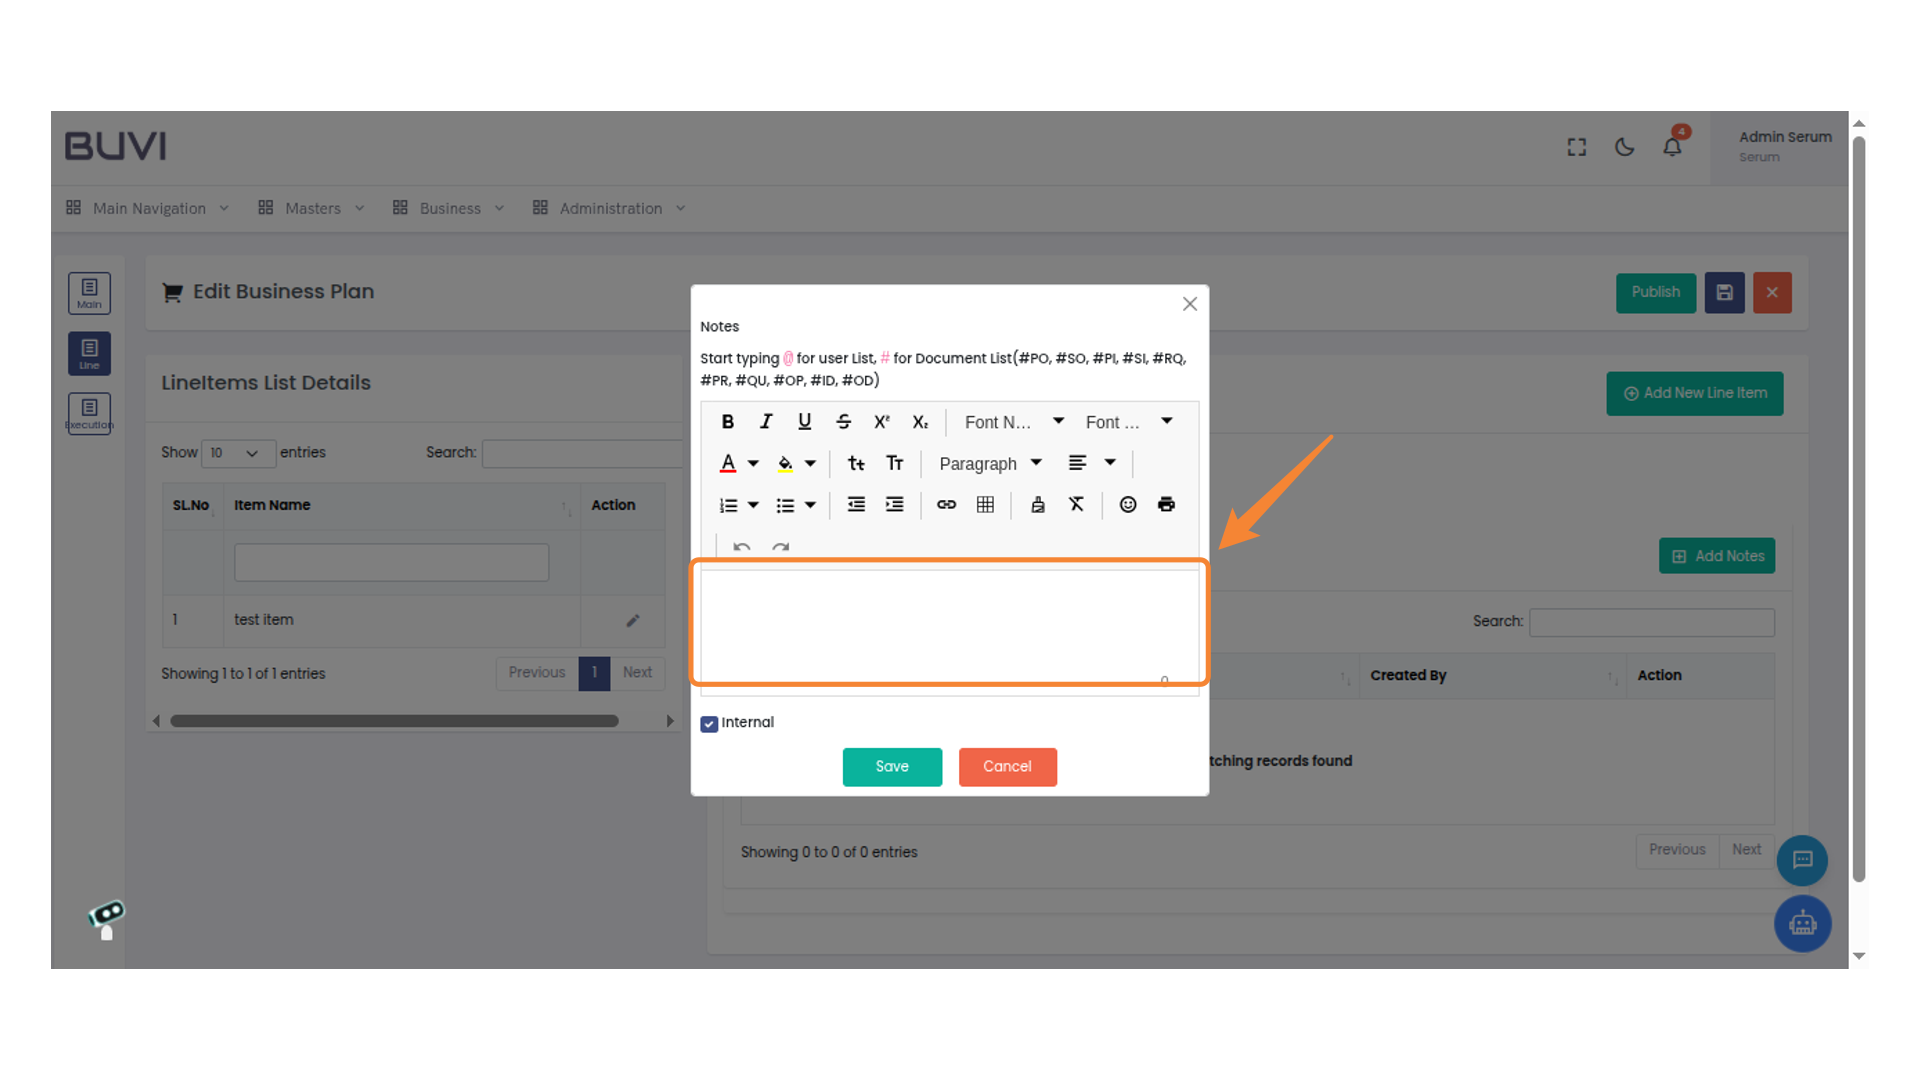
34. Add Notes Button
Click the 'Add Notes' button to insert new notes into the line items list.

35. Enter Details
Enter details
36. Mark Note as Internal
Click the box to mark the note as internal.
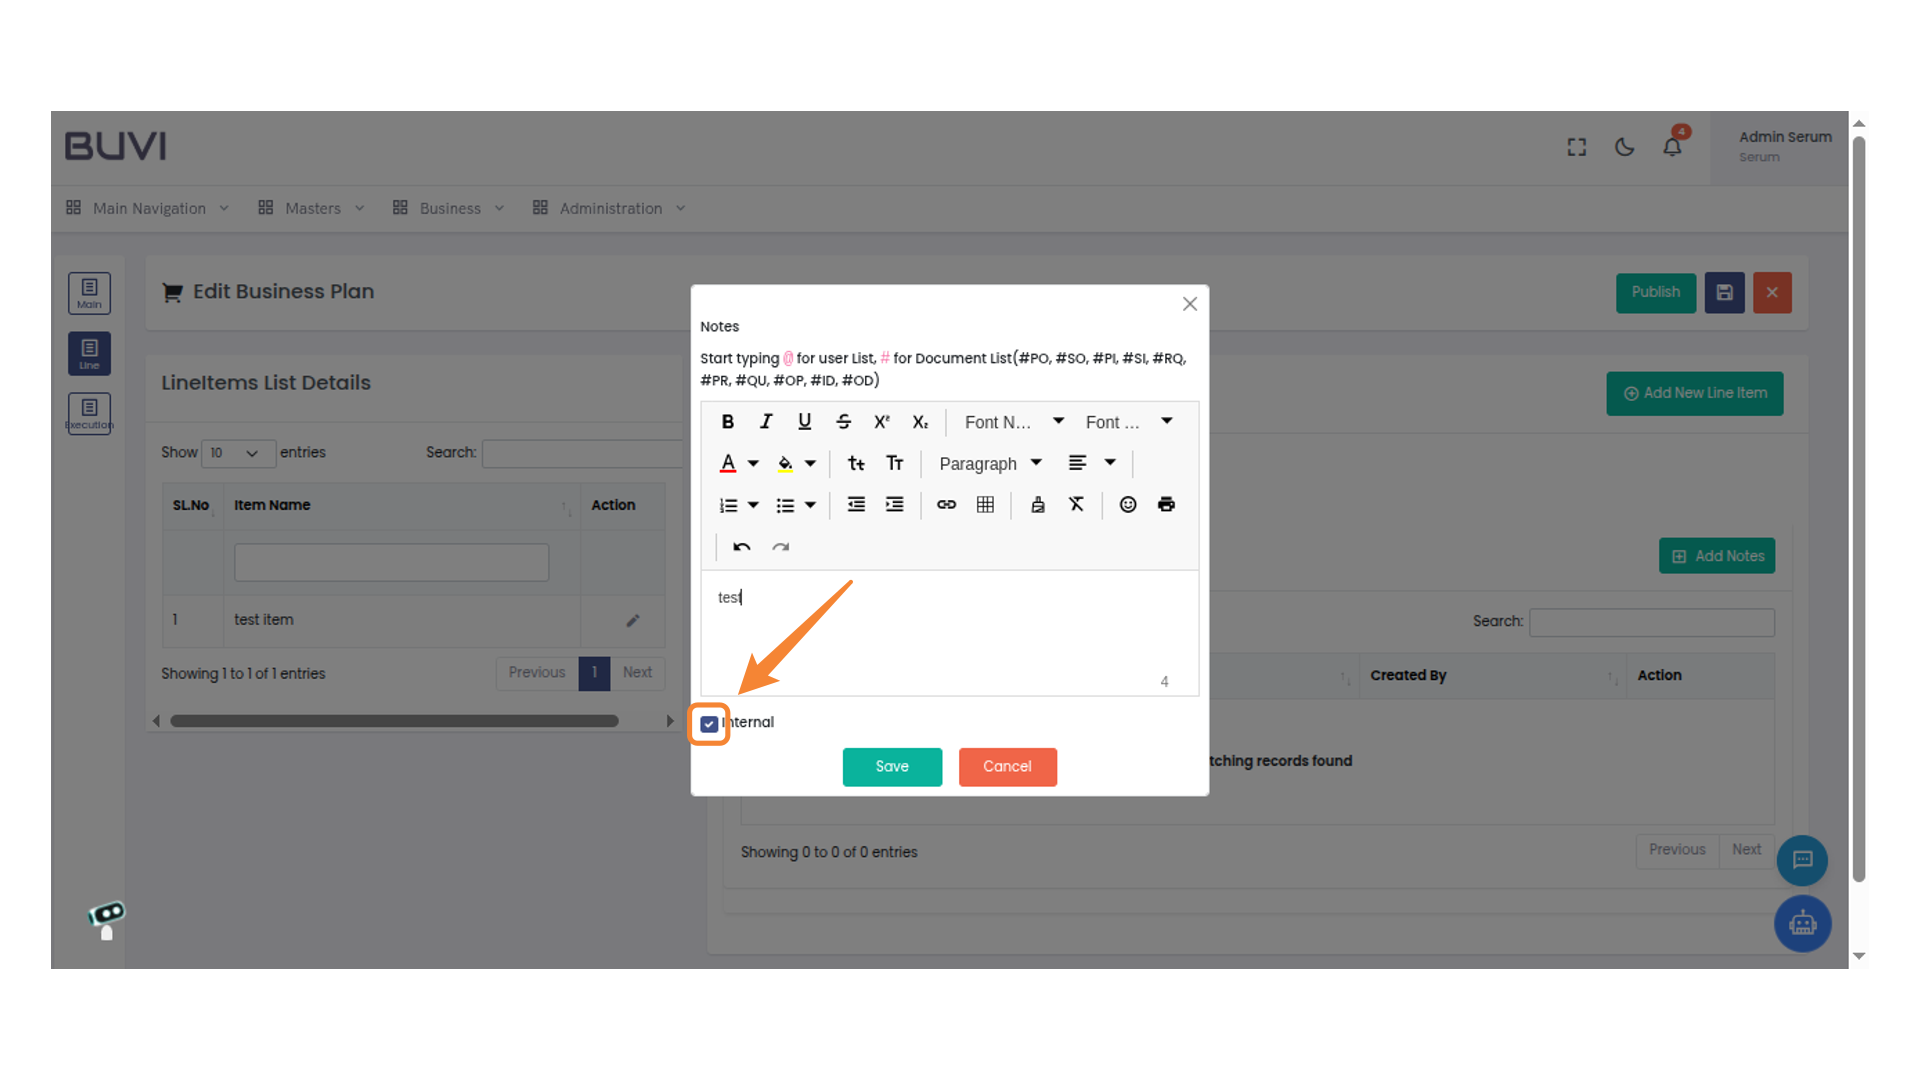
37. Click Save Button
Click the Save button to confirm your action and store the changes made in the notes section.

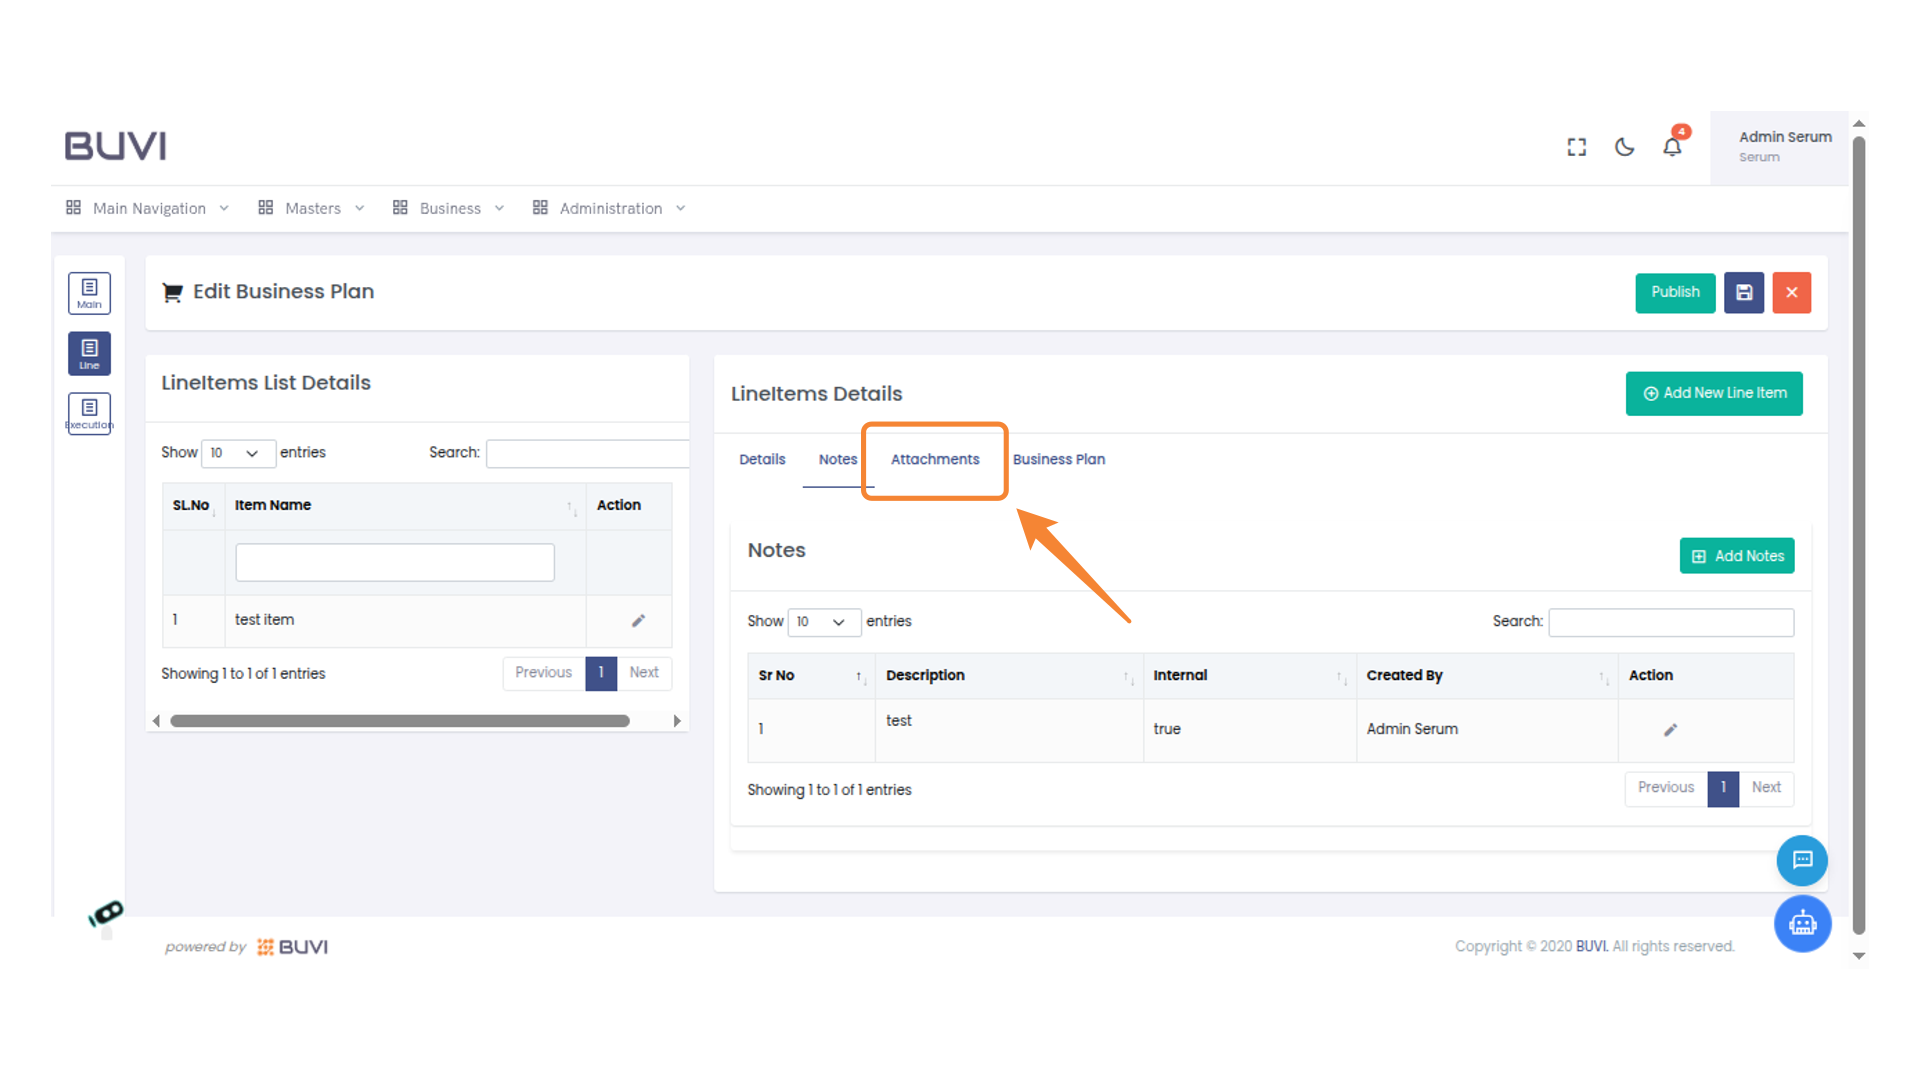
38. Access Attachments Tab
Select the 'Attachments' tab to view or manage file attachments related to the line items.
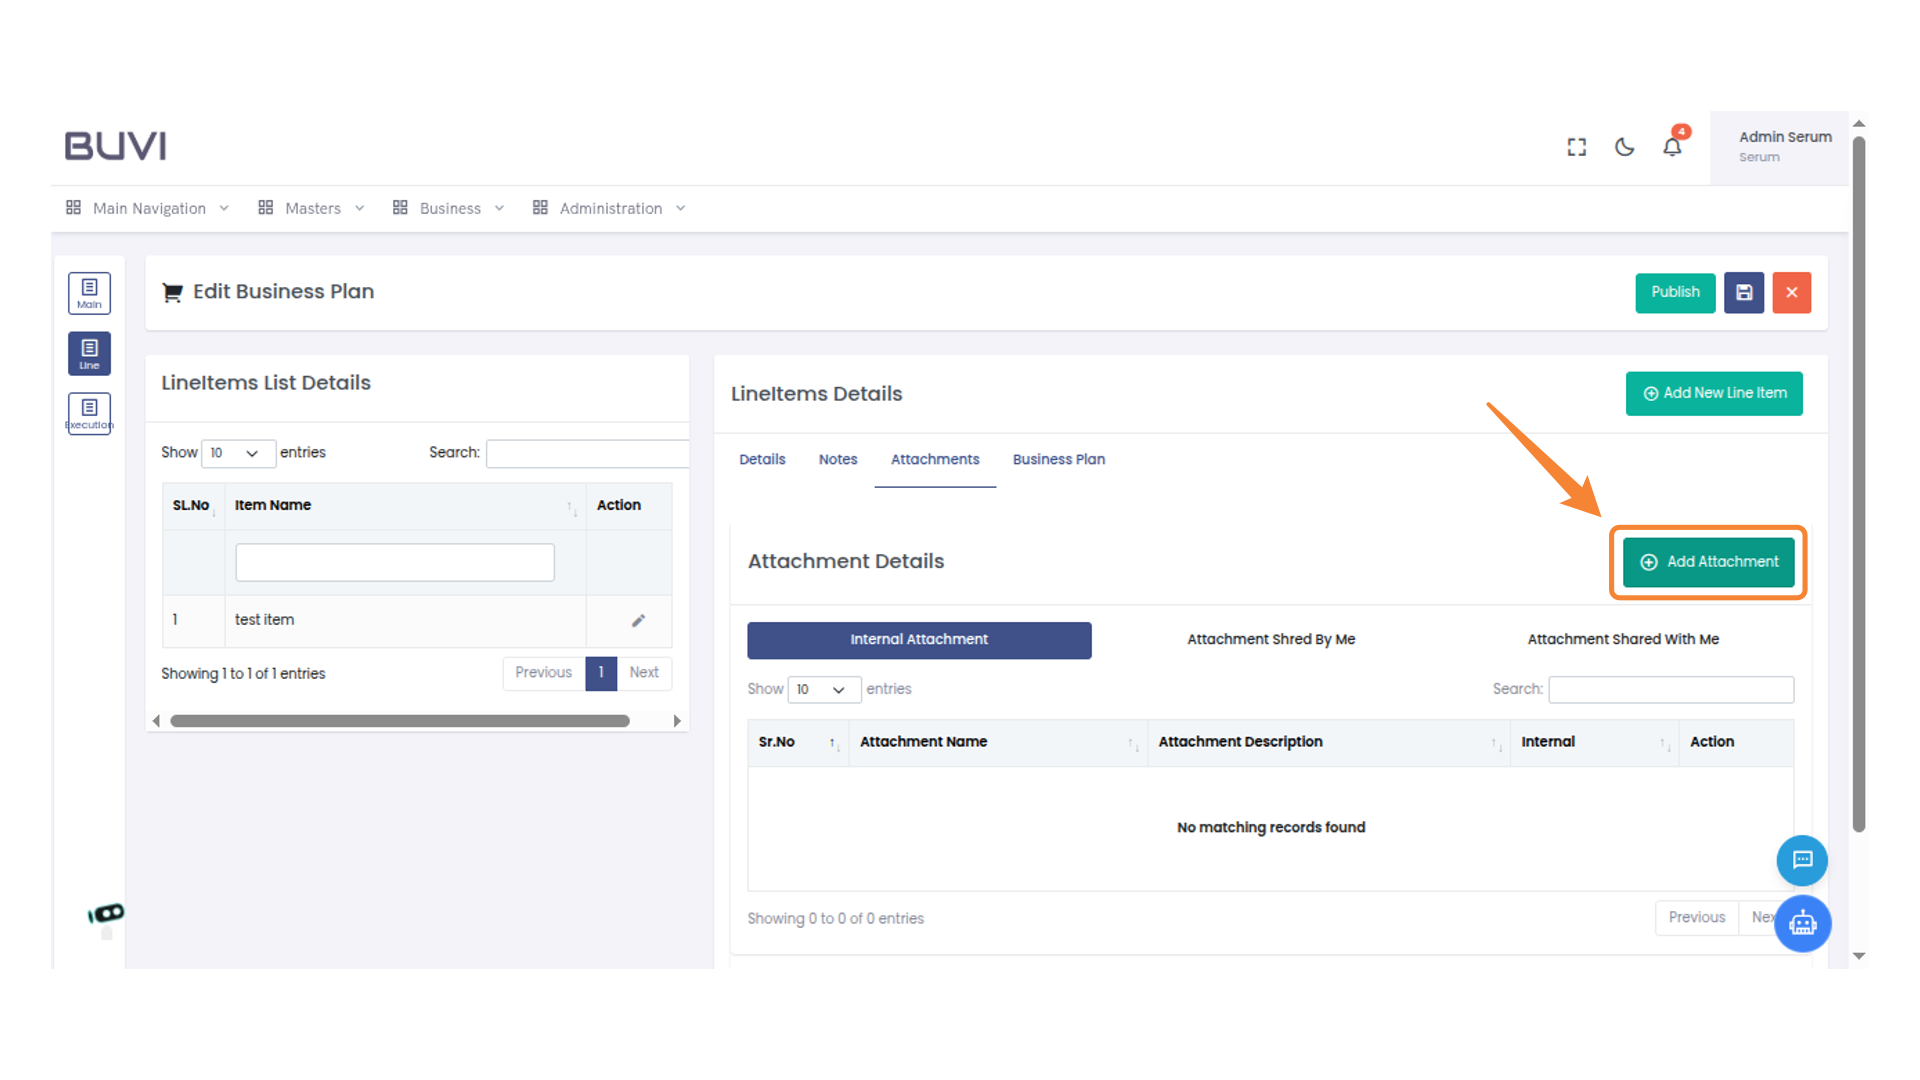
39. Add an Attachment
Click 'Add Attachment
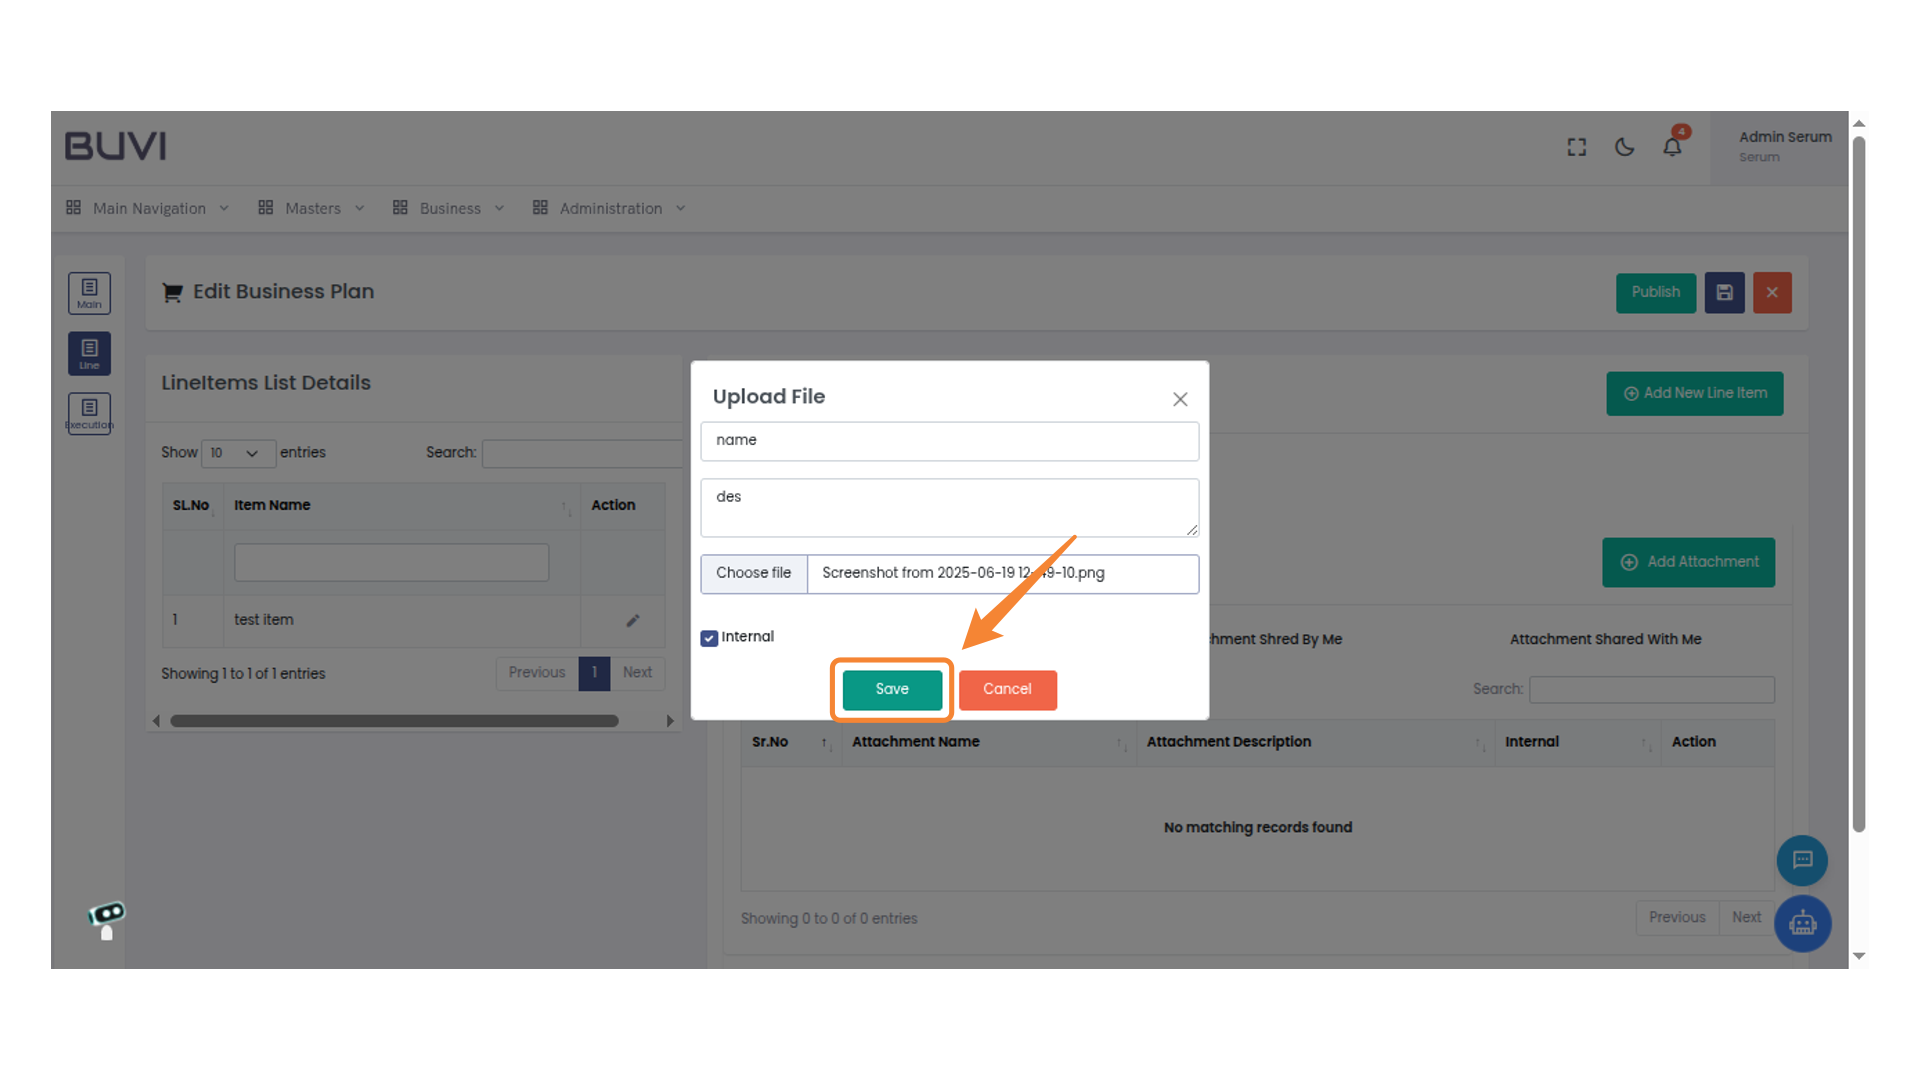
40. Enter Attachment Details
Input the attachment name in the provided field.

41. Upload a File
Click 'Choose file' to select a file for upload.

42. Save File Upload
Click 'Save' to confirm the file upload.
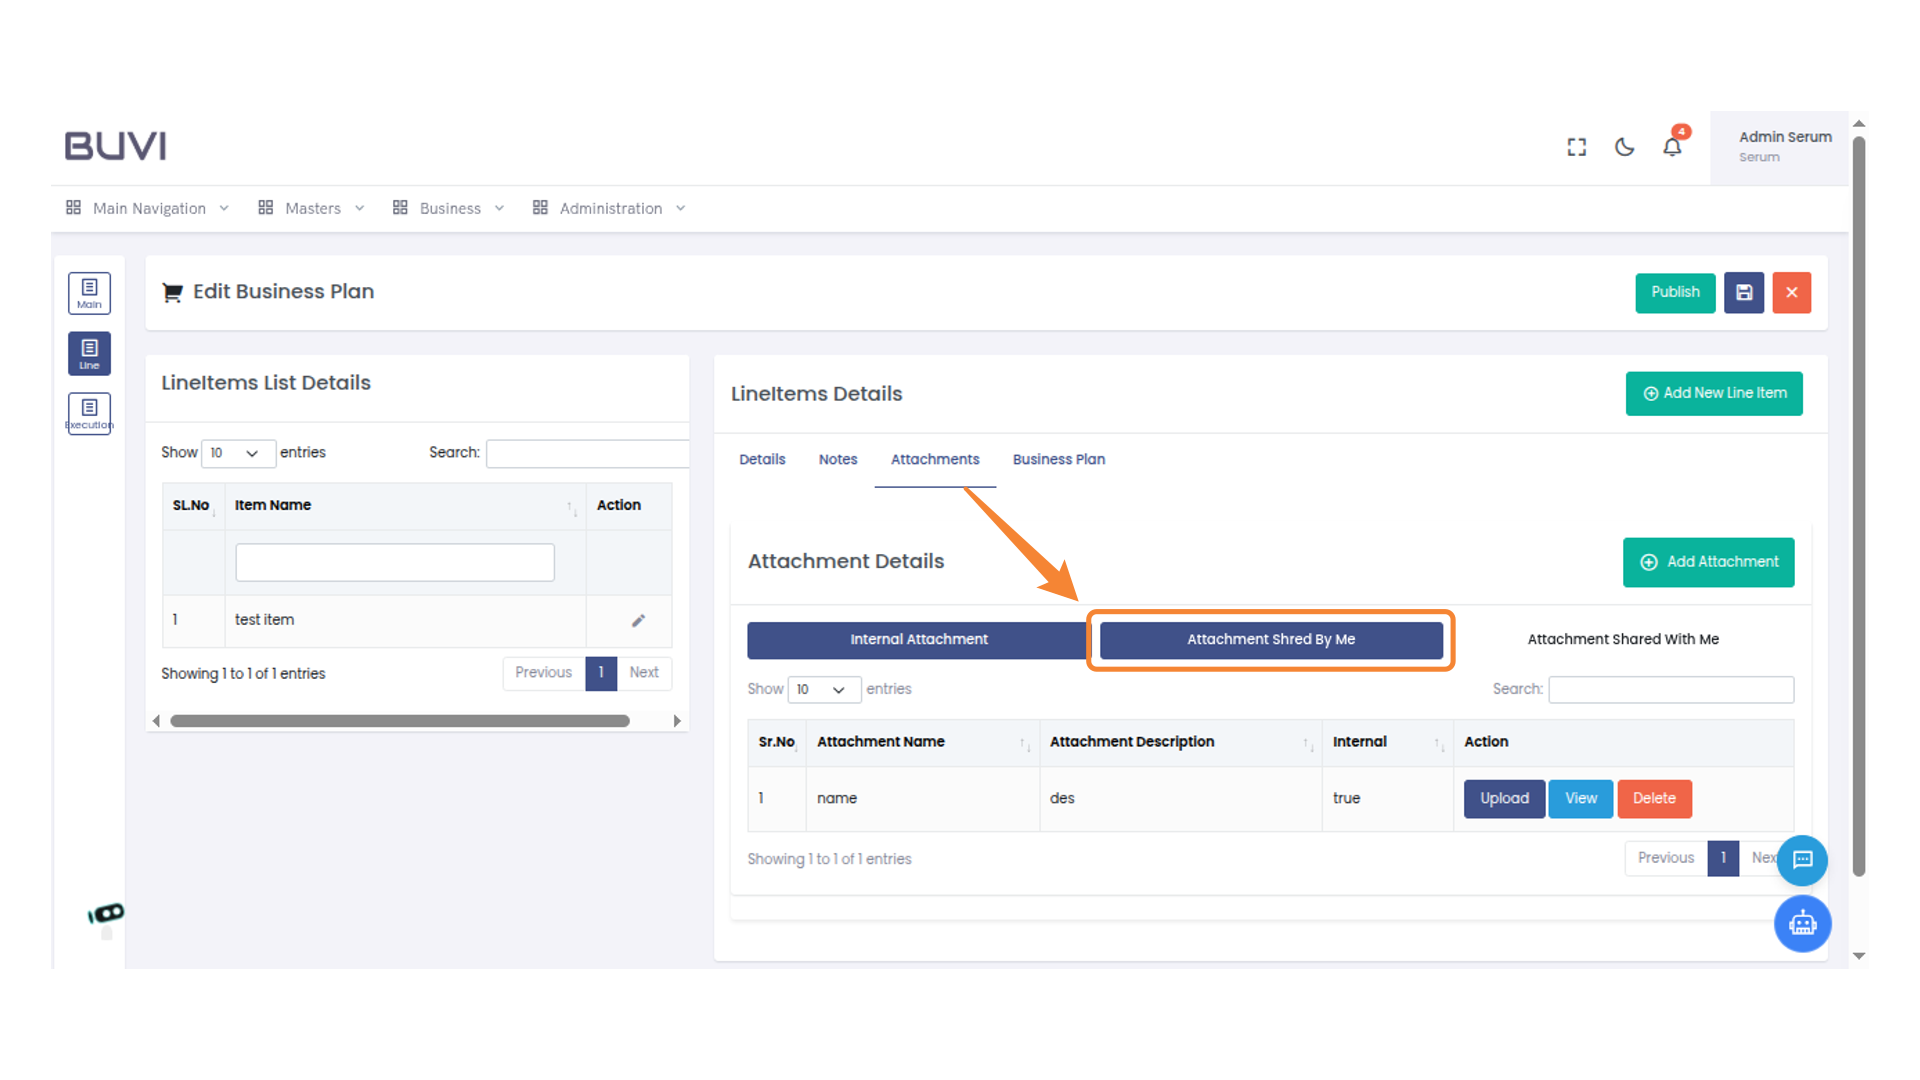
43. Select the Attachment Tab
Click on 'Attachment Shred By Me' to view shared attachments.
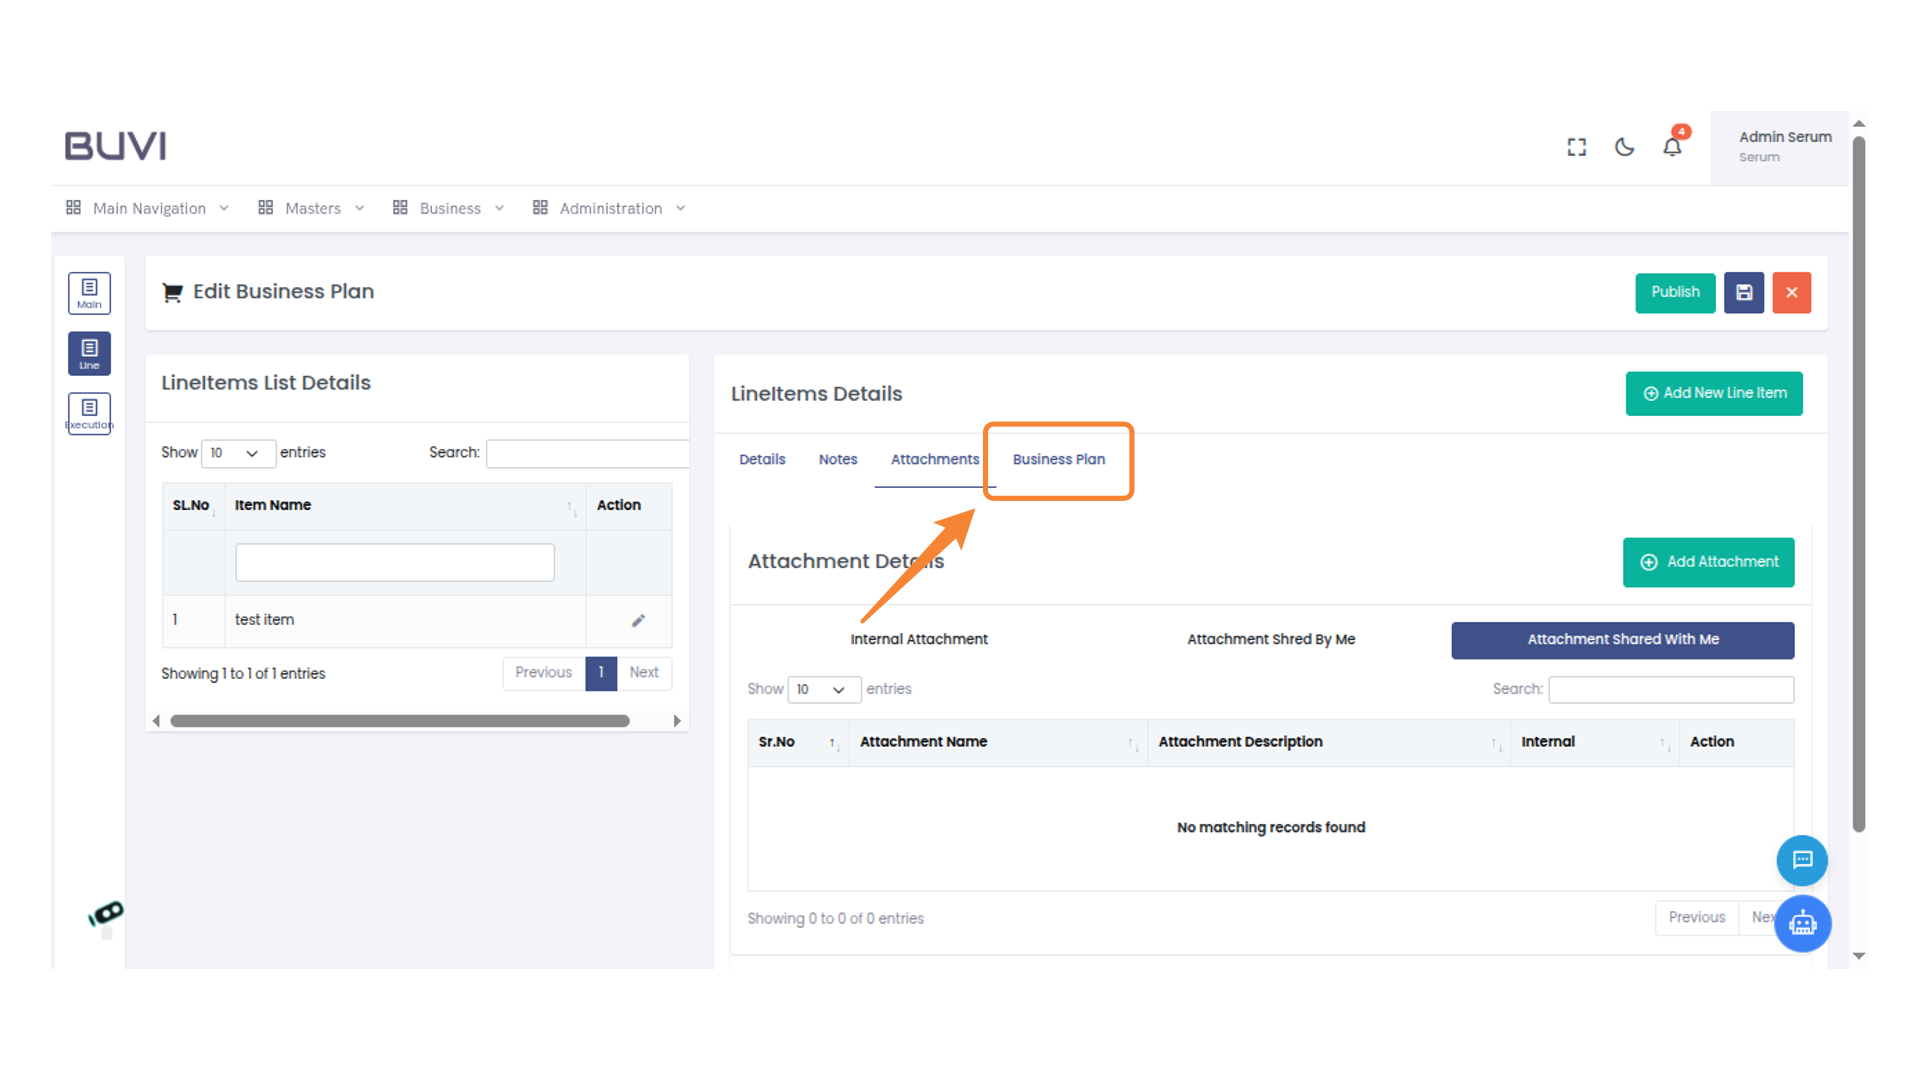
44. Select Business Plan Tab
Click on the 'Business Plan' tab to view or edit details related to the business plan attachments.
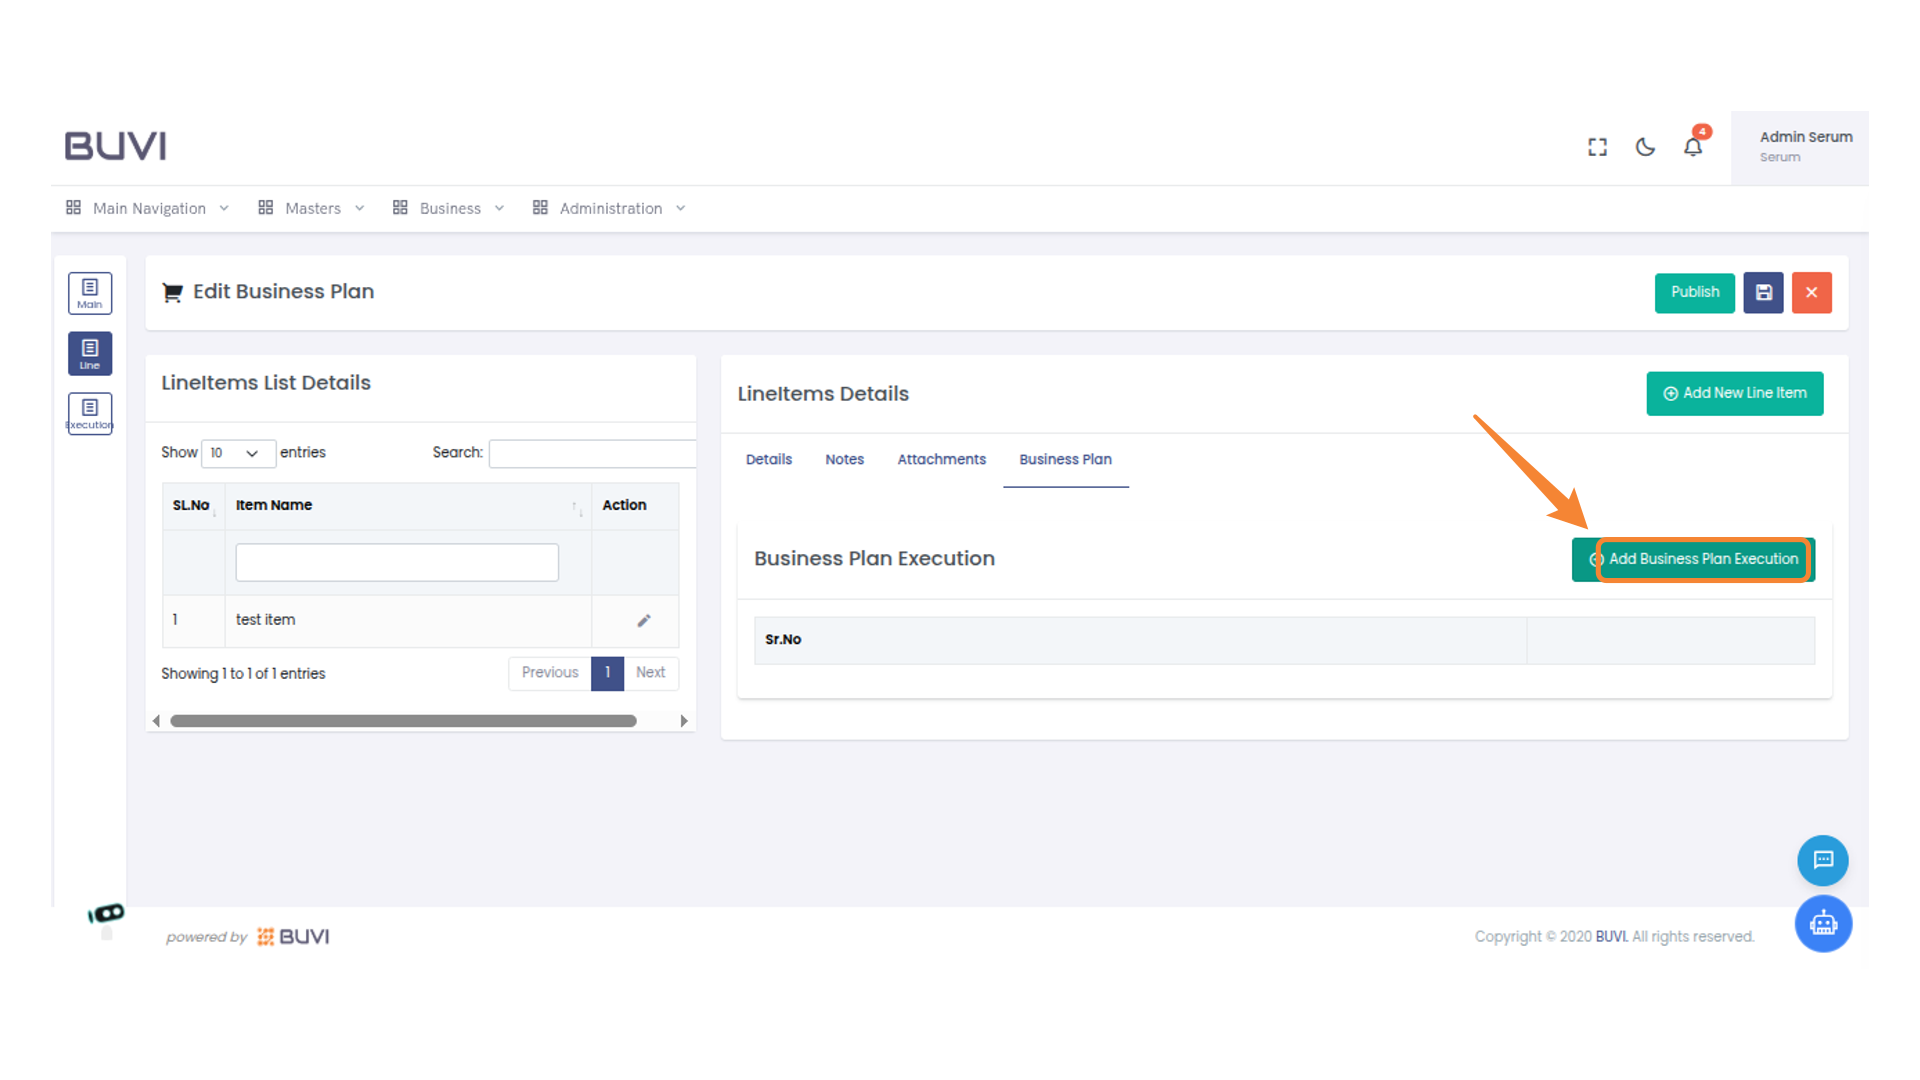
45. Add Business Plan Execution
Click 'Add Business Plan Execution' to insert a new plan segment into your project overview.
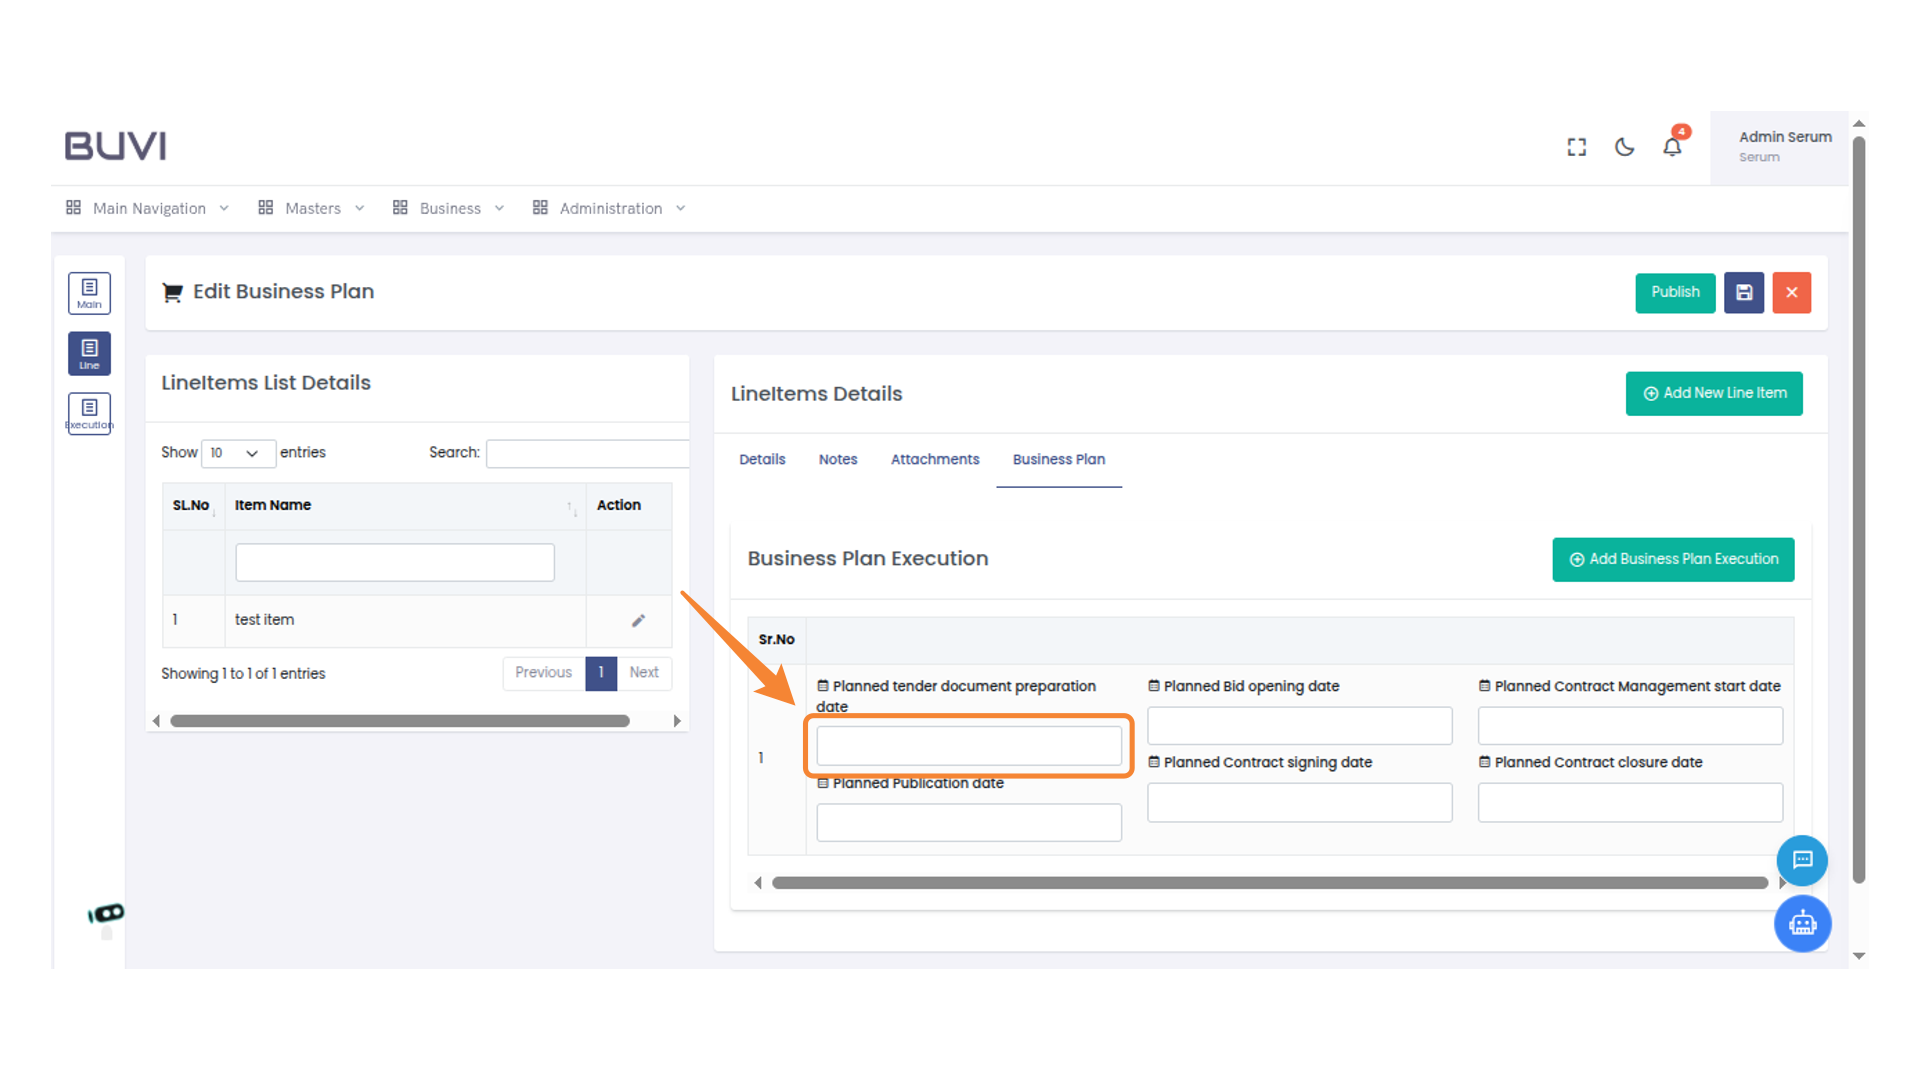
46. Enter Planned Date
Enter the planned tender document preparation date in the provided field.
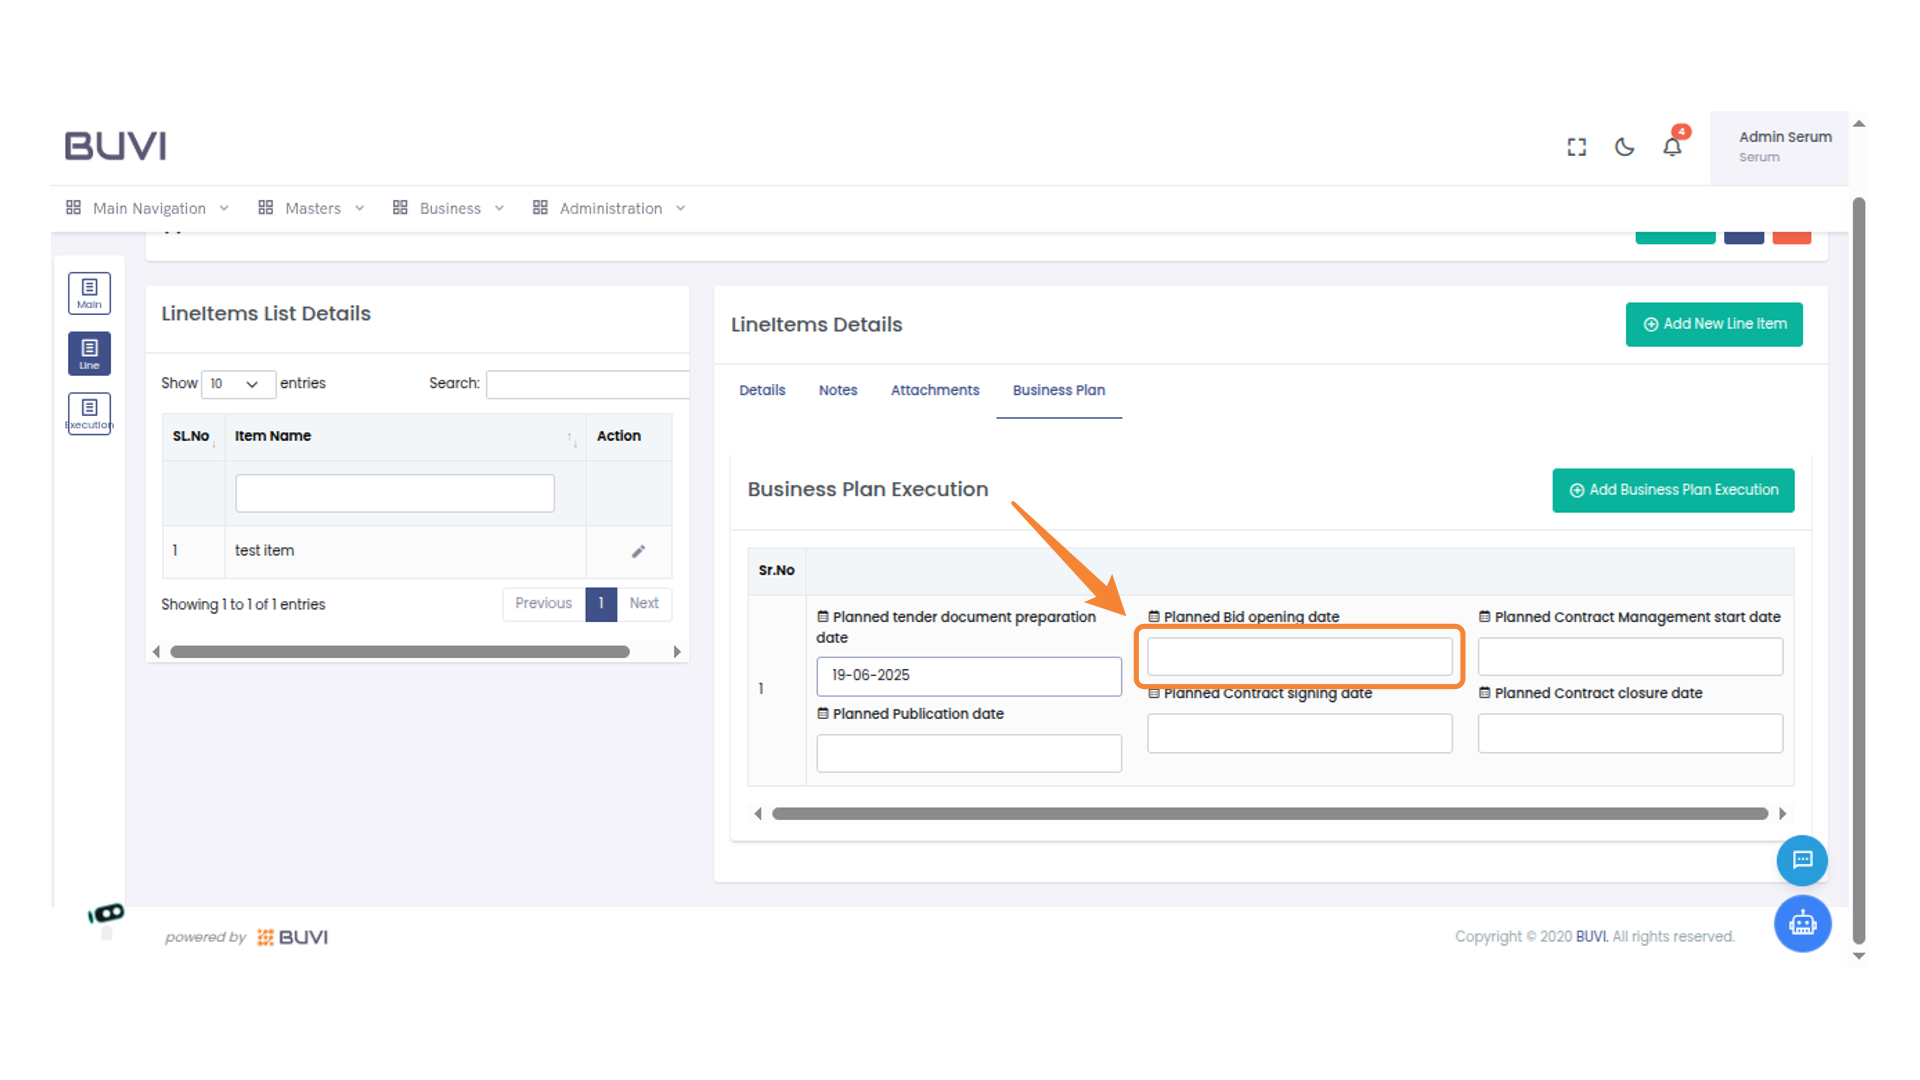
47. Enter Planned Bid Opening Date
Enter the planned bid opening date
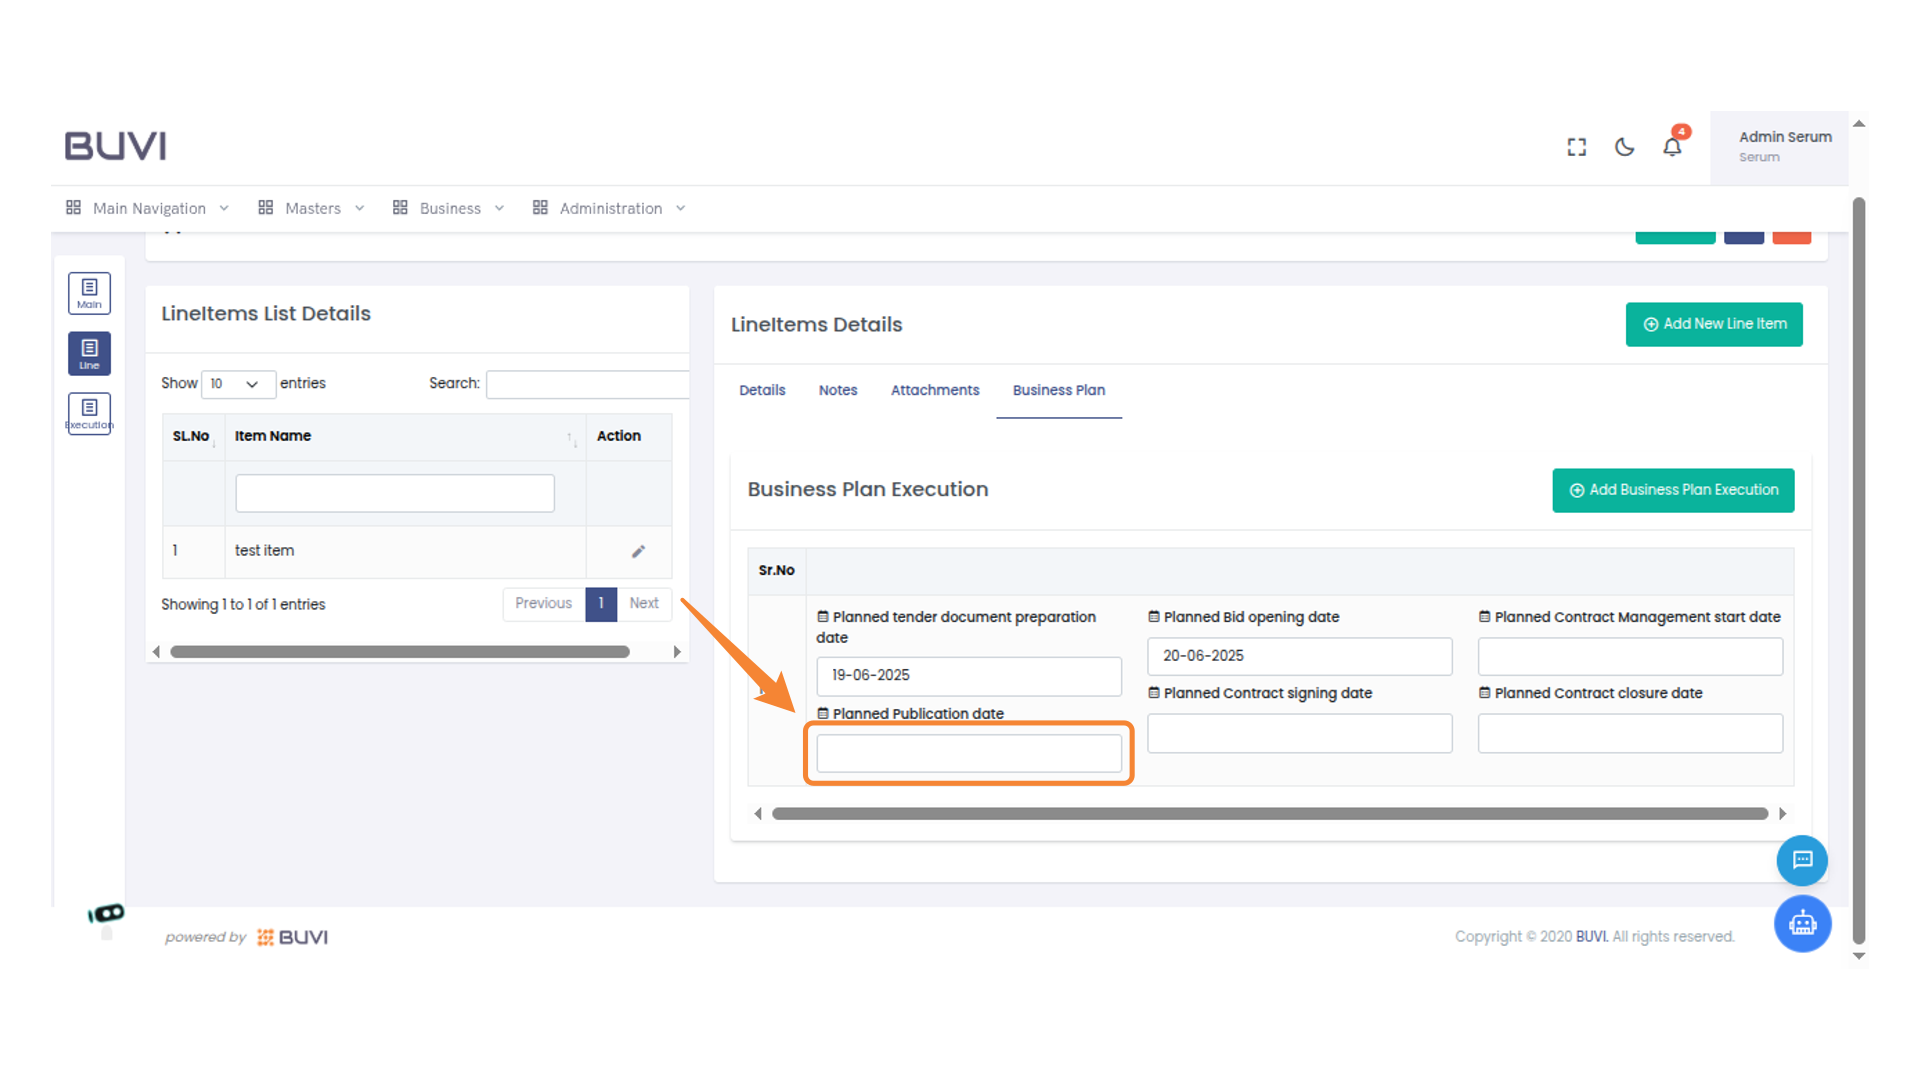
48. Set Planned Publication Date
Enter the date for the planned publication in the provided input field.
49. Save the Current Business Plan
Click to save the current business plan changes.

50. Confirm Save Action
Click 'Save' to confirm and proceed with your current changes.

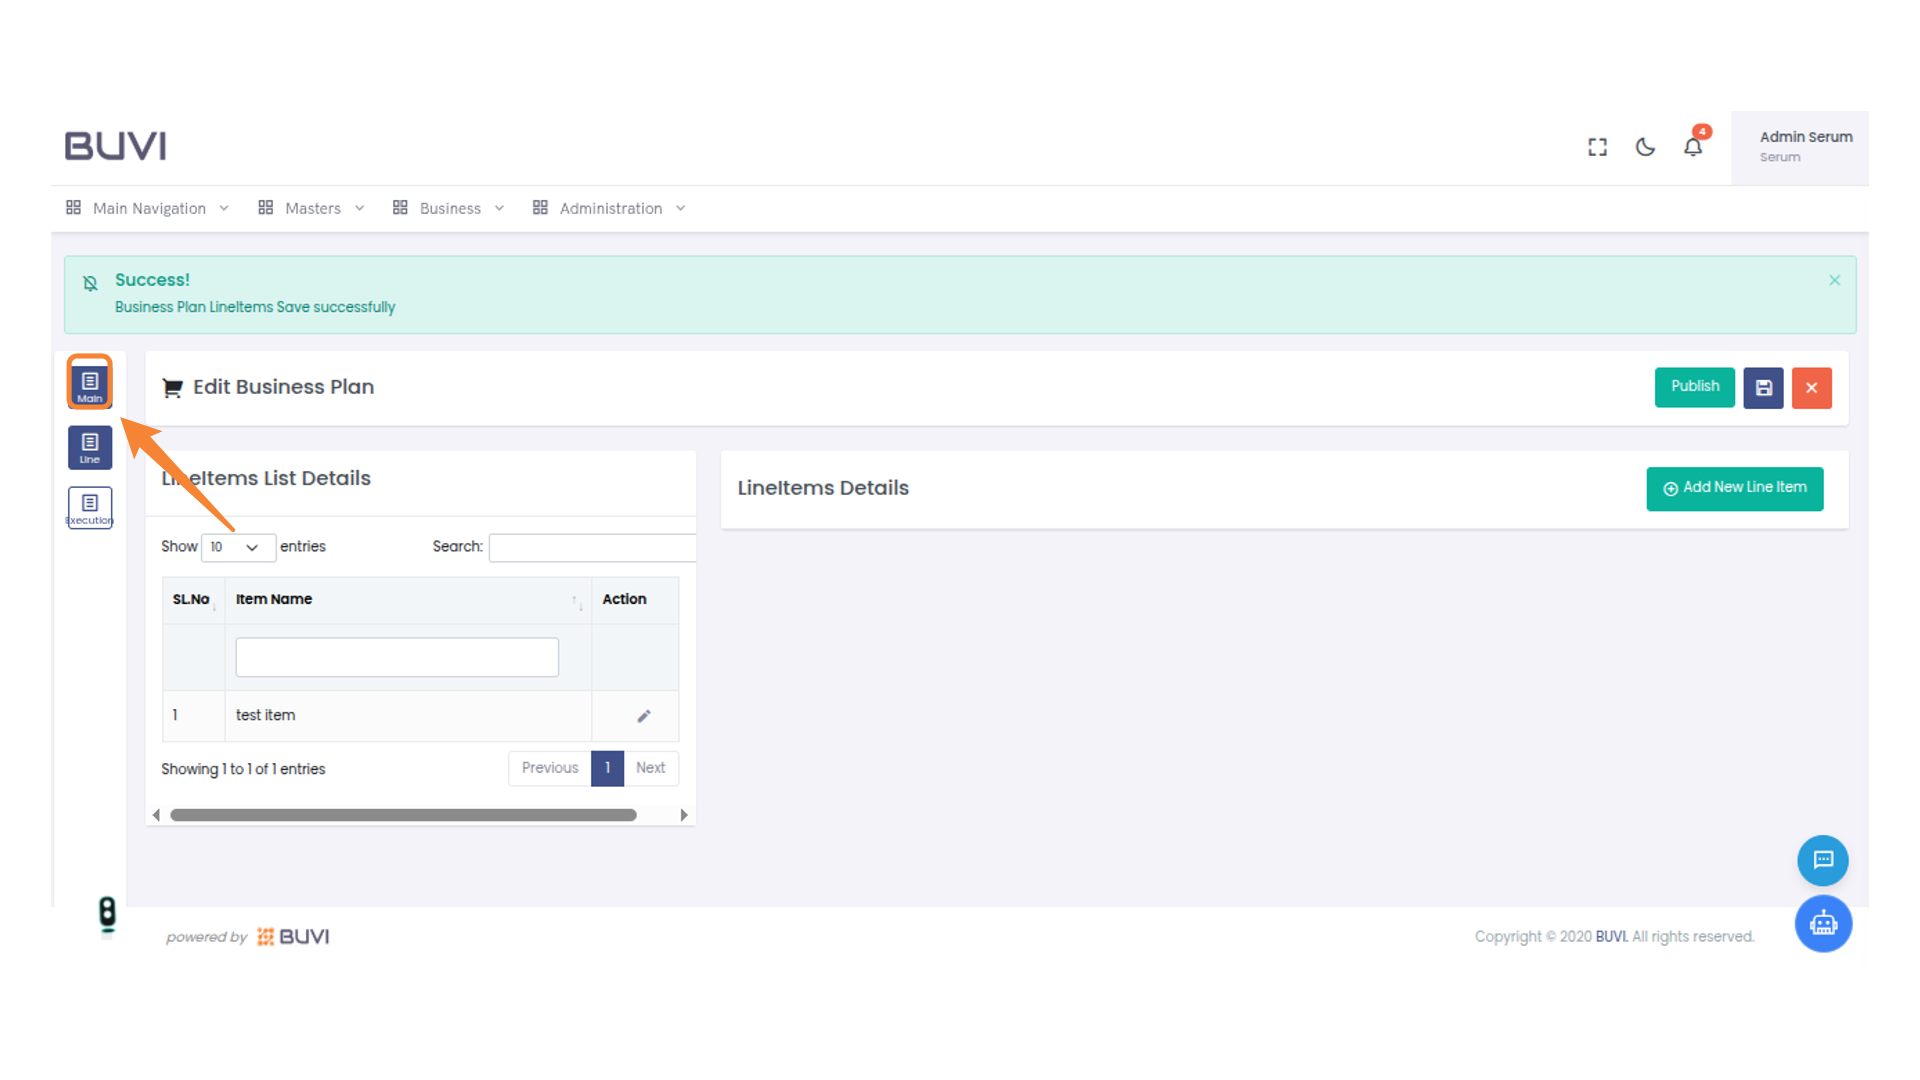
51. Navigate to Main Section
Click to access the main section of the application for managing core features and settings.
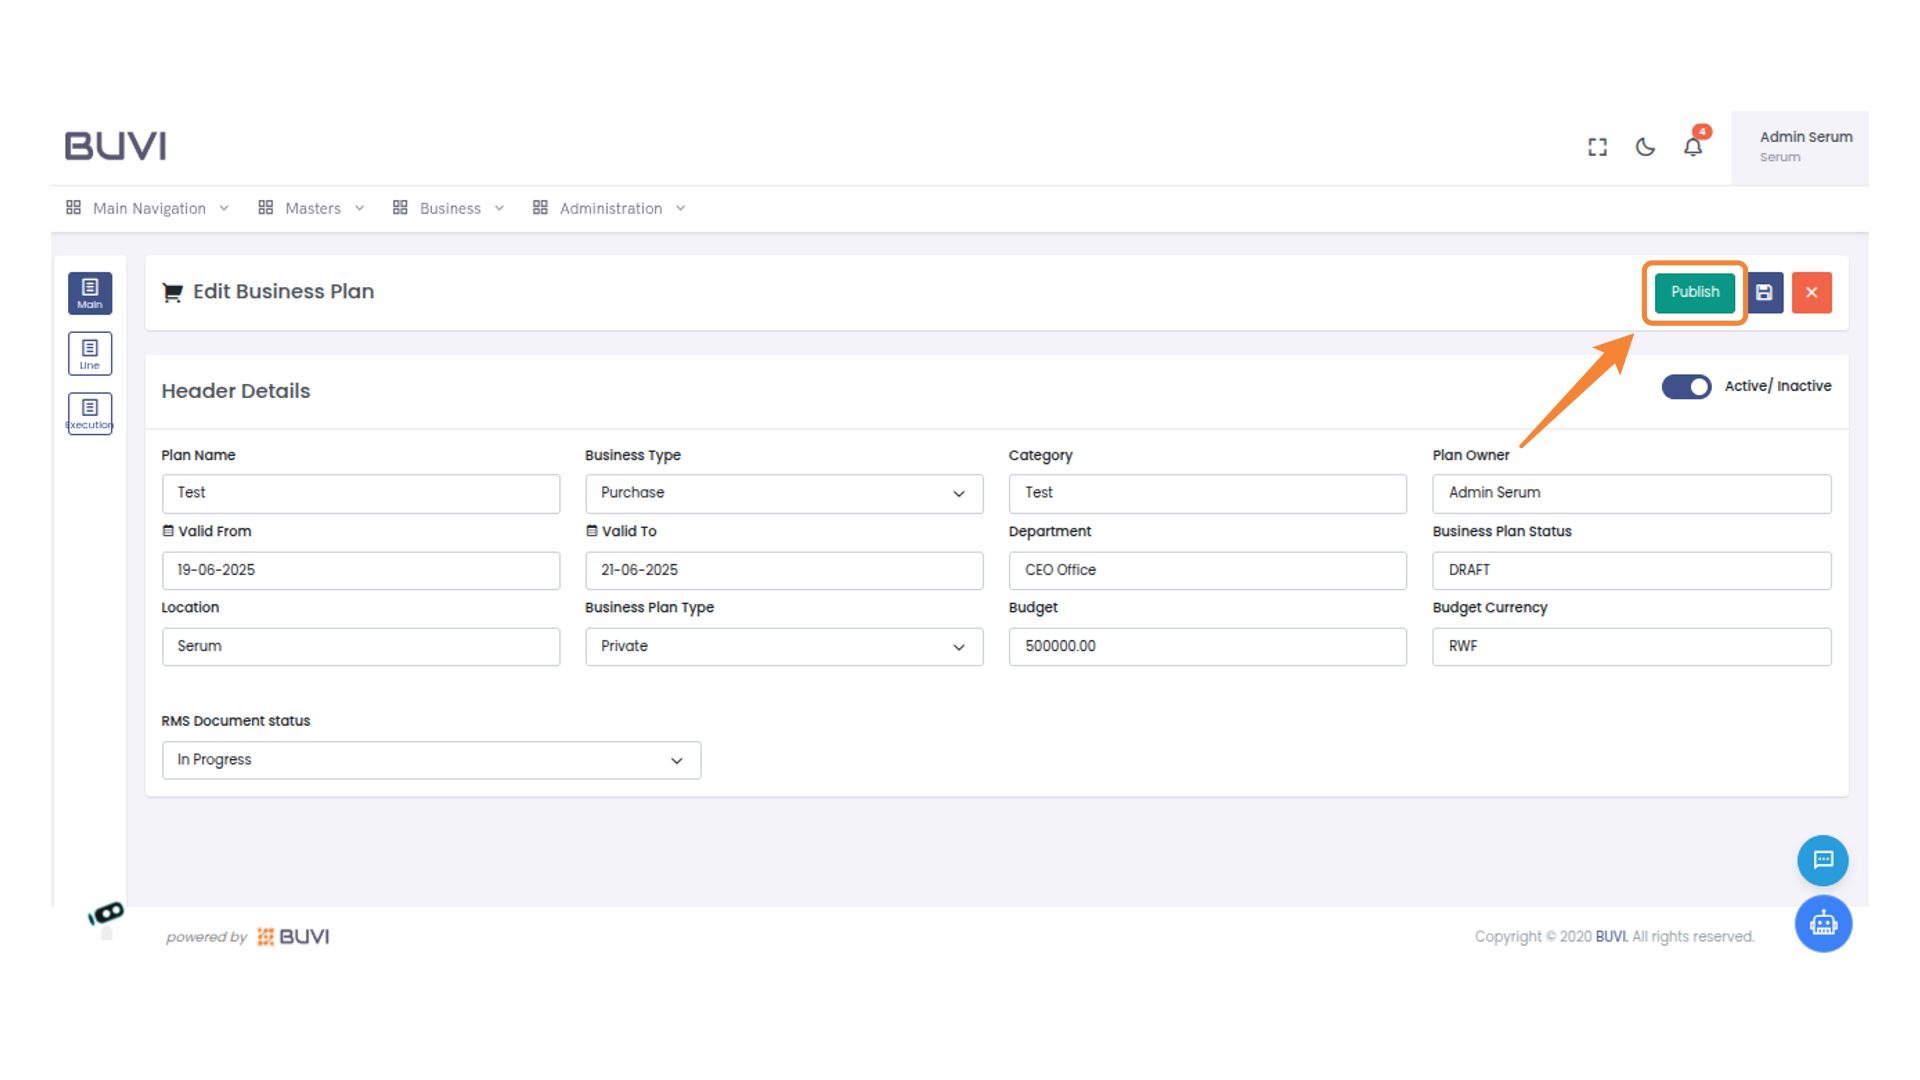
52. Publish the Business Plan
Click 'Publish' to finalize and make the business plan active.
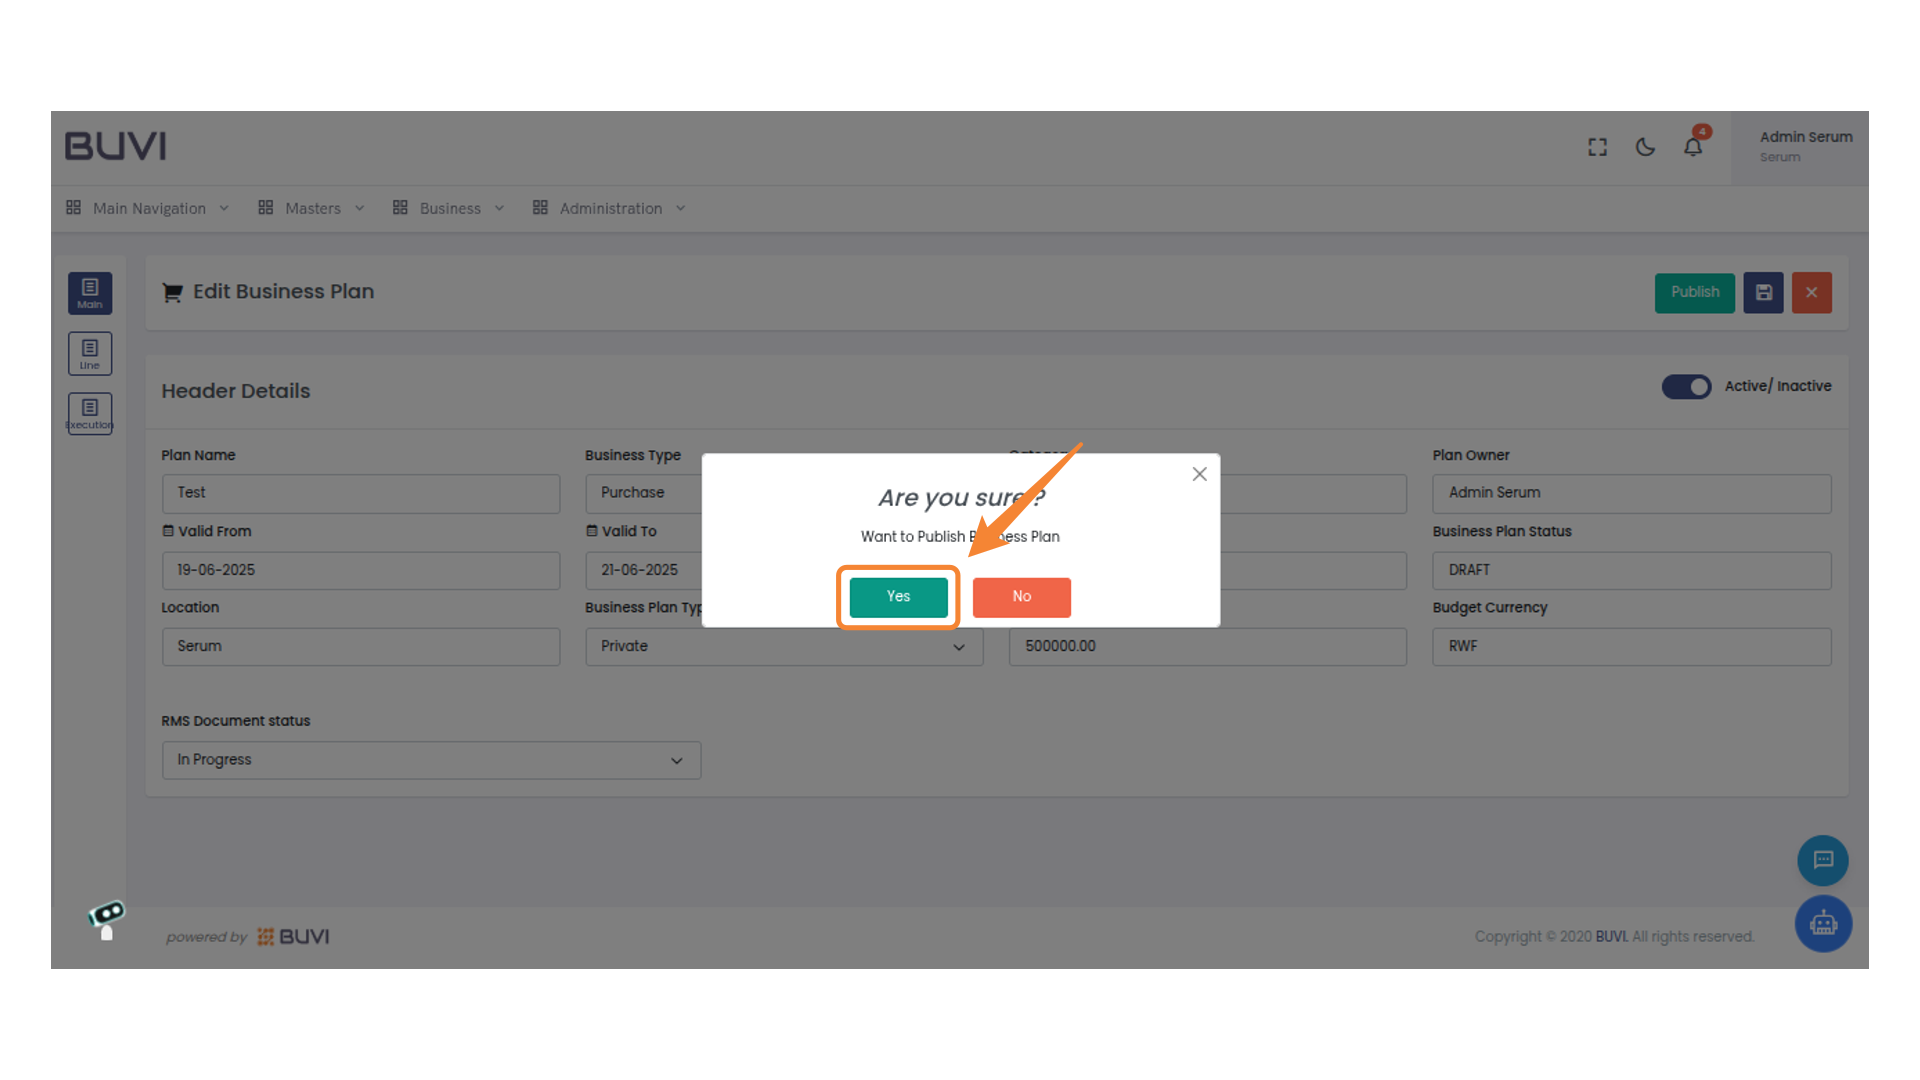
53. Confirm Publishing Business Plan
Click 'Yes' to confirm the publication of the business plan.
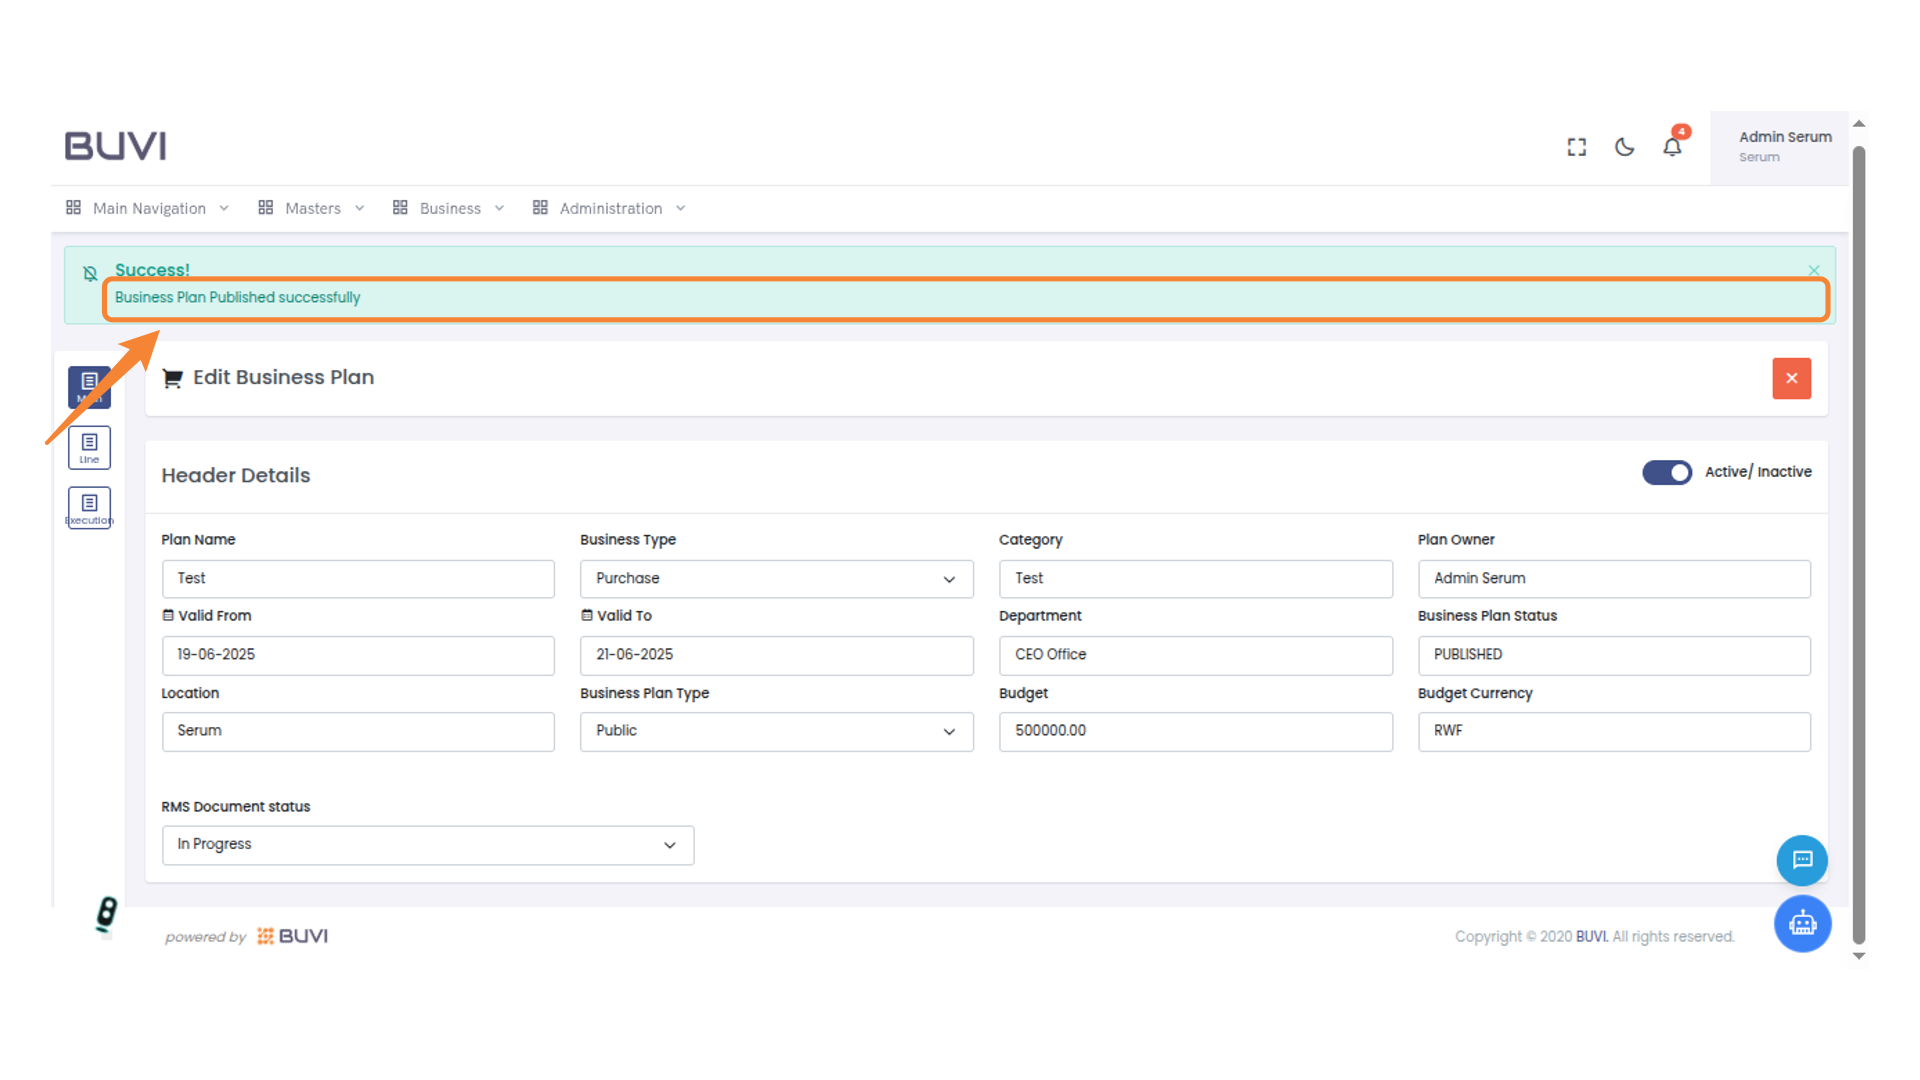
54. Business Plan Confirmation
Acknowledge that the business plan was published successfully.